
Ah, the Kabocha squash, the darling of the fall harvest, the pumpkin's more sophisticated cousin, the star of your Thanksgiving centerpiece. If you're a fan of this sweet, nutty, and downright delicious squash, you might be wondering how to grow it yourself. Well, you're in the right place! This guide will take you from seed to harvest, ensuring your fall is filled with the bounty of Kabocha squash.
Understanding the Kabocha Squash
Before we dive into the nitty-gritty of planting and harvesting, let's take a moment to appreciate the Kabocha squash. Originating from Japan, this winter squash variety is known for its sweet, rich flavor and smooth texture. It's a versatile veggie, perfect for roasting, soups, and even desserts. Plus, it's packed with vitamins A and C, making it a healthy choice for your fall meals.
Now, the Kabocha squash plant is a bit of a diva. It requires a good deal of care and attention, but trust me, the payoff is worth it. So, let's roll up our sleeves and get to work!
Planting the Kabocha Squash
Planting Kabocha squash is like setting the stage for a grand performance. It's all about timing, location, and preparation. Let's break it down:
Timing
Kabocha squash is a warm-season plant, meaning it doesn't appreciate the cold. The best time to plant is after the last frost, when soil temperatures are consistently above 60°F. In most regions, this means late spring or early summer.
From seed to harvest, Kabocha squash takes about 95 to 100 days. So, plan accordingly to ensure your squash is ready for that fall harvest.
Location
Like a sunbathing beauty, Kabocha squash loves the sun. Choose a location in your garden that gets full sun exposure. But remember, this plant is a bit of a space hog, so make sure there's plenty of room for the vines to spread out.
As for soil, Kabocha squash prefers well-draining, fertile soil with a pH between 6.0 and 7.0. A little compost or well-rotted manure can go a long way in preparing the perfect bed for your squash.
Preparation
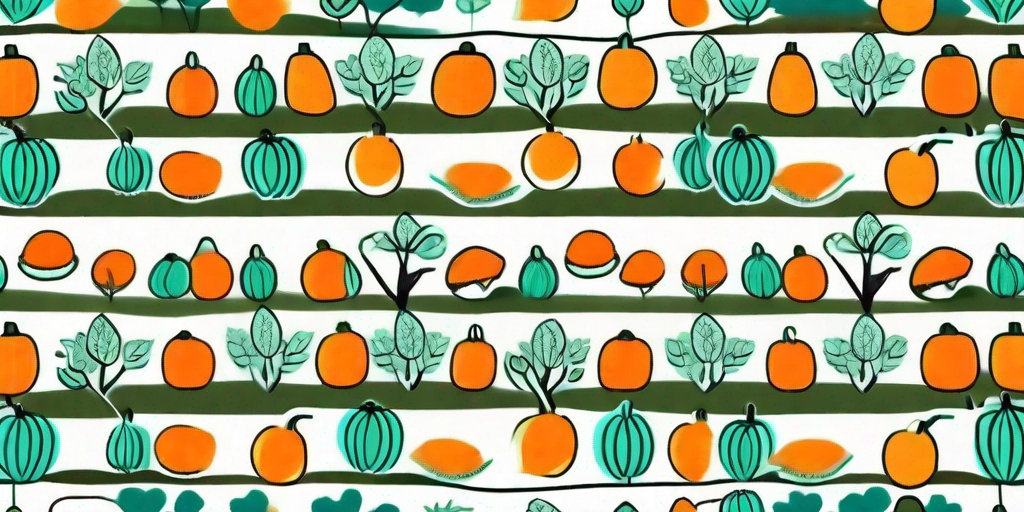
Now, let's get those seeds in the ground! Plant your Kabocha squash seeds about 1 inch deep and 2 to 3 feet apart. If you're planting multiple rows, leave about 4 to 5 feet between rows. This will give your plants plenty of room to grow.
Water the seeds well after planting, and keep the soil consistently moist (but not waterlogged) as the plants grow.
Caring for Your Kabocha Squash
Once your Kabocha squash plants are in the ground, it's time to shift into caretaker mode. This involves watering, feeding, and protecting your plants from pests and diseases.
Watering and Feeding
Kabocha squash plants are thirsty and hungry fellows. They need regular watering, especially during dry spells. Aim for about 1 inch of water per week, but adjust as necessary based on your local weather conditions.
As for feeding, a balanced vegetable fertilizer can help your plants thrive. Apply according to the package instructions, and remember, it's better to underfeed than overfeed.
Pest and Disease Control
Unfortunately, Kabocha squash plants can be prone to pests and diseases. Keep an eye out for common culprits like squash bugs, cucumber beetles, and powdery mildew. If you spot any signs of trouble, act quickly to address the issue and prevent it from spreading.
Remember, a healthy plant is the best defense against pests and diseases. So, keep up with your watering and feeding routine, and your plants will be better equipped to fend off any unwanted visitors.
Harvesting Your Kabocha Squash
After months of careful tending, it's finally time to reap the fruits (or rather, squash) of your labor! But how do you know when your Kabocha squash is ready to harvest?
Look for a hard, dull skin and a deep, orange-brown color. The stem should be dry and corky. And when you tap the squash, it should sound hollow. If all these boxes are ticked, congratulations, it's harvest time!
Use a sharp knife or pruners to cut the squash from the vine, leaving about 2 inches of stem attached. This will help the squash store longer. After harvesting, let your squash cure in the sun for a few days to toughen the skin, then store in a cool, dry place.
Frequently Asked Questions
- Can I grow Kabocha squash in containers?
- Yes, but choose a large container and be prepared for the vines to sprawl!
- What can I do with Kabocha squash?
- Roast it, make soup, bake a pie - the possibilities are endless!
- How long can I store Kabocha squash?
- If properly cured and stored, Kabocha squash can last several months.
So, there you have it, a comprehensive guide to growing Kabocha squash. With a little effort and a lot of love, you'll be enjoying your own homegrown squash in no time. Happy gardening!