
Welcome, brave agricultural adventurers, to the thrilling world of winter wheat cultivation! If you've ever looked out at a snowy field and thought, "I could grow something there," then you're in the right place. But before we dive into the frosty depths of winter wheat farming, let's take a moment to appreciate the humble grain that's about to become your new best friend.
Understanding Winter Wheat
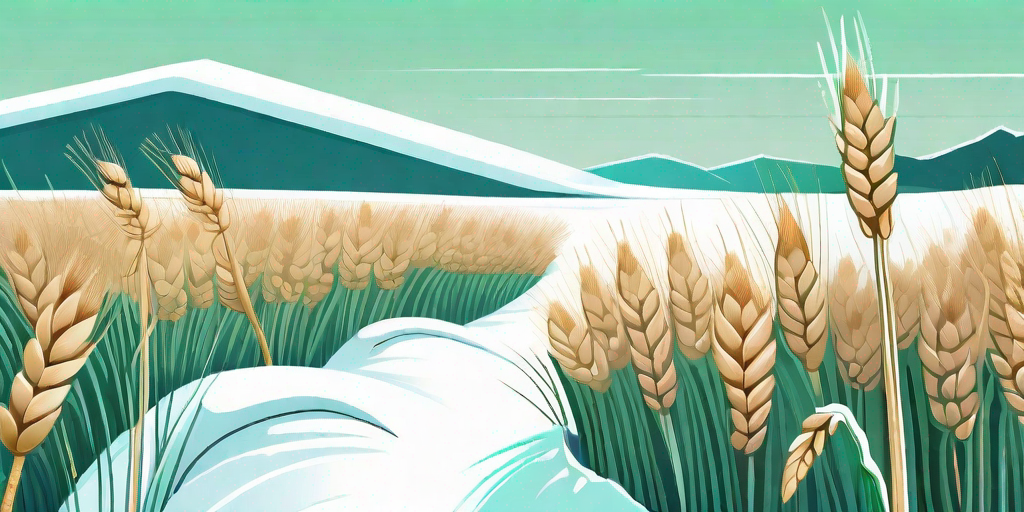
Winter wheat, the unsung hero of the cereal world, is a hardy variety of wheat that's planted in the fall and harvested in the spring or early summer. It's like the polar bear of the grain world, thriving in the chill while other crops shiver in their roots. But why, you might ask, would anyone want to grow wheat in the winter? Good question, my inquisitive friend.
Firstly, winter wheat often yields more grain than its summer-sown counterparts. It also provides ground cover during the winter months, preventing soil erosion and keeping those pesky weeds at bay. Plus, it's a great way to keep yourself occupied during those long winter months when you've exhausted your Netflix queue.
Types of Winter Wheat
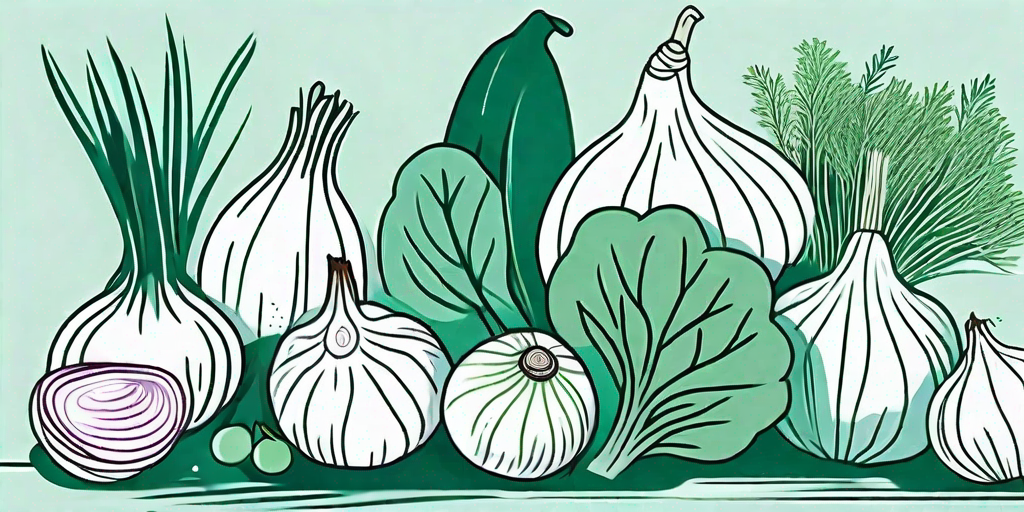
Just like your favorite breed of dog, there are different types of winter wheat to choose from. Soft red winter wheat, hard red winter wheat, and white winter wheat are the most common types. Each has its own unique characteristics and uses, from bread making to animal feed, so choose wisely, grasshopper.
Soft red winter wheat is generally used for cakes, pastries, and flatbreads. Hard red winter wheat is your go-to for bread and all-purpose flour. White winter wheat, the black sheep of the wheat family, is used for whole wheat flour and brewing. So, whether you're a budding baker or a homebrew hero, there's a winter wheat for you.
Planting Your Winter Wheat
Now that you're familiar with our grainy friend, let's get down to the nitty-gritty of planting. Don't worry, it's not as daunting as it sounds. In fact, it's as easy as pie. Wheat pie, that is.
First, you'll need to prepare your soil. This involves tilling the ground and adding any necessary amendments. Remember, winter wheat likes well-drained soil, so if your field is more swamp than savannah, you might want to reconsider.
Choosing the Right Time
Timing is everything when it comes to planting winter wheat. Plant too early, and your wheat might use up all its energy before winter arrives. Plant too late, and it might not have enough time to establish itself before the big freeze. The ideal time to plant is usually about six weeks before the first hard frost.
Once you've got your timing down, it's time to sow your seeds. You can do this by hand or with a seed drill if you're feeling fancy. Just make sure to sow them at the right depth (about 1-2 inches) and at the right density (about 30 seeds per square foot).
Managing Your Winter Wheat
Once your seeds are snug in the ground, it's time to sit back, relax, and...just kidding! There's still work to be done. Winter wheat might be hardy, but it still needs some TLC to reach its full potential.
Firstly, keep an eye on your wheat throughout the winter. If you notice any areas that are struggling, it might be worth reseeding come spring. Also, be sure to keep an eye out for pests and diseases. Nothing ruins a good wheat crop like a swarm of aphids or a case of leaf rust.
Fertilizing and Watering
Winter wheat isn't a big fan of over-fertilizing, so go easy on the nitrogen. A little bit in the fall and a top-up in the spring should do the trick. As for watering, your wheat should get most of what it needs from winter snow and spring rain. However, if Mother Nature isn't cooperating, you might need to step in with some supplemental watering.
Remember, the goal is to keep your wheat happy and healthy, not to drown it or turn it into a nitrogen junkie. Balance is key.
Harvesting Your Winter Wheat
After months of careful tending, it's finally time to reap what you've sown. Harvesting usually takes place in the spring or early summer, once the wheat has turned a golden brown and the kernels are hard. You can do this by hand or with a combine harvester if you're feeling particularly industrious.
Once harvested, your wheat will need to be dried and stored properly to prevent spoilage. After that, the world is your oyster (or wheat field). Bake some bread, brew some beer, or simply bask in the glory of your successful winter wheat harvest.
Frequently Asked Questions
Can I grow winter wheat in my backyard?
Yes, you can! Winter wheat can be grown in a variety of settings, from large fields to small backyard plots. Just make sure you have enough space for your desired yield.
What's the difference between winter wheat and spring wheat?
Winter wheat is planted in the fall and harvested in the spring or early summer, while spring wheat is planted in the spring and harvested in the late summer or fall. Winter wheat also tends to yield more grain than spring wheat.
Can I use winter wheat as a cover crop?
Absolutely! Winter wheat is a great cover crop, as it provides ground cover during the winter months and helps prevent soil erosion.
Conclusion
So there you have it, folks: the ins and outs of growing winter wheat. It might seem like a daunting task, but with a little bit of knowledge and a lot of patience, you too can become a winter wheat wizard. So why not give it a go? After all, who needs Netflix when you've got a field full of wheat to keep you entertained?
Happy farming!