
Welcome, budding horticulturist! You've taken the first step towards creating your very own elderberry empire. As you embark on this journey, remember that every great empire starts with a single seed. Or in this case, a cutting. So, let's dive into the world of elderberries, shall we?
The Elderberry: A Brief Introduction
Before we start planting, let's get to know our subject a bit better. The elderberry, or Sambucus, is a genus of flowering plants in the family Adoxaceae. It's known for its beautiful clusters of white flowers and dark purple berries. But it's not just a pretty face. Elderberries are packed with antioxidants and vitamins that can boost your immune system, tame inflammation, and lessen stress. Not bad for a humble berry, right?
But wait, there's more! Elderberries are also a hit with the wildlife. Birds, butterflies, and bees are all attracted to this plant, making it an excellent choice for those wanting to promote biodiversity in their garden. So, by growing elderberries, you're not just building an empire for yourself, but also creating a sanctuary for your local wildlife. How's that for multi-tasking?
Propagation: The Art of Elderberry Empire Building
Now that we're acquainted with the elderberry, let's get down to business. Propagation is the process of creating new plants from a variety of sources: seeds, cuttings, bulbs and other plant parts. In the case of elderberries, we'll be focusing on propagation from cuttings.
Why cuttings, you ask? Well, it's faster, easier, and gives you a clone of the parent plant, ensuring you know exactly what you're getting. It's like creating an army of elderberry clones to conquer the garden world. Sounds exciting, doesn't it?
Step 1: Choosing Your Cutting
The first step in your propagation journey is choosing the right cutting. You'll want to select a healthy, disease-free branch from an established elderberry bush. Look for a branch that's about as thick as a pencil and has several leaf nodes. This branch is your future elderberry plant, so choose wisely!
Once you've selected your branch, it's time to make the cut. Using a sharp, clean pair of pruning shears, cut the branch at a 45-degree angle. This increases the surface area for rooting and helps prevent disease. Congratulations, you've just taken the first step towards creating your elderberry empire!
Step 2: Preparing Your Cutting
Now that you have your cutting, it's time to prepare it for planting. First, remove the lower leaves, leaving only a few at the top. This reduces water loss and encourages rooting. Next, dip the cut end of the branch into a rooting hormone. This step isn't strictly necessary, but it can help speed up the rooting process and increase your chances of success.
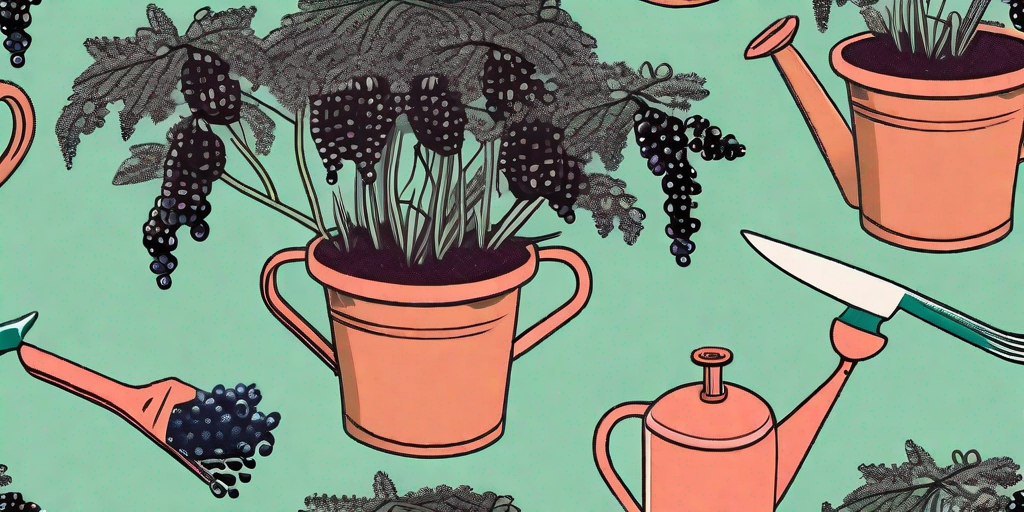
Once your cutting is prepared, it's time to plant. Insert the cut end of the branch into a pot filled with a mixture of peat moss and perlite. Water thoroughly, then place the pot in a location with indirect light. Keep the soil moist, but not waterlogged, and in a few weeks, you should start to see new growth. Congratulations, you're now the proud parent of a baby elderberry plant!
Caring for Your Elderberry Empire
Now that you've successfully propagated your elderberry plant, it's time to care for it. Elderberries are relatively low-maintenance plants, but they do require some care to thrive. First, they need plenty of sunlight, so make sure your plant is in a location where it can get at least six hours of sun a day. Second, they need well-drained soil. While elderberries like moisture, they don't like to have wet feet, so make sure your plant's home has good drainage.
Finally, elderberries need to be pruned regularly. This encourages new growth and helps keep the plant healthy. Plus, it gives you more cuttings for propagation, allowing you to expand your elderberry empire even further. It's a win-win!
FAQs
When is the best time to take elderberry cuttings?
The best time to take elderberry cuttings is in late winter or early spring, before the plant starts to bud. This gives the cutting plenty of time to establish roots before the growing season starts.
How long does it take for elderberry cuttings to root?
Elderberry cuttings typically take about 2-3 weeks to root. However, this can vary depending on the conditions. Keep the soil moist and be patient, your cutting will root in time!
Can I grow elderberries in a pot?
Yes, elderberries can be grown in a pot. However, they do best in the ground where they have more room to spread out. If you do choose to grow them in a pot, make sure it's a large one and that it has good drainage.
Conclusion
And there you have it, a complete guide to propagating and caring for elderberries. With a bit of patience and care, you'll be well on your way to creating your own elderberry empire. So, what are you waiting for? Grab your pruning shears and start planting!
Remember, every great empire starts with a single plant. And who knows, your elderberry empire might just be the next big thing. Happy planting!