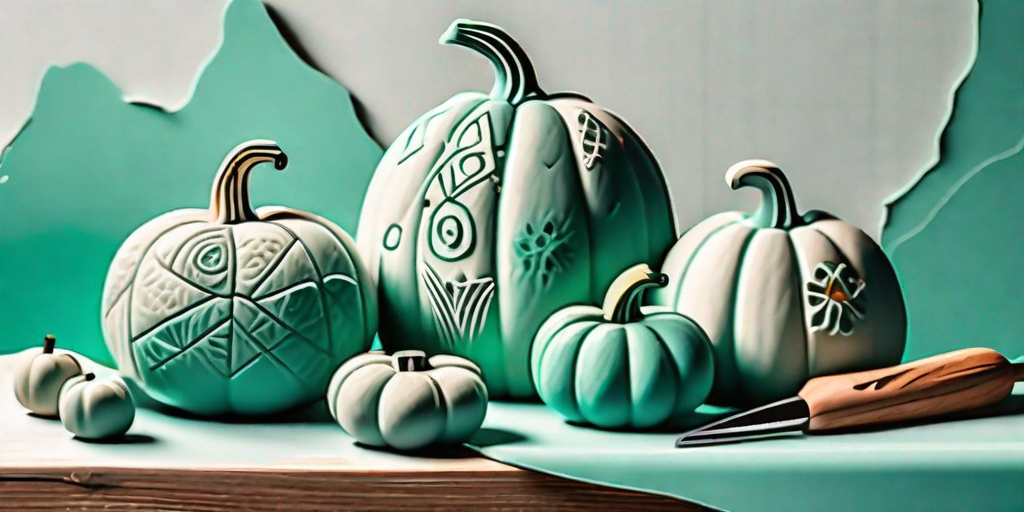
Welcome, dear reader, to the magical world of miniature gourd artistry. It's a place where the humble pumpkin, often overlooked except during the Halloween season, is transformed into a canvas for creativity. Whether you're a seasoned carver or a novice looking to dip your toes into the pumpkin-infused waters, this guide is here to help you navigate the intricacies of this delightful craft. So, grab your carving tools, put on your favorite spooky playlist, and let's dive in.
The Basics of Pumpkin Carving
Before we start carving, let's get to know our subject a little better. Pumpkins, like all gourds, are part of the Cucurbitaceae family. They come in a variety of shapes, sizes, and colors, but for our purposes, we'll focus on the small, orange variety that's perfect for carving. These miniature pumpkins, often called "Jack-Be-Littles," are just the right size for a beginner's project.
Now, let's talk tools. While you could technically carve a pumpkin with a simple kitchen knife, we recommend investing in a pumpkin carving kit. These kits typically include a serrated saw, a scoop, a poker, and a variety of carving templates. The serrated saw is particularly useful for cutting through the pumpkin's tough exterior, while the scoop is perfect for removing the pumpkin's innards (a task that's as fun as it sounds).
Choosing the Right Pumpkin
When choosing a pumpkin, look for one that's firm, with no visible blemishes or soft spots. The pumpkin should also have a flat bottom to ensure it doesn't roll away while you're trying to carve it. If you're planning on using a template, make sure the pumpkin's surface is smooth and large enough to accommodate your design.
Remember, the pumpkin is your canvas, so choose wisely. A good pumpkin can make the difference between a carving that's "meh" and one that's "wow."
Preparing Your Pumpkin
Once you've chosen your pumpkin, it's time to prepare it for carving. Start by cutting a hole in the top of the pumpkin around the stem. This will be your lid. Make sure the hole is large enough for you to comfortably reach inside the pumpkin with your hand and the scoop.
Next, use the scoop to remove the pumpkin's innards. This includes the seeds and the stringy, pulpy stuff. It's a messy job, but someone's got to do it. Once the pumpkin is clean, it's ready for carving.
The Art of Carving
Now that we've covered the basics, let's move on to the fun part: carving. Carving a pumpkin is a bit like sculpting, except instead of adding material, you're removing it. The key is to start with a simple design and gradually work your way up to more complex ones.
Begin by sketching your design on the pumpkin with a marker. If you're using a template, you can tape it to the pumpkin and trace the design with a poker. Once you're happy with your sketch, it's time to start carving. Use the serrated saw to cut along the lines of your design, starting with the smallest details first. Remember to take your time and be careful not to cut too deep or too fast.
Carving Techniques
There are many different carving techniques you can use to bring your pumpkin to life. One popular technique is "shadow carving," where you carve the pumpkin's skin but leave the flesh intact. This creates a beautiful, glowing effect when the pumpkin is lit from inside.
Another technique is "relief carving," where you carve at different depths to create a 3D effect. This technique is a bit more advanced, but with practice, you can create some truly stunning designs.
Preserving Your Pumpkin
After all the hard work you've put into carving your pumpkin, you'll want to make sure it lasts as long as possible. One way to preserve your pumpkin is to apply a bleach solution (1 part bleach to 10 parts water) to the carved areas. This will kill any bacteria and help prevent the pumpkin from rotting.
You can also apply petroleum jelly to the carved areas to keep them from drying out. Just remember to keep your pumpkin in a cool, dry place and away from direct sunlight.
FAQs
Can I eat my carved pumpkin?
While technically you can eat a carved pumpkin, we don't recommend it. The carving process can introduce bacteria to the pumpkin, making it unsafe to eat. Plus, carved pumpkins tend to rot quickly, especially if they're not properly preserved.
How long will my carved pumpkin last?
With proper care and preservation, a carved pumpkin can last up to two weeks. However, keep in mind that pumpkins are perishable and will eventually start to rot, regardless of how well you care for them.
Can I carve other types of gourds?
Absolutely! While pumpkins are the most popular choice for carving, you can also carve other types of gourds, like squash and zucchini. Just keep in mind that these gourds have a harder exterior and may require more effort to carve.
Conclusion
And there you have it, a comprehensive guide to mastering the art of miniature gourd carving. With a bit of practice and a lot of patience, you'll be creating pumpkin masterpieces in no time. So, what are you waiting for? Grab a pumpkin and start carving!
Remember, the most important thing is to have fun. After all, pumpkin carving is about more than just creating a beautiful piece of art; it's about embracing the spirit of the season and making memories that will last a lifetime.


