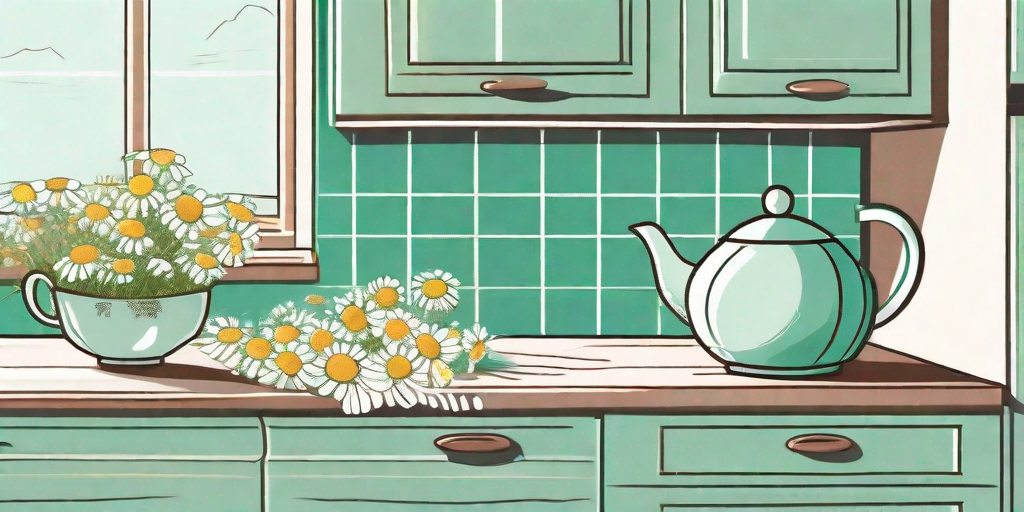

Welcome, tea enthusiasts, to the ultimate guide to drying chamomile. If you've ever wondered how to transform those fresh chamomile flowers into a perfect cup of tea, you're in the right place. We're about to embark on a journey that will transform your tea-making game forever. So, buckle up, and let's dive in!
The Importance of Drying Chamomile
Before we get into the nitty-gritty of the drying process, let's take a moment to appreciate why it's so crucial. Drying chamomile is not just about preserving it for future use. It's a process that enhances the flavor, aroma, and medicinal properties of this wonderful herb.
When you dry chamomile, you're essentially concentrating its essential oils. These oils are the heart and soul of chamomile, housing all its delightful flavors and health benefits. So, by drying chamomile, you're ensuring that every cup of tea you brew is packed with goodness.
Flavor and Aroma
Ever noticed how dried chamomile has a more intense aroma than fresh chamomile? That's the magic of drying. It intensifies the herb's natural fragrance, making your tea experience more sensory and enjoyable.
And it's not just the aroma. Drying chamomile also enhances its flavor, making it richer and more nuanced. So, if you want a cup of chamomile tea that's truly satisfying, drying your chamomile is the way to go.
Medicinal Properties
Chamomile is renowned for its medicinal properties. It's a natural relaxant, aids digestion, and has anti-inflammatory properties. By drying chamomile, you're ensuring that these medicinal properties are preserved and concentrated, making your tea not just delicious, but also healthful.
So, whether you're sipping chamomile tea to unwind after a long day or to soothe an upset stomach, you can rest assured that your dried chamomile is working its magic.
The Art of Drying Chamomile
Now that we've established why drying chamomile is so important, let's get down to business. Drying chamomile is more art than science, and like any art, it requires patience, care, and a bit of cheekiness. But don't worry, we've got you covered with a step-by-step guide.
Before we start, remember, the quality of your dried chamomile depends on the quality of your fresh chamomile. So, always start with fresh, healthy flowers. If your chamomile flowers are wilting or discolored, it's best to bid them farewell and find fresher ones.
Step 1: Harvesting Chamomile
Harvesting chamomile is a joyous task. Imagine yourself in a field of chamomile, the sun shining brightly, and you're there, picking the most beautiful flowers for your tea. Sounds dreamy, right? Well, it's not just a dream. You can do it!
When harvesting chamomile, pick the flowers that are fully open, with white petals and a yellow center. These are the ones at their peak, brimming with essential oils. Avoid flowers that are past their prime, with drooping or brown petals.
Step 2: Preparing Chamomile for Drying
Once you've harvested your chamomile, it's time to prepare them for drying. This involves removing any stems or leaves, as they can affect the drying process and the quality of your tea. So, be a good sport and give your chamomile flowers a good trim.
After trimming, spread your chamomile flowers in a single layer on a clean, dry surface. This ensures that they dry evenly and prevents the growth of mold. Remember, moisture is the enemy here, so say goodbye to it!
Step 3: Drying Chamomile
There are several ways to dry chamomile, but we're going to focus on the two most popular methods: air drying and oven drying. Both methods have their pros and cons, so choose the one that suits you best.
Air drying is the traditional method and involves leaving the chamomile flowers in a well-ventilated, dark place for 1-2 weeks. It's a slow process, but it preserves the flavor and aroma of chamomile better than any other method.
Oven drying, on the other hand, is faster but requires more attention. It involves drying the chamomile flowers in a low-temperature oven for 2-3 hours. While it's quicker than air drying, it can affect the flavor and aroma of chamomile if not done carefully.
FAQs
Can I dry chamomile in a dehydrator?
Yes, you can! A dehydrator is a great tool for drying chamomile, especially if you're drying a large quantity. It's faster than air drying and gives you more control over the temperature than oven drying. Just make sure to follow the manufacturer's instructions for best results.
How should I store dried chamomile?
Store your dried chamomile in an airtight container, away from light, heat, and moisture. A glass jar with a tight lid is perfect for this. And remember, the fresher your dried chamomile, the better your tea will taste. So, try to use it within a year of drying.
Can I use dried chamomile for anything other than tea?
Absolutely! Dried chamomile is a versatile herb that can be used in a variety of ways. You can use it in homemade skincare products, herbal baths, potpourri, and even in cooking. So, don't limit yourself to tea. Explore the wonderful world of chamomile!
Conclusion
And there you have it, folks! The ultimate guide to drying chamomile. We hope this guide has enlightened you on the art and science of drying chamomile and inspired you to try it yourself. Remember, a perfect cup of tea starts with perfect ingredients, and there's nothing more perfect than home-dried chamomile.
So, go ahead, harvest those chamomile flowers, bid farewell to moisture, and embark on a journey to tea perfection. Happy drying!