
Welcome, herb enthusiasts and culinary wizards! If you've ever found yourself with an abundance of fresh thyme and no idea what to do with it, you're in the right place. Today, we're going to explore the art and science of drying thyme at home. It's thyme to get drying!
The Magic of Thyme
Thyme, a member of the mint family, is a versatile herb that's been used for centuries in culinary and medicinal applications. Its tiny, aromatic leaves pack a punch, delivering a flavor that's both earthy and minty. Whether it's jazzing up a roast chicken or adding depth to a hearty stew, thyme is a kitchen superstar.
But what happens when you've got too much thyme on your hands (pun intended)? You dry it, of course! Drying thyme not only extends its shelf life but also intensifies its flavor. Plus, it's a great way to reduce waste and save money. Who knew being thrifty could be so tasty?
Thyme to Dry
Step 1: Harvesting Thyme
The first step in drying thyme is, unsurprisingly, harvesting it. The best time to harvest thyme is just before it flowers, when its oils are at their peak. To harvest, simply cut the top third of the plant, leaving the rest to continue growing. Remember, a happy thyme plant is a productive thyme plant.
Once you've harvested your thyme, give it a good rinse under cold water to remove any dirt or bugs. Pat it dry with a clean towel, and you're ready for the next step.
Step 2: Drying Thyme
There are several methods to dry thyme, but we'll focus on two of the most popular: air drying and oven drying. Both methods have their pros and cons, so choose the one that best suits your needs and resources.
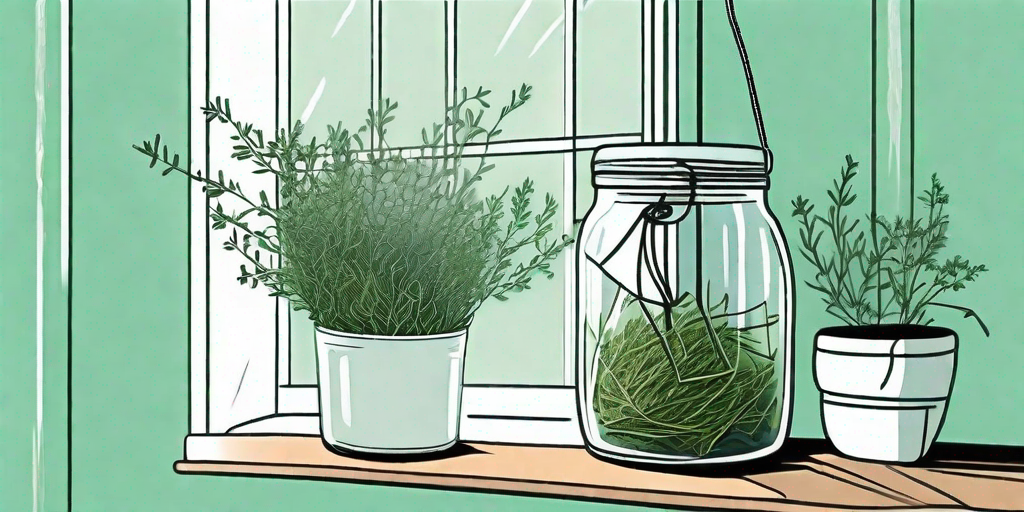
Air drying is the traditional method and requires little more than some string and a well-ventilated area. Simply tie the stems together, hang them upside down in a dry, airy place, and let nature do its thing. This method can take up to two weeks, but it's well worth the wait.
Oven drying is quicker but requires a bit more attention. Preheat your oven to its lowest setting, spread the thyme on a baking sheet, and place it in the oven. Check the thyme every 30 minutes until it's dry and brittle. This method can take anywhere from 2 to 4 hours.
Storing Your Dried Thyme
Once your thyme is dry, it's time to store it. Strip the leaves from the stems and discard the stems. Store the dried leaves in an airtight container in a cool, dark place. Properly stored, dried thyme can last up to a year, but for the best flavor, use it within six months.
Remember, dried herbs are more potent than fresh ones, so adjust your recipes accordingly. A good rule of thumb is to use one-third the amount of dried herbs as you would fresh.
FAQs
Can I dry other herbs the same way?
Absolutely! This method works well for most herbs, including rosemary, oregano, and basil. Just remember to adjust the drying time as needed, as some herbs may take longer to dry than others.
Can I use a dehydrator to dry thyme?
Yes, you can. A dehydrator can be a great tool for drying herbs, especially if you're doing large batches. Just follow the manufacturer's instructions, and you'll have dried thyme in no time.
Thyme's Up!
And there you have it, folks! A foolproof guide to drying thyme at home. Whether you're a seasoned herb-drying veteran or a complete newbie, we hope this guide has given you the confidence to tackle your thyme surplus head-on. So go forth, dry some thyme, and add a sprinkle of homemade goodness to your next meal.
Remember, in the world of herbs, thyme waits for no one. Happy drying!