The world of ferns is a fascinating one, filled with lush greenery and a sense of tranquility that can only be found in the heart of nature. But just like any other living creature, these leafy friends have needs too. And one of the most crucial needs is the need for a comfortable home, or in this case, a pot. So buckle up, plant parents! It's time to roll up your sleeves and get down and dirty with some repotting action.
Understanding Your Ferns
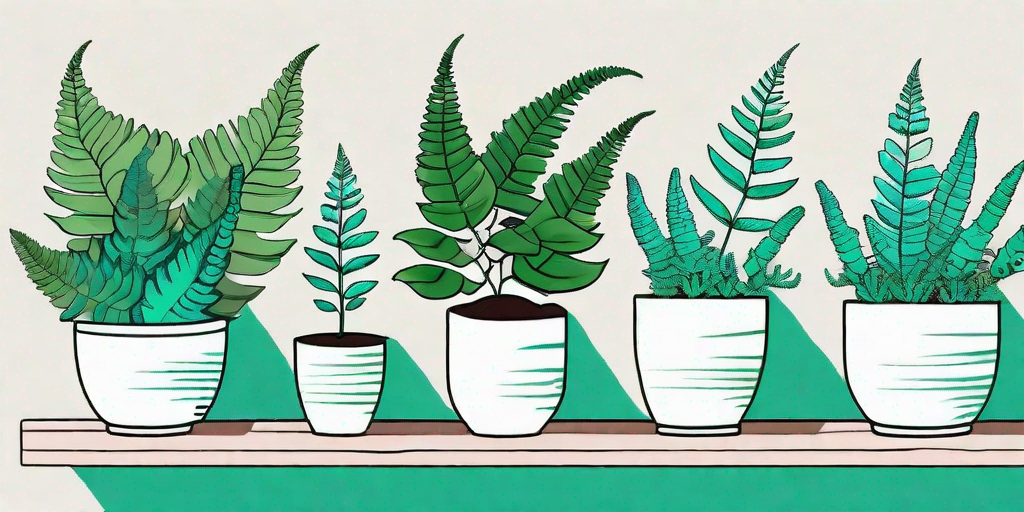
Before we dive into the nitty-gritty of repotting, it's important to understand what makes ferns tick. Unlike other houseplants, ferns are a bit more finicky. They thrive in humid, low-light environments and have a unique root system that requires a certain level of care.
But don't let this intimidate you. With a little bit of knowledge and a lot of love, you can provide your ferns with the perfect environment to flourish. And who knows, they might even thank you by growing a few extra fronds!
The Root of the Matter
Ferns have a unique root system known as a rhizome. This is a horizontal stem that often grows underground and sends out roots and shoots from its nodes. Because of this, ferns require a wider pot rather than a deeper one.
So when choosing a pot for your fern, think pancakes, not skyscrapers. A shallow, wide pot will give your fern the space it needs to spread its roots and grow.
Light and Humidity
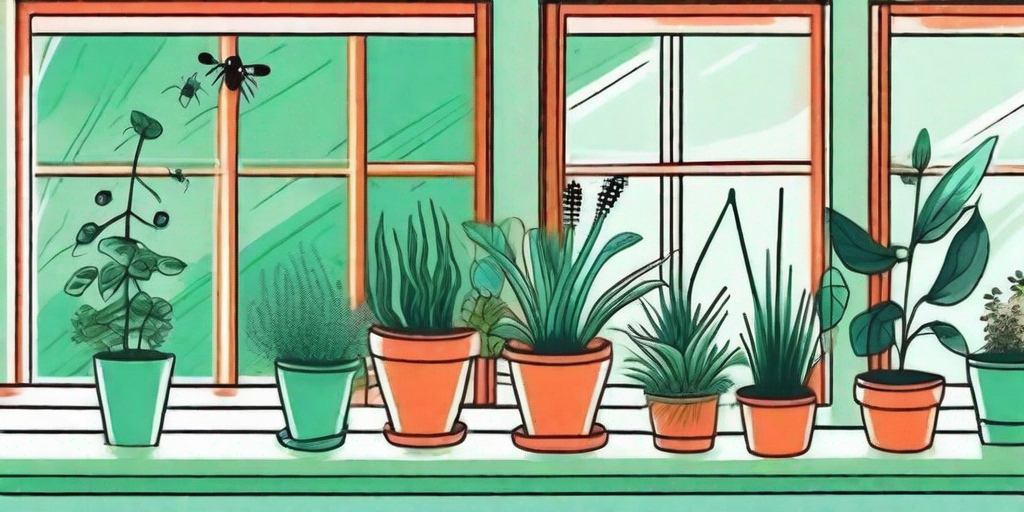
Ferns are like the vampires of the plant world. They thrive in low-light conditions and can easily burn if exposed to direct sunlight. So unless you want your fern to turn into a crispy critter, keep it away from those sunny windowsills.
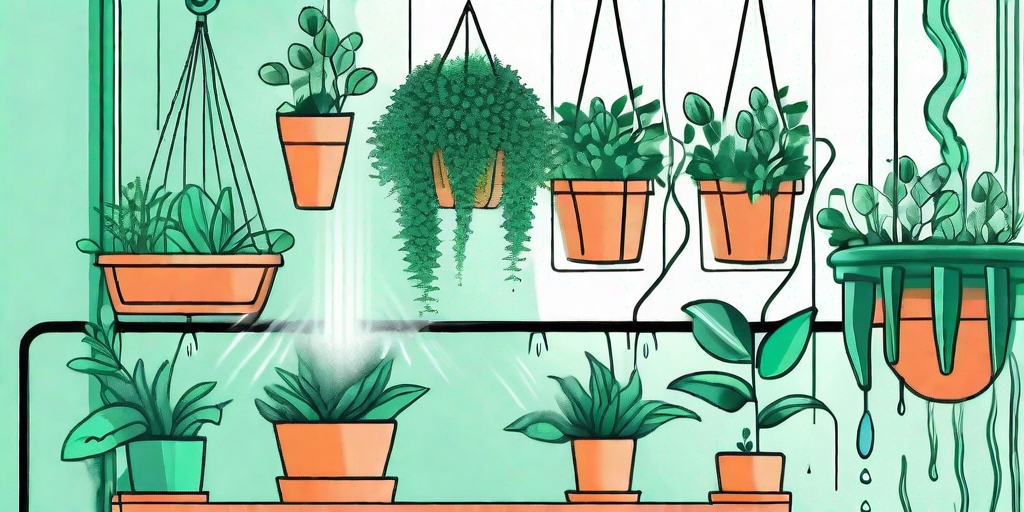
Humidity is another crucial factor for ferns. These plants love to be misted regularly and will appreciate a humidifier in drier climates. So if you live in the desert, you might want to reconsider your choice of plant pet.
Repotting Your Fern
Now that we've covered the basics of fern care, let's get to the main event: repotting. This process can be a bit messy, but it's also incredibly rewarding. Plus, it's a great excuse to play in the dirt!
So without further ado, here's a step-by-step guide on how to repot your fern.
Step 1: Choose the Right Pot
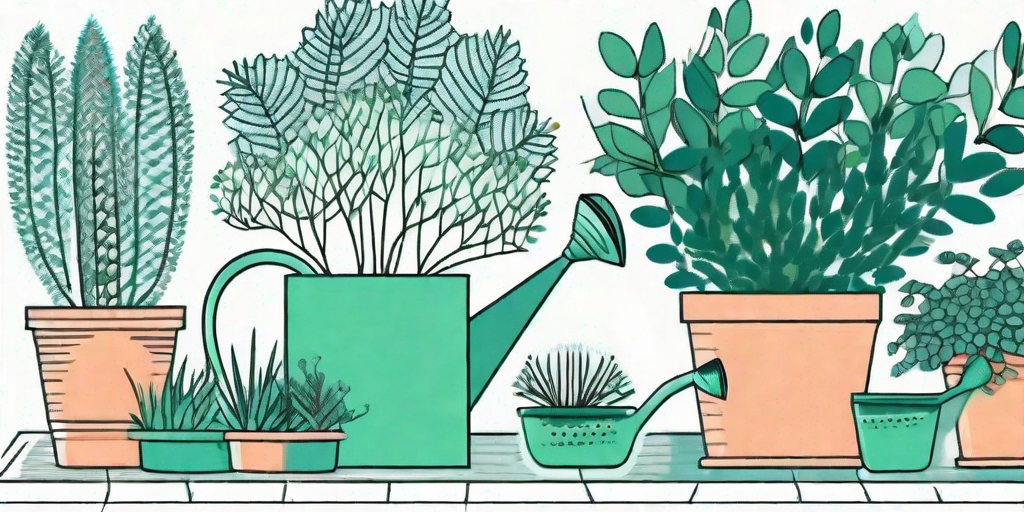
As mentioned earlier, ferns prefer wide, shallow pots. The pot should also have good drainage to prevent waterlogging. A pot made of breathable material like terracotta is a great choice.
Remember, size matters. The new pot should be slightly larger than the current one, but not too big. A pot that's too large can lead to overwatering and root rot. So stick to a pot that's about 1-2 inches larger in diameter.
Step 2: Prepare the Pot
Before you place your fern in its new home, you need to prepare the pot. This involves cleaning the pot thoroughly to remove any dirt or bacteria and adding a layer of pebbles or broken pottery at the bottom for extra drainage.
Next, fill the pot halfway with a potting mix suitable for ferns. This is usually a blend of peat moss, perlite, and compost. The mix should be moist, but not soaking wet.
Step 3: Remove the Fern from the Old Pot
This is where things get a bit tricky. You need to remove the fern from its old pot without damaging the roots. The best way to do this is to turn the pot upside down and gently tap it until the fern slides out.
If the fern is stubborn, you can use a knife to loosen the soil around the edges of the pot. But remember, be gentle. You don't want to damage those precious roots.
Step 4: Place the Fern in the New Pot
Once the fern is free from its old pot, it's time to move it to its new home. Place the fern in the center of the new pot and gently spread the roots out. Then, fill the pot with the potting mix, making sure the fern is planted at the same depth as it was in the old pot.
Give the pot a good tap to settle the soil and remove any air pockets. Then, water the fern thoroughly and place it in a shady spot to recover from the move.
Common Questions About Repotting Ferns
When is the Best Time to Repot Ferns?
The best time to repot ferns is in the spring, just before the growing season starts. This gives the fern time to establish itself in the new pot before it starts producing new growth.
However, if your fern is showing signs of distress, such as yellowing leaves or stunted growth, it might be time for an emergency repotting, regardless of the season.
How Often Should I Repot My Fern?
As a general rule, ferns should be repotted every 2-3 years. However, this can vary depending on the size and health of your fern. If your fern is outgrowing its pot or the soil is depleted, it might be time for a repotting session.
Remember, repotting is stressful for plants, so it's best to do it only when necessary. Your fern will thank you for it!
Conclusion
Repotting ferns might seem like a daunting task, but with a bit of knowledge and a lot of patience, it can be a rewarding experience. So don't be afraid to get your hands dirty and give your ferns the care they deserve.
After all, a happy fern makes for a happy plant parent. And who doesn't want that?