Welcome to the world of Dracaena propagation, where one plant can magically transform into many. If you're a fan of the Dracaena plant, you'll know that they're not just a pretty face. These leafy green wonders are also known for their air-purifying qualities and their ability to add a touch of tropical flair to any room. But did you know that you can easily multiply your Dracaena collection without spending a dime? Yes, you heard it right! In this guide, we'll delve into the art of propagating Dracaena plants. So, buckle up, plant enthusiasts, it's time to get our hands dirty!
The Basics of Dracaena Propagation
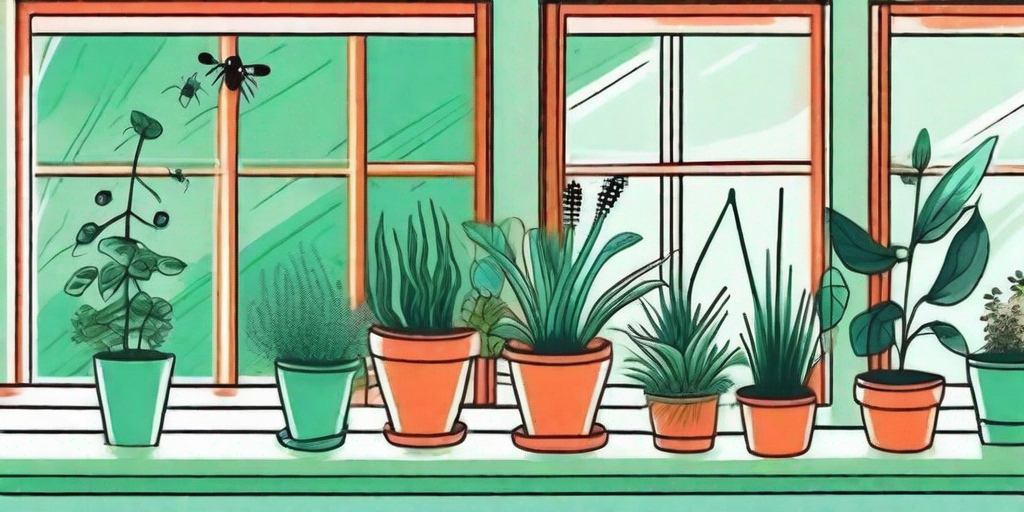
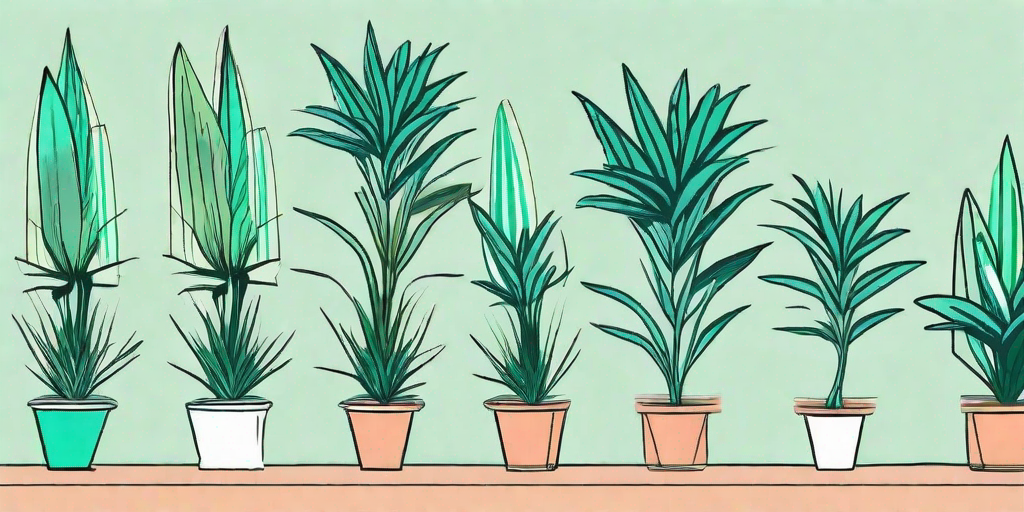
Before we dive into the nitty-gritty of Dracaena propagation, let's get to know our subject a little better. The Dracaena genus includes over 120 species, each with its unique charm. From the exotic Dracaena marginata to the popular Dracaena fragrans, there's a Dracaena for everyone. But no matter the species, the propagation process remains relatively the same.
Dracaena propagation involves creating new plants from the parent plant's parts. This can be done through stem cuttings, air layering, or division. While each method has its pros and cons, stem cutting is by far the most common and straightforward approach. But don't worry, we'll cover all three methods in this guide. So, whether you're a propagation pro or a budding beginner, there's something here for you.
Understanding Stem Cuttings
Stem cuttings involve removing a section of the stem from the parent plant and encouraging it to develop roots. This method is popular because it's simple, effective, and can be done at any time of the year. However, it's best to propagate in the spring or summer when the plant is actively growing.
When taking a stem cutting, look for a healthy stem with several leaf nodes. A node is the point where a leaf or branch attaches to the stem. This is where new roots will emerge. Cut the stem just below a node using a clean, sharp knife or pair of scissors. The cutting should be about 4-6 inches long. Once you've taken your cutting, it's time to coax those roots into action!
Exploring Air Layering
Air layering is a slightly more advanced propagation method, but it's a great option if you want to propagate a larger section of the plant. In this method, a stem is wounded and then wrapped in damp moss to encourage root growth. Once roots have formed, the stem can be cut off and planted.
While air layering takes a bit more time and patience than stem cuttings, it's a fantastic way to create a sizeable new plant in a relatively short period. Plus, it's a great conversation starter. Who doesn't love the sight of a plant wrapped in moss, sprouting roots in mid-air?
Delving into Division
Division is the process of separating a plant into two or more parts, each with its roots and shoots. This method is typically used for Dracaena plants that have multiple stems growing from the same root system. While division can be a bit more labor-intensive than the other methods, it's a great way to quickly multiply your Dracaena collection.
When dividing a Dracaena plant, it's important to be gentle and take your time. The roots can be quite entangled, and you don't want to cause unnecessary damage. Once you've successfully divided the plant, each section can be potted up and cared for as a separate plant.
Step-by-Step Guide to Propagating Dracaena
Now that we've covered the basics, it's time to roll up our sleeves and get to work. Here's a step-by-step guide to propagating Dracaena plants using stem cuttings. Don't worry, we've made it as simple as possible. Even if you've never propagated a plant before, you'll be a pro in no time!
- Choose a healthy stem with several leaf nodes. Cut the stem just below a node using a clean, sharp knife or pair of scissors. The cutting should be about 4-6 inches long.
- Remove the leaves from the lower half of the cutting. This will prevent them from rotting when you plant the cutting.
- Dip the cut end of the stem in rooting hormone. This step is optional, but it can help speed up the rooting process.
- Plant the cutting in a pot filled with well-draining potting mix. The cut end should be about 1-2 inches deep in the soil.
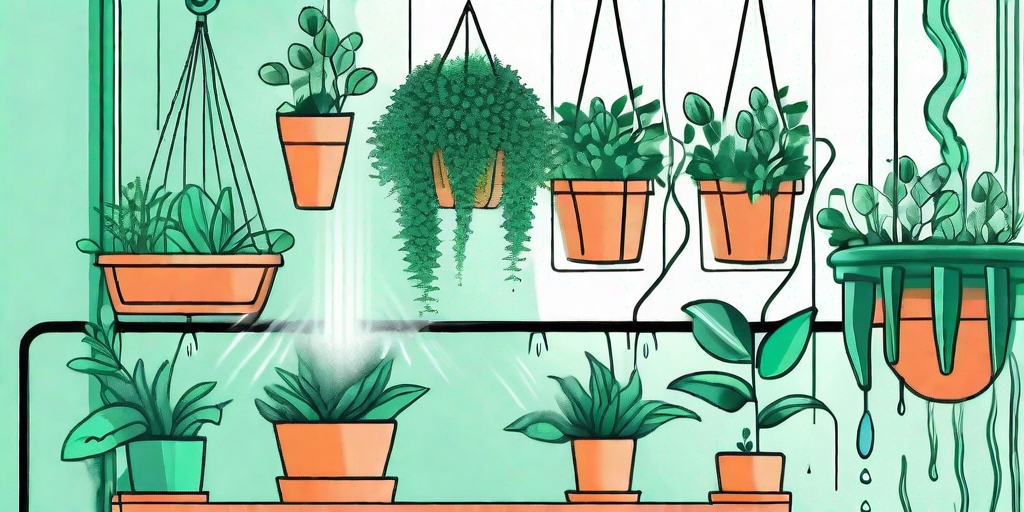
- Water the cutting thoroughly and place it in a warm, bright location. Avoid direct sunlight, as it can scorch the leaves.
- Keep the soil slightly moist, but not waterlogged. In a few weeks, your cutting should start to develop roots and new growth.
FAQs
How long does it take for a Dracaena cutting to root?
Patience is key when it comes to propagation. It typically takes a few weeks for a Dracaena cutting to root. However, it can sometimes take longer, depending on the conditions. Just keep the soil slightly moist and give your cutting plenty of light, and it should eventually root.
Can I propagate Dracaena in water?
Absolutely! Propagating Dracaena in water is a fun and easy way to multiply your plant collection. Simply place your stem cutting in a jar of water, making sure the cut end is submerged. Change the water every few days to prevent bacteria growth. Once roots have formed, you can plant your cutting in soil.
Why is my Dracaena cutting not rooting?
There could be several reasons why your Dracaena cutting is not rooting. It could be that the cutting is not getting enough light, or the soil is either too dry or too wet. It could also be that the cutting was taken from a sick or stressed plant. If your cutting is not rooting, try adjusting the conditions and give it some more time.
Final Thoughts
And there you have it, folks! The art of propagating Dracaena plants. With a little patience and care, you can easily multiply your Dracaena collection and fill your home with these beautiful, air-purifying plants. So, what are you waiting for? Grab your gardening gloves and get propagating!
Remember, propagation is as much an art as it is a science. Don't be disheartened if your first few attempts don't work out. Keep trying, learn from your mistakes, and most importantly, have fun with it. After all, gardening is all about enjoying the journey, not just the destination. Happy propagating!