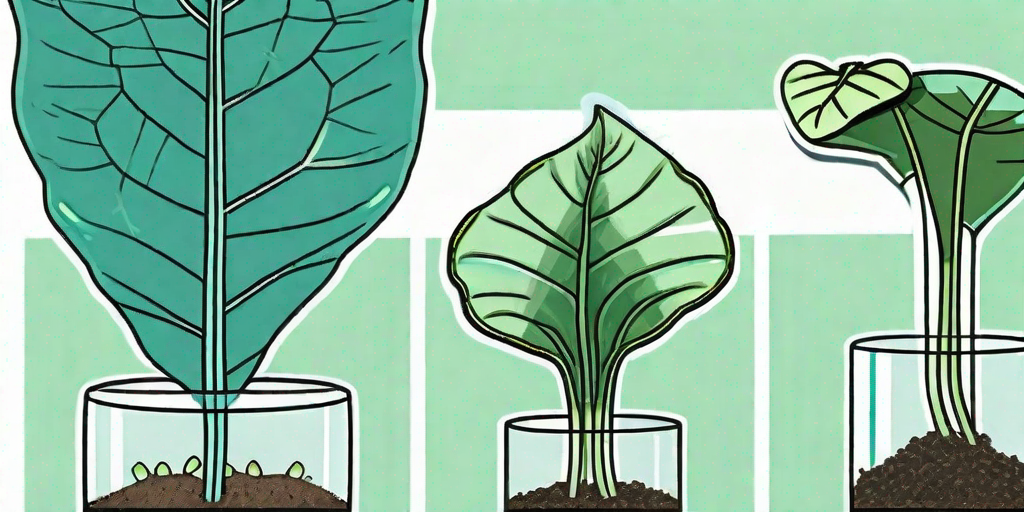
Welcome to the wonderful world of Alocasia propagation, where the green thumbs rule and the plant babies are aplenty. If you're reading this, chances are you're an Alocasia enthusiast, a plant parent, or someone who's been bitten by the green bug. Don't worry, we're all friends here. Let's dive into the nitty-gritty of Alocasia propagation, shall we?
Understanding Alocasia Propagation
Before we get our hands dirty, let's first understand what Alocasia propagation is all about. In layman's terms, propagation is the process of creating new plants from the parts of existing ones. It's like magic, but with more dirt and less abracadabra.
With Alocasias, propagation is usually done through division, which is a fancy way of saying "splitting the plant into smaller parts". It's a bit like breaking a chocolate bar into pieces, only you're dealing with a living thing and not a snack. So, no eating, okay?
Why Propagate Alocasias?
Well, why not? Propagation not only helps you expand your Alocasia family without spending a dime, but it also gives you the chance to share the joy of plant parenthood with your friends and family. Plus, it's a great way to save a struggling plant from the brink of death. Talk about a win-win-win situation!
But remember, with great power comes great responsibility. Propagation is not a task to be taken lightly. It requires patience, care, and a bit of botany knowledge. But don't worry, we've got you covered.
The Art of Alocasia Propagation
Now that we've covered the basics, let's get down to business. Here's a step-by-step guide to propagating your Alocasia like a pro.
Step 1: Choose the Right Plant
Not all Alocasias are created equal. Some are more suitable for propagation than others. Look for a healthy, mature plant with plenty of leaves and a strong root system. If your plant looks like it's on its last leaf, it might not be the best candidate for propagation.
Also, remember to choose a plant that you're willing to part with, at least temporarily. Propagation can be a bit traumatic for the parent plant, so make sure it's one you're okay with potentially losing.
Step 2: Prepare Your Tools
You'll need a sharp, clean knife or pair of scissors, a pot with drainage holes, and some well-draining potting mix. Make sure your tools are clean to prevent the spread of diseases. And please, for the love of all things green, don't use your kitchen knife. Your Alocasia deserves better.
Step 3: Divide and Conquer
Now comes the fun part. Carefully remove the parent plant from its pot and gently separate the roots. Look for natural divisions in the root ball and use your knife or scissors to cut through them. Each division should have at least one leaf and a few roots.
Once you've made your divisions, plant them in their new pots and water them thoroughly. Then, place them in a warm, bright spot and wait for the magic to happen.
Common Mistakes to Avoid
Propagation is not without its pitfalls. Here are some common mistakes to avoid when propagating your Alocasia.
Overwatering
While it's important to keep your newly propagated Alocasias well-watered, too much of a good thing can be harmful. Overwatering can lead to root rot, which is a death sentence for most plants. So, water wisely.
Using the Wrong Soil
Alocasias prefer well-draining soil, so avoid using heavy, water-retaining soils. A good rule of thumb is to use a mix of peat moss, perlite, and compost. Your Alocasia will thank you for it.
FAQs
When is the best time to propagate Alocasias?
The best time to propagate Alocasias is in the spring or early summer, when the plant is in its active growing phase. This gives the new plants plenty of time to establish themselves before the colder months set in.
How long does it take for a propagated Alocasia to grow roots?
It can take anywhere from a few weeks to a few months for a propagated Alocasia to grow roots. Patience is key here.
Can I propagate an Alocasia from a leaf?
While it's possible to propagate some plants from a leaf, Alocasias are not one of them. They require a piece of the root ball to successfully propagate.
Conclusion
And there you have it, folks! The ultimate guide to propagating your Alocasia. Remember, propagation is a labor of love, so don't be disheartened if your first few attempts don't go as planned. Keep trying, keep learning, and most importantly, keep growing.
Now, go forth and propagate!


