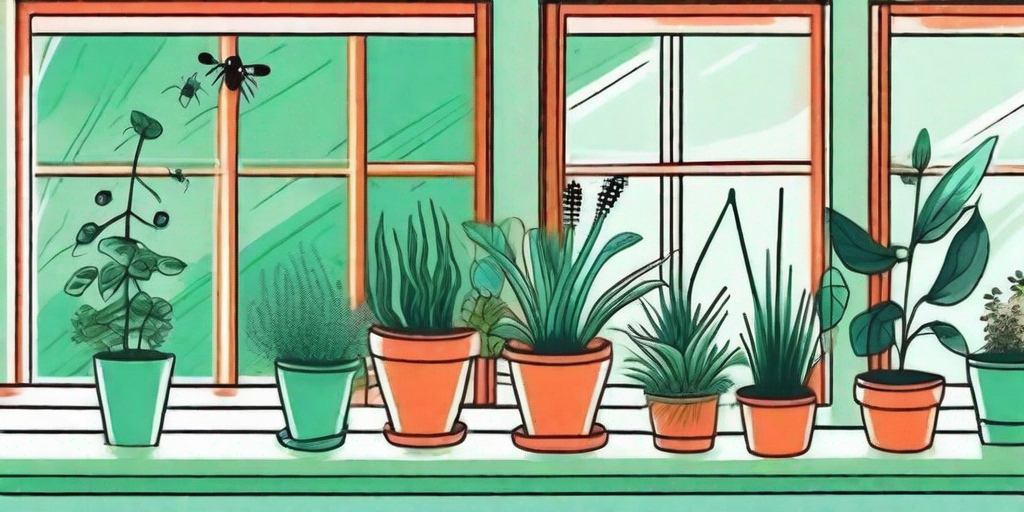
Welcome to the world of indoor gardening, where the air is always fresh, the greenery is always lush, and the spiders are...plants? That's right, we're talking about the spider plant, a delightful houseplant that's as easy to grow as it is to love. But before you start picturing eight-legged critters crawling around your living room, let's clarify: the spider plant gets its name from its long, arching leaves that resemble spider legs. Now that we've got that out of the way, let's dive into the nitty-gritty of spider plant seed planting.
Understanding the Spider Plant
First things first, it's important to understand what you're dealing with. The spider plant, also known as Chlorophytum comosum, is a native of tropical and southern Africa. It's a perennial herb that's known for its ability to survive in a variety of conditions, making it a popular choice for indoor gardening.
Spider plants are known for their air-purifying qualities. They can absorb harmful toxins from the air, making them not just a pretty face, but a functional addition to your home. Plus, they're non-toxic to pets, so your furry friends can safely coexist with your greenery.
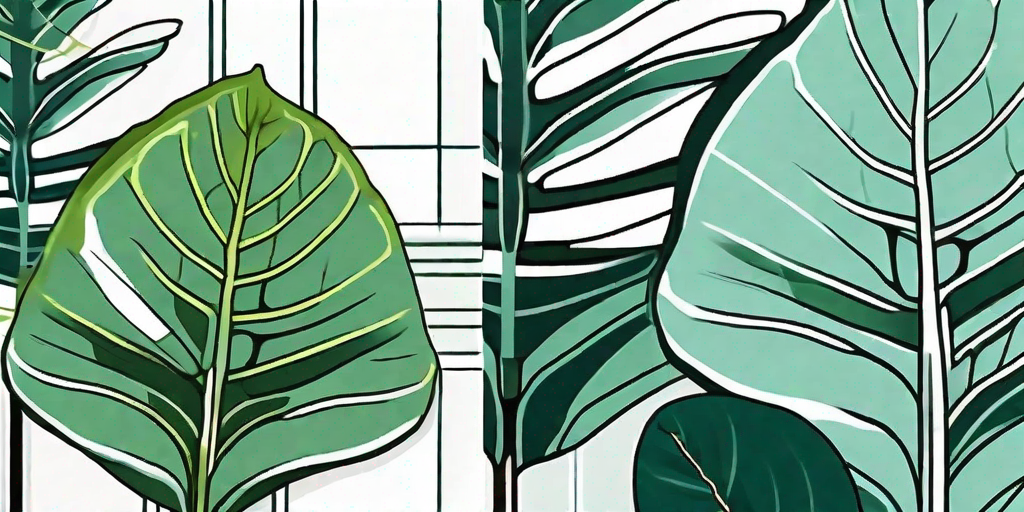
The Anatomy of a Spider Plant
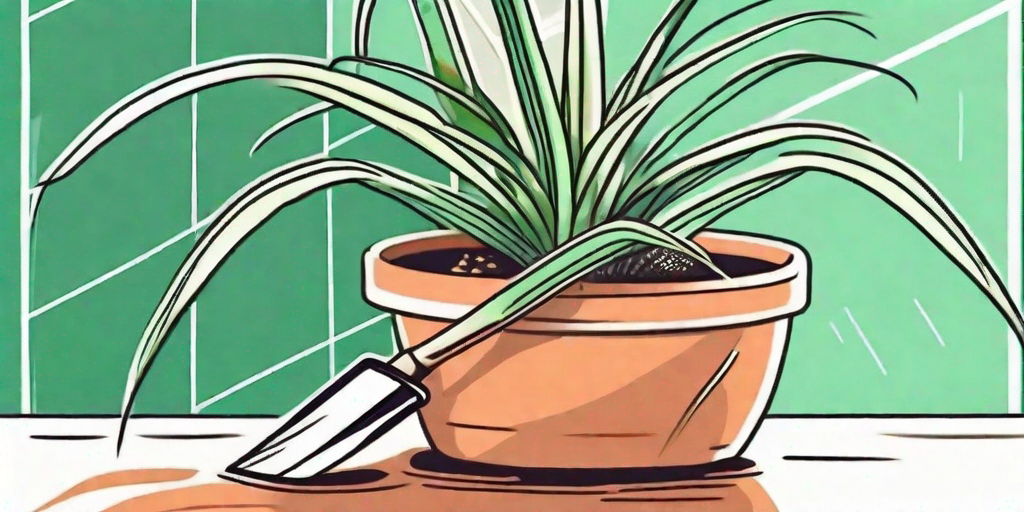
Spider plants have a rosette of long, slender leaves that can grow up to 12 inches long. The leaves are green with white or yellow stripes running down the middle. The plant produces small, white flowers on long, drooping stems, which eventually develop into baby spider plants, or "spiderettes".
Spiderettes are a unique feature of spider plants. They're essentially mini versions of the parent plant that can be used to propagate new plants. But for those who prefer to do things the old-fashioned way, spider plants also produce seeds. These seeds are found in the small, berry-like fruits that develop after the flowers have been pollinated.
Planting Spider Plant Seeds: A Step-by-Step Guide
Now that you're familiar with the spider plant, it's time to get your hands dirty. Planting spider plant seeds is a straightforward process, but it does require a bit of patience. Here's a step-by-step guide to help you along the way.
Step 1: Gather Your Supplies
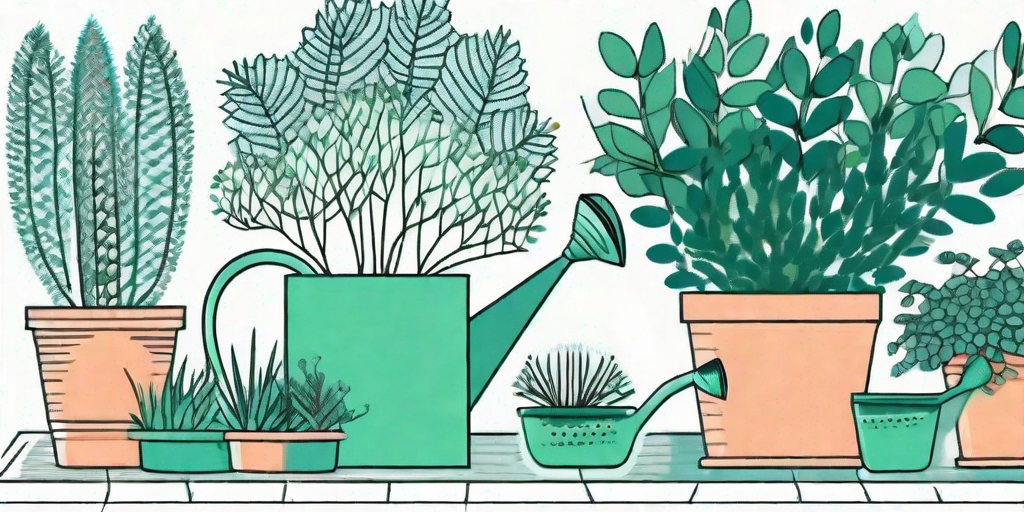
You'll need a few things to get started: spider plant seeds, a pot with drainage holes, potting soil, water, and a sunny window. If you don't have spider plant seeds, you can usually find them online or at a local garden center.
When choosing a pot, make sure it's big enough to accommodate the growth of the spider plant. Spider plants have a tendency to become root-bound, so a larger pot can help prevent this. As for the soil, any well-draining potting mix will do.
Step 2: Plant the Seeds
Fill your pot with soil, leaving about an inch of space at the top. Place the spider plant seeds on the surface of the soil, spacing them about an inch apart. Then, lightly cover the seeds with a thin layer of soil.
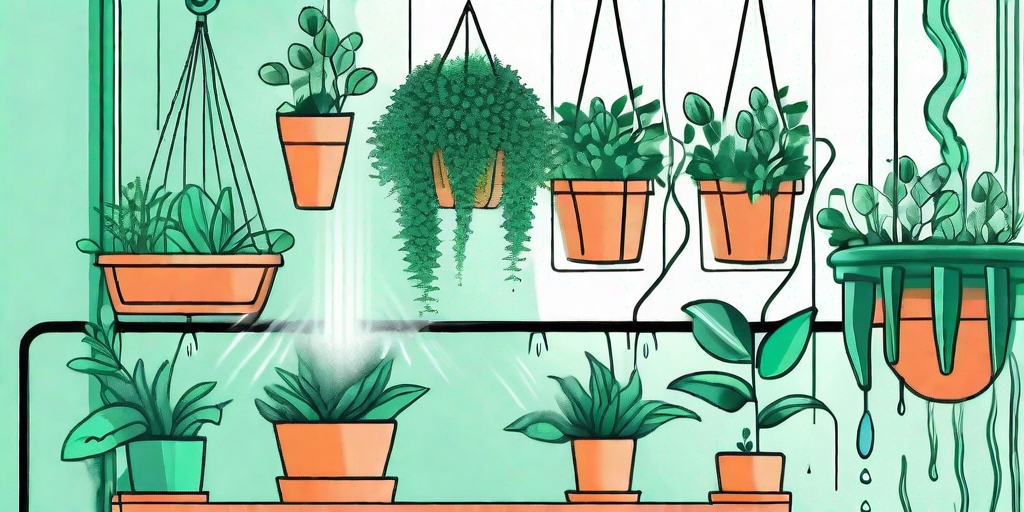
Water the seeds thoroughly, but be careful not to overwater. The soil should be moist, but not soggy. Place the pot in a sunny window where it can receive plenty of indirect light.
Step 3: Wait for Germination
This is the part where patience comes into play. Spider plant seeds can take anywhere from two weeks to a month to germinate. During this time, it's important to keep the soil moist and ensure the plant is receiving enough light.
Once the seeds have sprouted, continue to care for the plant by watering regularly and providing plenty of light. With the right care, your spider plant should start producing its characteristic long, arching leaves in no time.
FAQs About Spider Plant Seed Planting
Now that you're a budding spider plant expert, let's tackle some frequently asked questions about spider plant seed planting.
Can I use spiderettes to propagate new plants?
Absolutely! Spiderettes are an easy and effective way to propagate new spider plants. Simply cut off a spiderette, place it in a pot with soil, and wait for it to take root. It's as easy as pie, and just as satisfying.
How often should I water my spider plant?
Spider plants prefer their soil to dry out a bit between waterings, so a good rule of thumb is to water once a week. However, this can vary depending on the conditions in your home. If the leaves start to turn brown or crispy, it's a sign that the plant is not getting enough water.
Do spider plants need a lot of light?
Spider plants do well in bright, indirect light, but they can also tolerate lower light conditions. However, if you notice the leaves becoming pale or the plant not producing new growth, it might be a sign that it needs more light.
Final Thoughts
There you have it, a comprehensive guide to growing your own spider plant from seed. With a bit of patience and the right care, you'll have a lush, air-purifying plant that's sure to be the envy of all your houseplant-loving friends. So why wait? Start your spider plant journey today and watch as your green thumb grows along with your plant.
And remember, the only spiders you'll be dealing with are the leafy kind. So, no need to keep that rolled-up newspaper handy. Happy planting!