Welcome, green-thumbed friends and plant enthusiasts! If you're here, it's probably because your spider plant is looking a little... well, less than lively. But don't worry! We're here to help you turn that droopy, sad-looking greenery into a thriving, vibrant companion. So, put on your gardening gloves, grab your potting soil, and let's get to work!
Understanding Your Spider Plant
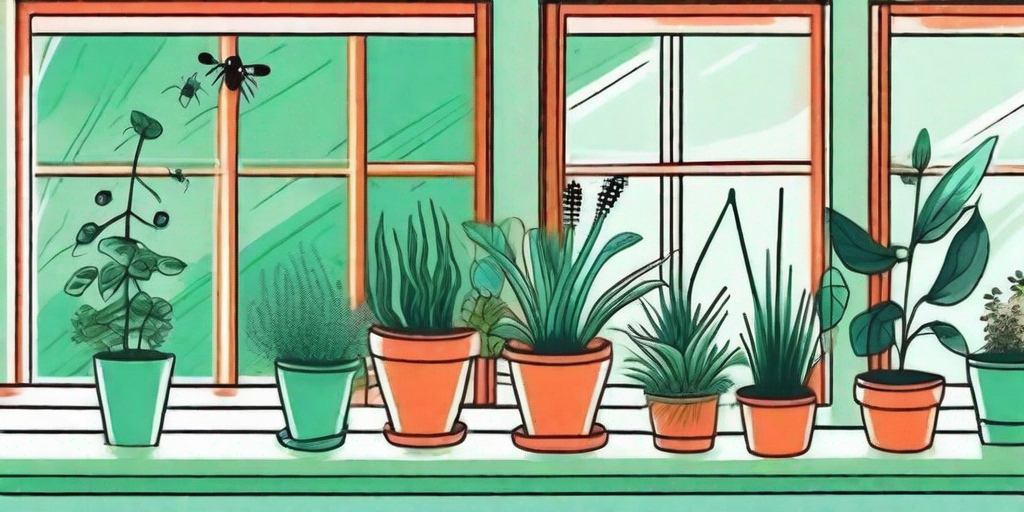
Before we dive into the nitty-gritty of repotting, it's essential to understand what makes your spider plant tick. Or photosynthesize, to be more accurate. Spider plants, also known as Chlorophytum comosum, are native to tropical and southern Africa. They're known for their long, arching leaves and their ability to produce "spiderettes" or "pups" - small, clone plants that dangle from the mother plant like spiders on a web.
Spider plants are hardy and adaptable, making them a favorite among both novice and seasoned plant owners. However, they can still suffer from common plant problems like overwatering, under watering, and inadequate light. But the most common issue? A pot that's too small for their root system.
Signs Your Spider Plant Needs Repotting
So, how do you know if your spider plant needs a new home? Here are a few tell-tale signs:
- Roots are growing through the drainage holes
- Plant is top-heavy and keeps tipping over
- Plant has stopped growing or is growing very slowly
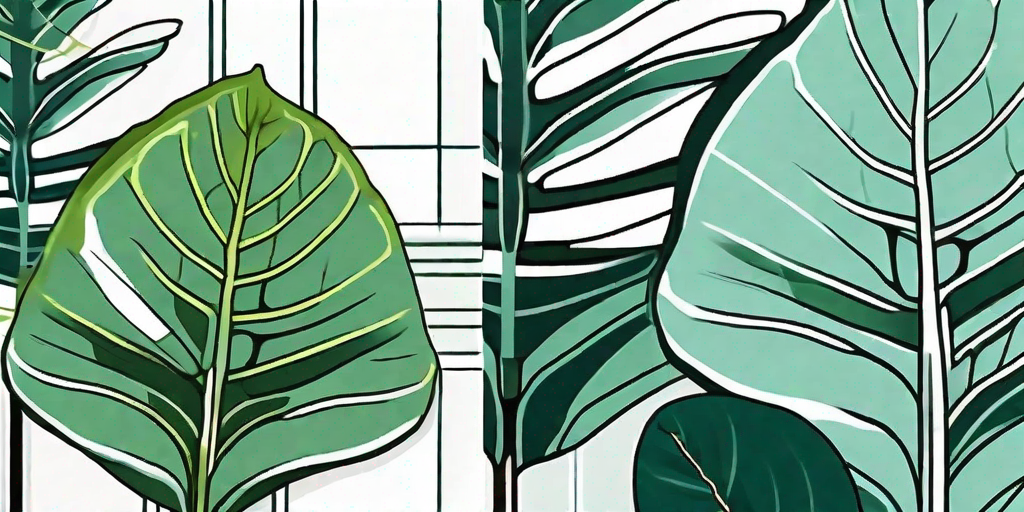
- Leaves are yellowing or browning
If your spider plant is showing any of these signs, it's time to roll up your sleeves and get repotting!
How to Repot Your Spider Plant
Step 1: Choose the Right Pot
When it comes to choosing a pot for your spider plant, size matters. The new pot should be 1-2 inches larger in diameter than the current one. This gives the roots room to grow without being too spacious. Also, make sure the pot has good drainage to prevent waterlogged roots.
Material-wise, ceramic or terracotta pots are excellent choices as they allow the soil to breathe, reducing the risk of overwatering. However, plastic pots can also work if you're on a budget or prefer a lighter option.
Step 2: Prepare the Pot
Once you've chosen the perfect pot, it's time to prepare it for your spider plant. First, cover the drainage hole with a piece of broken pottery or a coffee filter to prevent soil from escaping. Then, fill the pot about one-third of the way with a well-draining potting mix. You can buy a pre-made mix or make your own by combining equal parts peat moss, perlite, and compost.
Step 3: Remove the Spider Plant from Its Current Pot
This step can be a bit tricky, especially if the plant is root-bound. To remove the spider plant, gently tip the pot sideways and ease the plant out. If it's stuck, you can use a butter knife to loosen the soil around the edges. Remember, be gentle! You don't want to damage the roots.
Step 4: Place the Spider Plant in the New Pot
Now, place your spider plant in the new pot, making sure it's centered. The top of the root ball should be about 1 inch below the rim of the pot. This allows room for watering without overflow.
Step 5: Fill the Pot with Soil and Water Thoroughly
Fill the rest of the pot with your potting mix, pressing it down lightly to remove any air pockets. Then, water the plant thoroughly until water runs out of the drainage holes. This helps the soil settle around the roots.
Post-Repotting Care
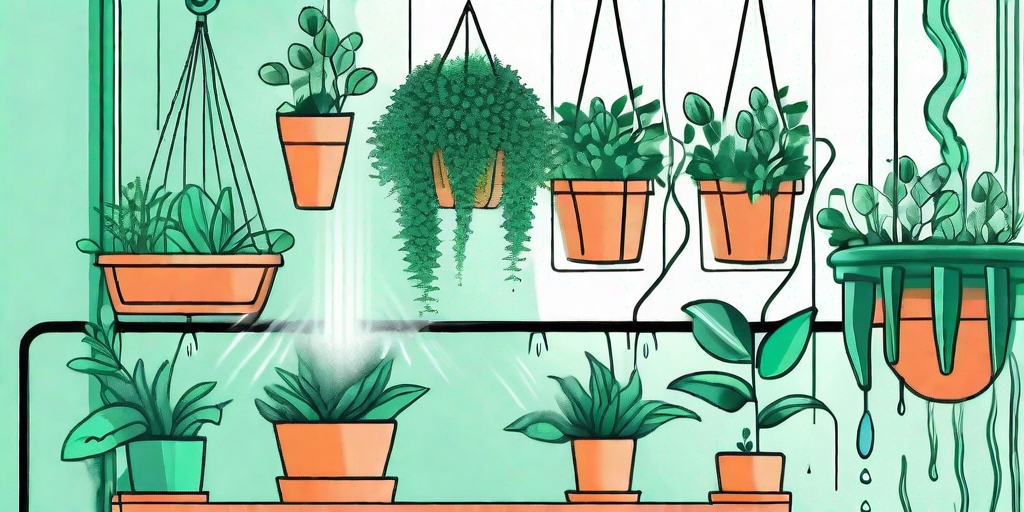
After repotting, place your spider plant in a bright, indirect light and continue with your regular watering routine. It's normal for the plant to look a little droopy or stressed after repotting, but it should perk up within a week or so.
If the leaves start to turn yellow or brown, this could be a sign of overwatering. Remember, spider plants prefer to dry out slightly between waterings. So, when in doubt, it's better to underwater than overwater.
FAQs
How often should I repot my spider plant?
Generally, spider plants should be repotted every 1-2 years. However, if your plant is growing rapidly or showing signs of being root-bound, you may need to repot sooner.
Can I repot a spider plant with babies?
Absolutely! In fact, repotting is a great time to remove and pot up the spiderettes. Just make sure to handle them gently to avoid damaging the roots.
What should I do if my spider plant is still droopy after repotting?
If your spider plant is still looking sad a week or two after repotting, it may be dealing with a different issue, like overwatering, under watering, or inadequate light. Try adjusting these factors and see if your plant perks up.
Conclusion
And there you have it, folks! The ultimate guide to repotting your spider plant. With a little TLC and the right potting conditions, your spider plant will be back to its vibrant, thriving self in no time. So, go forth and repot! Your spider plant is counting on you.