Ah, the ZZ plant. The Zamioculcas zamiifolia, or "Zanzibar Gem" as it's sometimes called, is a hardy, low-maintenance indoor plant that can survive in almost any environment. But even the most resilient of plants can use a little TLC now and then. And by TLC, we mean repotting. Yes, you heard it right, folks! It's time to get your hands dirty and give your ZZ plant a new lease on life.
Understanding Your ZZ Plant
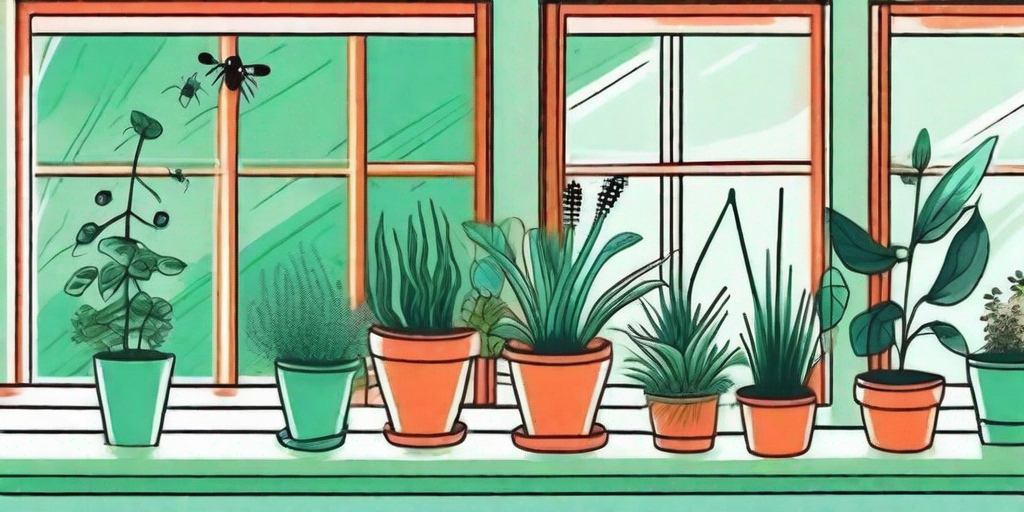
Before we dive into the nitty-gritty of repotting, let's take a moment to appreciate the wonder that is the ZZ plant. This tropical perennial is native to Eastern Africa and is known for its glossy, dark green leaves. It's a slow grower, but with the right care, it can reach up to 3 feet in height. Not too shabby for a houseplant, eh?
One of the reasons why the ZZ plant is a favorite among indoor gardeners is its ability to tolerate neglect. It can survive in low light conditions and doesn't require frequent watering. In fact, overwatering is one of the few things that can actually harm this plant. But don't let its hardiness fool you. Even the ZZ plant can benefit from a good repotting session.
The Art of Repotting
Repotting might sound like a daunting task, especially if you're new to the world of indoor gardening. But fear not! We're here to guide you through the process. And who knows? You might even find it therapeutic.
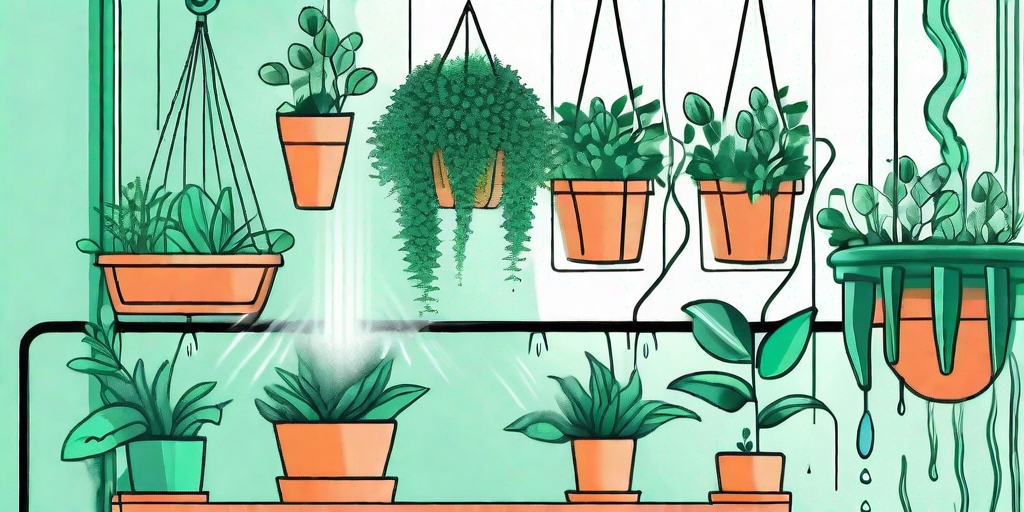
So, why repot? Well, repotting is essential for the health and growth of your plant. It provides your plant with fresh soil, gives its roots more room to grow, and can help prevent root rot and other diseases. Plus, it's a great way to show your plant some love.
When to Repot
Knowing when to repot your ZZ plant is crucial. As a rule of thumb, it's best to repot your plant every 18-24 months. However, if your plant is growing rapidly or its roots are starting to peek out of the drainage hole, it might be time for a change of scenery.
Another sign that your plant is ready for repotting is when the soil dries out quickly after watering. This could mean that your plant's roots have taken up most of the pot, leaving little room for water and nutrients. But remember, it's always better to repot too late than too early. The ZZ plant prefers to be a bit root-bound and won't appreciate being disturbed unnecessarily.
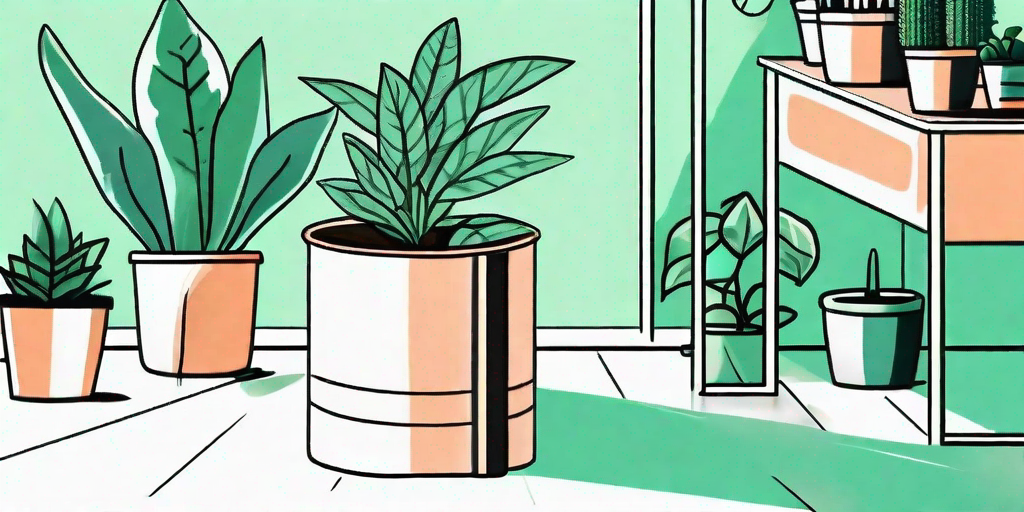
Choosing the Right Pot
When it comes to choosing a pot for your ZZ plant, size and material matter. You'll want to choose a pot that's 1-2 inches larger in diameter than the current one. This will give your plant's roots enough room to grow without overwhelming them.
As for the material, terracotta pots are a great choice. They're breathable, which helps prevent overwatering and root rot. Plus, they're sturdy enough to support your plant's growth. But if you're feeling adventurous, you can always opt for a decorative pot. Just make sure it has drainage holes!
Step-by-Step Guide to Repotting
Alright, enough chit-chat. Let's get down to business. Here's a step-by-step guide on how to repot your ZZ plant:
- Prepare your new pot by filling it with a high-quality potting mix. Make sure the soil is well-draining to prevent waterlogging.
- Remove your ZZ plant from its current pot. Be gentle! You don't want to damage the roots.
- Inspect the roots for any signs of disease or rot. If you see any, trim them off with a clean pair of scissors.
- Place your plant in the new pot and fill it with more soil. Make sure the plant is at the same depth as it was in the old pot.
- Water your plant thoroughly and place it in a bright, indirect light.
And voila! You've successfully repotted your ZZ plant. Give yourself a pat on the back. You've earned it.
Post-Repotting Care
Now that you've repotted your ZZ plant, it's time to focus on post-repotting care. This is just as important as the repotting process itself.
After repotting, your plant might go through a period of shock. This is normal. It might drop a few leaves or stop growing for a while. But don't worry. With the right care, it will bounce back in no time.
Here are some tips for post-repotting care:
- Water sparingly. The ZZ plant doesn't like wet feet. Wait until the top inch of soil is dry before watering.
- Provide bright, indirect light. Too much direct sunlight can scorch the leaves.
- Be patient. It might take a while for your plant to adjust to its new home. But once it does, it will reward you with lush, green growth.
FAQs
Why is my ZZ plant dropping leaves after repotting?
Don't panic! It's normal for plants to drop a few leaves after repotting. This is a sign of transplant shock. Give your plant some time to adjust to its new environment. If the leaf drop continues for more than a few weeks, it might be a sign of overwatering or insufficient light.
Can I propagate my ZZ plant during repotting?
Absolutely! The ZZ plant is easy to propagate. Simply cut off a leaf or stem, let it dry for a few days, and then plant it in a pot with fresh soil. Keep the soil slightly moist and wait for roots to develop. It might take a while, but the wait will be worth it.
How often should I fertilize my ZZ plant?
The ZZ plant isn't a heavy feeder, so you don't need to fertilize it often. Once or twice a year should be enough. Use a balanced, water-soluble fertilizer and follow the package instructions. Remember, less is more when it comes to fertilizing your ZZ plant.
And there you have it! The ultimate guide to repotting your ZZ plant. With a little bit of patience and a lot of love, you can help your ZZ plant thrive and become the star of your indoor garden. So, what are you waiting for? Grab your gardening gloves and start repotting!