Ah, the humble Aloe Vera, a plant that's as forgiving as your grandmother when you accidentally forget her birthday. But even this hardy succulent has its limits. If you've noticed your Aloe Vera looking a little under the weather, it might be time for a change of scenery. And by scenery, we mean pot. In this comprehensive guide, we'll walk you through the process of repotting your Aloe Vera, ensuring it thrives for years to come.
Understanding Your Aloe Vera
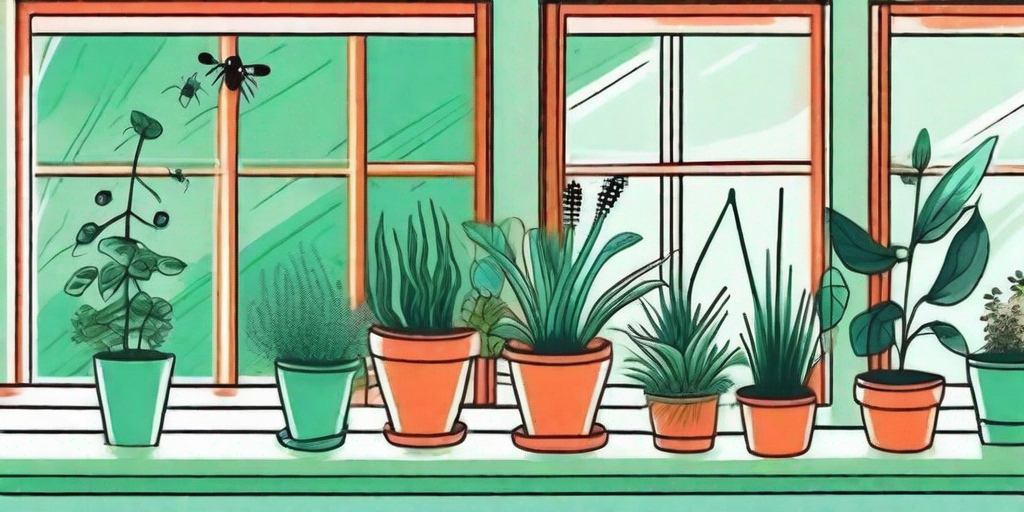
Before we dive into the nitty-gritty of repotting, let's take a moment to understand our green friend. Aloe Vera is a succulent, and like all succulents, it's a master of water conservation. This makes it a great choice for those of us who are a little forgetful when it comes to watering. However, this also means that it's particularly sensitive to overwatering and poor drainage, which can lead to root rot.
Another key characteristic of Aloe Vera is its growth pattern. It grows outward from the center, producing new leaves from the middle while the older, outer leaves gradually die off. This is completely normal, but if you notice the center leaves wilting or turning brown, it's a sign that something's amiss.
When to Repot Your Aloe Vera
Now that we understand our plant a little better, let's talk about when it's time to repot. The most obvious sign is when your Aloe Vera starts to look like it's trying to escape from its pot. If the roots are poking out of the drainage holes or the plant is top-heavy and unstable, it's definitely time for a bigger pot.
Another sign is if the plant is not growing as expected. Aloe Vera should produce new leaves regularly. If growth has slowed or stopped, it could be a sign that the plant is root-bound and needs more space to spread out.
Choosing the Right Pot
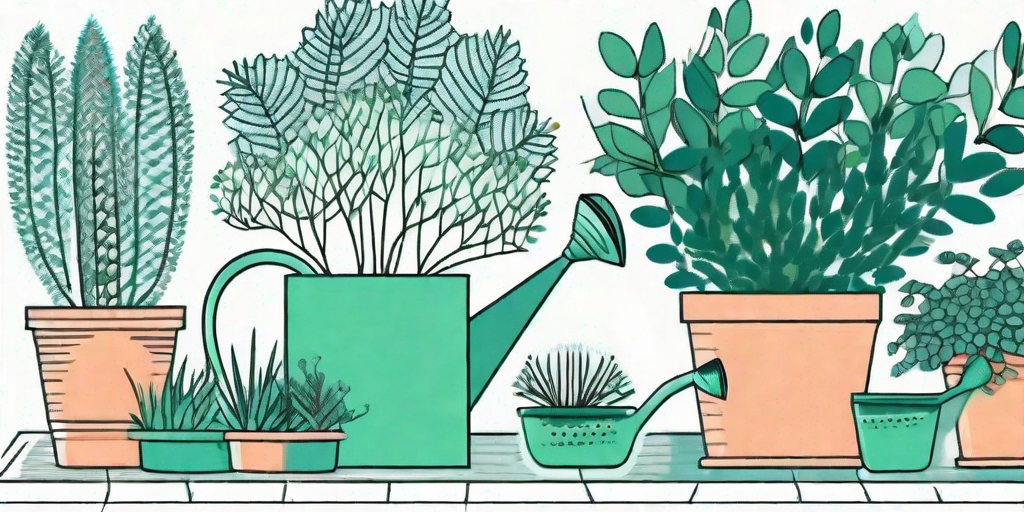
Choosing a new home for your Aloe Vera is a bit like choosing a new pair of shoes. It needs to be the right size, provide good support, and of course, look fabulous. The pot should be slightly larger than the current one, but not too big. Remember, Aloe Vera likes to be cozy. A pot that's too large will hold excess water and could lead to root rot.
The material of the pot is also important. Terracotta is a great choice as it's porous and allows the soil to dry out between waterings. Plastic pots are also an option, but you'll need to be extra careful not to overwater.
How to Repot Your Aloe Vera
Step 1: Remove the Aloe Vera from its Current Pot
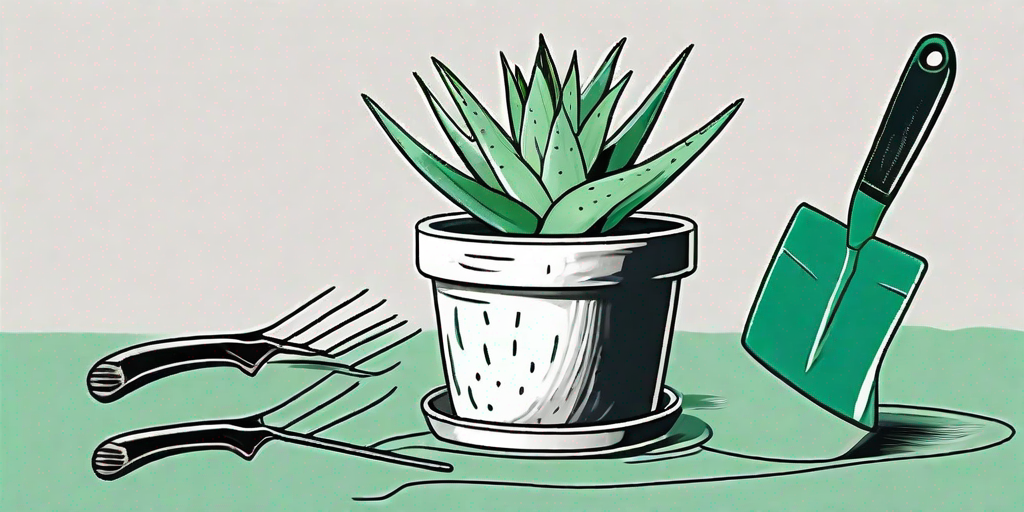
First things first, you'll need to remove your Aloe Vera from its current pot. This can be a bit tricky, especially if the plant is root-bound. We recommend wearing gloves to protect your hands from the spiky leaves. Gently squeeze the pot to loosen the soil and carefully lift the plant out.
Step 2: Prepare the New Pot
Next, prepare the new pot. Add a layer of potting mix designed for succulents and cacti. This type of mix drains well, which is crucial for preventing root rot. You can also add some perlite or coarse sand to improve drainage.
Step 3: Plant the Aloe Vera
Now it's time to plant your Aloe Vera in its new home. Place the plant in the center of the pot and gently spread out the roots. Then, add more potting mix, making sure to cover the roots but not the base of the plant.
Step 4: Aftercare
After repotting, give your Aloe Vera a good drink and place it in a bright spot out of direct sunlight. It's normal for the plant to look a little stressed after repotting, but it should recover within a few weeks.
Common Questions About Repotting Aloe Vera
How often should I repot my Aloe Vera?
As a rule of thumb, Aloe Vera should be repotted every 2-3 years. However, if your plant is growing rapidly or showing signs of distress, it may need to be repotted sooner.
Can I use regular potting soil for my Aloe Vera?
While Aloe Vera isn't overly picky about its soil, it does prefer a well-draining mix. Regular potting soil tends to retain water, which can lead to root rot. We recommend using a mix designed for succulents and cacti, or making your own by adding perlite or coarse sand to regular potting soil.
What should I do if my Aloe Vera has root rot?
If your Aloe Vera has root rot, don't panic. Remove the plant from its pot and cut off any brown, mushy roots. Then, let the plant dry out for a few days before repotting it in fresh, well-draining soil.
Conclusion
And there you have it, folks! With a little TLC and a new pot, your Aloe Vera will be back to its thriving, vibrant self in no time. Remember, plants are a bit like pets - they rely on us for their care and wellbeing. So, let's show our Aloe Vera some love and give it the home it deserves.