Ah, the Norfolk Pine. A tree that's as stubborn as a mule, yet as charming as a kitten. If you've found yourself in a bit of a pickle with your Norfolk Pine, fret not. This guide is here to help you navigate the tricky world of repotting this indoor tree. So, let's roll up our sleeves, put on our gardening gloves, and get down to business.
Understanding Your Norfolk Pine
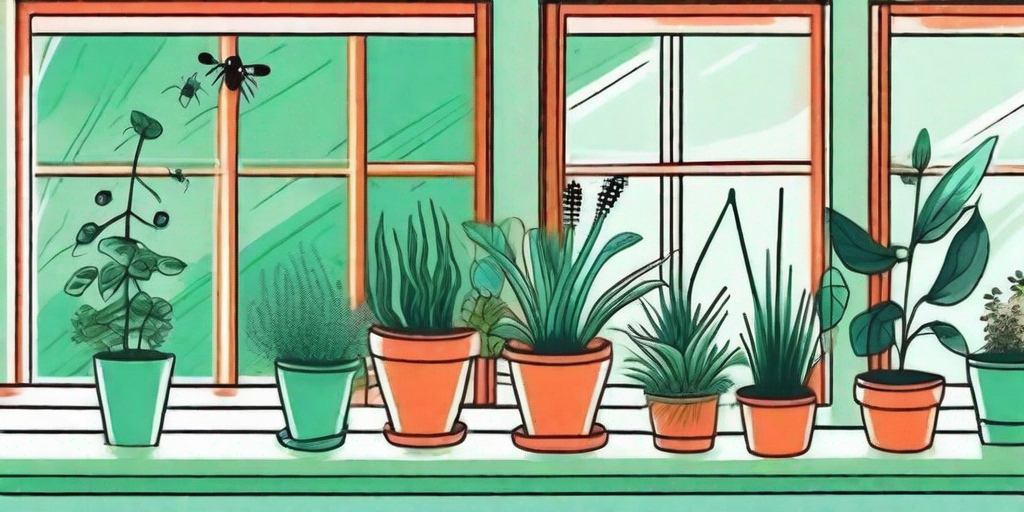
Before we dive into the repotting process, it's essential to understand what makes your Norfolk Pine tick. This tree is a bit of a diva, with specific needs and wants. It's native to Norfolk Island (hence the name), a small island in the Pacific Ocean. It loves bright, indirect light and high humidity. But don't let its high-maintenance nature scare you off. With a little TLC, your Norfolk Pine can thrive.
One of the most common issues that Norfolk Pine owners face is browning or yellowing needles. This can be caused by a variety of factors, including overwatering, underwatering, or a lack of humidity. However, one of the most overlooked causes is a cramped root system. That's right, your Norfolk Pine might just be begging for a new home. And that's where repotting comes in.
The Art of Repotting
Repotting a Norfolk Pine isn't rocket science, but it does require a bit of finesse. The goal is to give the tree more room to grow while minimizing stress. It's a bit like moving house. You want to make the transition as smooth as possible, without losing any of your precious belongings (or in this case, roots).
Before we get into the nitty-gritty, it's important to note that timing is everything. The best time to repot a Norfolk Pine is in the spring, when the tree is in its active growth phase. This gives it plenty of time to settle into its new home before the slower growth period in the winter.
Materials Needed
Before you start, make sure you have all the necessary materials on hand. You wouldn't bake a cake without all the ingredients, would you? The same principle applies here. Here's what you'll need:
- A new pot: Choose a pot that's 2-3 inches larger in diameter than the current one. Make sure it has drainage holes to prevent waterlogging.
- Potting soil: Opt for a well-draining soil mix. You can buy a pre-made mix or make your own with equal parts peat moss, perlite, and pine bark.
- A tarp or newspaper: Repotting can get messy. Lay down a tarp or newspaper to make cleanup easier.
- A pair of sharp scissors: You might need to trim off any dead or damaged roots.
Step-by-Step Guide
- First, water your Norfolk Pine. This will make it easier to remove from the pot and minimize root damage.
- Next, lay down your tarp or newspaper and place the pot on top. Gently tip the pot sideways and ease the tree out. If it's stubborn, you can tap the sides or bottom of the pot to loosen it.
- Once the tree is out, inspect the root ball. Trim off any dead or damaged roots with your sharp scissors.
- Place some potting soil in the bottom of the new pot. Position the tree in the center of the pot and add more soil around the sides, pressing down gently to eliminate air pockets.
- Water the tree thoroughly and place it in a bright, indirectly lit spot. Avoid moving the tree around too much for the next few weeks to minimize stress.
Post-Repotting Care
After repotting, your Norfolk Pine might go through a bit of a 'shock' period. This is normal and nothing to worry about. Just like us, trees need some time to adjust to new surroundings. You might notice some drooping or yellowing needles, but these should perk up after a few weeks.
During this adjustment period, it's crucial to provide optimal care. Continue to water the tree when the top inch of soil feels dry, and mist it regularly to increase humidity. Avoid fertilizing for a few weeks to prevent burning the roots.
Frequently Asked Questions
Why is my Norfolk Pine turning brown after repotting?
It's normal for a Norfolk Pine to show signs of stress after repotting, such as browning needles. This should improve after a few weeks. If the browning persists, it could be a sign of overwatering or a lack of humidity.
How often should I repot my Norfolk Pine?
Generally, Norfolk Pines should be repotted every 2-3 years. However, if your tree is growing rapidly or showing signs of distress, it might need to be repotted sooner.
Can I prune my Norfolk Pine after repotting?
It's best to avoid pruning immediately after repotting, as this can cause additional stress. Wait a few weeks until the tree has adjusted to its new pot before pruning.
There you have it - a comprehensive guide to repotting your Norfolk Pine. With a bit of patience and care, your tree will be thriving in no time. Now, go forth and repot!