The rubber plant, or Ficus elastica if you want to get all scientific about it, is a popular houseplant known for its glossy, leathery leaves and its ability to reach towering heights. But what happens when your rubber plant starts looking a little, well, deflated? Fear not, dear reader, for we have the solution: repotting. In this comprehensive guide, we'll walk you through the process of repotting your rubber plant, step by step, to help it bounce back to life.
Understanding the Rubber Plant
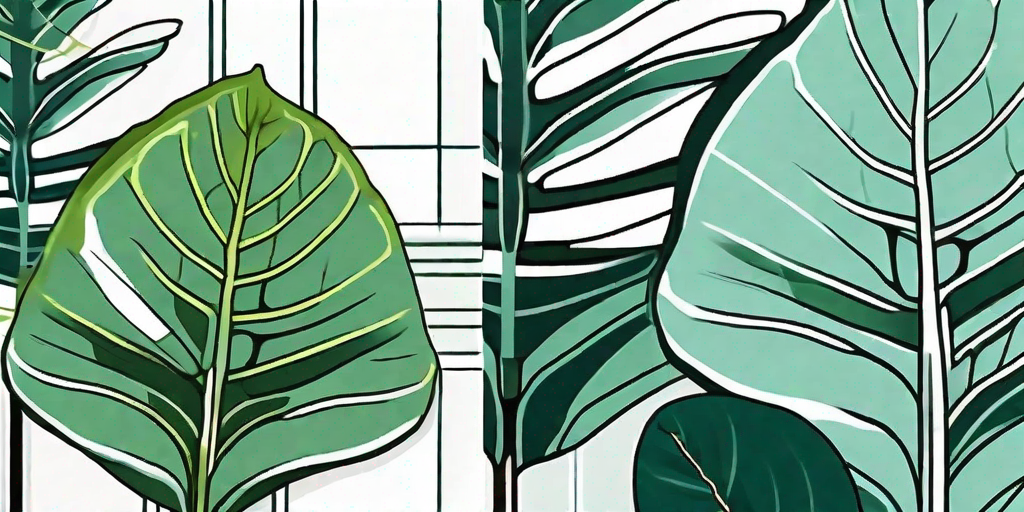
Before we dive into the nitty-gritty of repotting, let's take a moment to understand our green friend a bit better. The rubber plant hails from the tropical regions of India and Malaysia, so it's used to a bit of humidity and indirect sunlight. It's a bit like that friend who loves a good spa day - a bit of pampering goes a long way.
However, the rubber plant is also a bit of a drama queen. Too much water, too little light, or a pot that's too small can all lead to a plant that's less 'tropical paradise' and more 'wilted salad'. That's where repotting comes in. By giving your plant a new home, you can help it thrive.
When to Repot
Now, you might be wondering, "When should I repot my rubber plant?" Well, there are a few tell-tale signs that your plant is ready for a change of scenery. If your plant's leaves are yellowing, if it's dropping leaves like they're going out of fashion, or if its roots are starting to make a break for it out of the drainage hole, it's probably time to repot.
Generally, it's a good idea to repot your rubber plant every couple of years, or when it's outgrown its current pot. But remember, timing is everything. The best time to repot is in the spring or early summer, when the plant is in its growing phase. It's like moving house - it's easier when you're not trying to juggle a million other things at the same time.
How to Repot
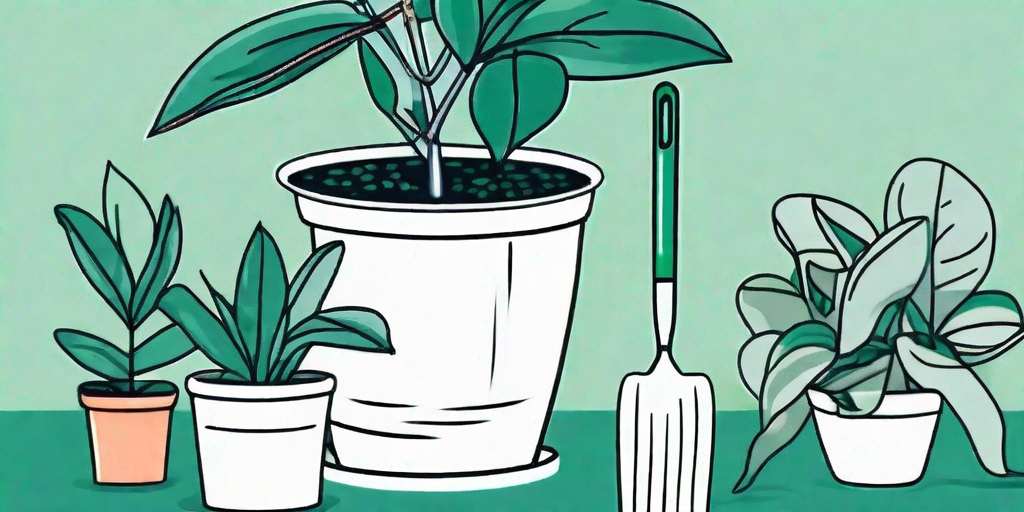
Step 1: Choose the Right Pot
First things first, you'll need a new pot. But not just any pot will do. You'll want to choose a pot that's a couple of inches larger in diameter than your current one. This gives your plant room to grow, but not so much room that it feels lost. It's like upgrading from a studio apartment to a one-bedroom - it's a step up, but not a mansion.
Also, make sure your new pot has good drainage. Rubber plants don't like wet feet, so a pot with a drainage hole is a must. If your pot doesn't have one, you can always make one yourself. Just be careful not to turn your pot into Swiss cheese - one hole should do the trick.
Step 2: Prepare the Pot
Once you've got your pot, it's time to prepare it for your plant. Start by covering the drainage hole with a piece of broken pottery or a coffee filter. This will prevent soil from escaping while still allowing water to drain.
Next, fill the pot about one-third of the way with a good quality potting mix. Look for a mix that's well-draining and contains a bit of perlite or vermiculite for added drainage. Your rubber plant will thank you.
Step 3: Remove the Plant from Its Current Pot
Now comes the fun part: removing your plant from its current pot. This can be a bit tricky, especially if your plant has become root-bound. If your plant is stuck, try gently squeezing the sides of the pot to loosen the soil. If all else fails, you can always cut the pot away, but be careful not to damage the roots.
Once you've freed your plant, take a moment to check the roots. If they're a healthy white or light brown color and spread out evenly, you're good to go. If they're dark or mushy, you might need to do a bit of root pruning. But don't worry, it's not as scary as it sounds.
Step 4: Place the Plant in the New Pot
With your plant free from its old pot, it's time to move it to its new home. Place the plant in the center of the new pot, making sure it's sitting at the same depth as it was in the old pot. You don't want to bury it too deep or leave it sitting too high.
Once your plant is in place, fill in around the roots with more potting mix, pressing it down gently to remove any air pockets. Leave about an inch of space at the top of the pot for watering.
Step 5: Water and Wait
Now that your plant is snug in its new pot, give it a good drink of water. This will help settle the soil and give your plant a good start in its new home. But remember, don't overdo it. Your plant likes to be moist, not waterlogged.
After repotting, it's a good idea to give your plant a bit of time to adjust before you start fussing over it. Keep it in a warm, bright spot out of direct sunlight and wait for new growth to appear. It might take a few weeks, but with a bit of patience, your rubber plant will be back to its glossy, towering self in no time.
FAQs
- Why is my rubber plant losing leaves?
Leaf drop can be caused by a number of factors, including overwatering, underwatering, too much light, or not enough light. If your plant is losing leaves, try adjusting these factors one at a time to see if it helps.
- Can I propagate my rubber plant?
Absolutely! Rubber plants are relatively easy to propagate. Simply cut a leaf with a bit of stem attached, let it dry out for a day or two, then plant it in a pot with fresh potting mix. With a bit of patience, you'll have a new rubber plant in no time.
- How often should I water my rubber plant?
As a general rule, you should water your rubber plant when the top inch of soil is dry. But remember, it's better to underwater than overwater. Your plant can recover from a bit of drought, but too much water can lead to root rot.
Conclusion
And there you have it - a step-by-step guide to repotting your rubber plant. With a bit of care and attention, your rubber plant can bounce back from almost anything. So don't be afraid to get your hands dirty and give your plant the spa day it deserves. After all, a happy plant is a happy home.
So, what are you waiting for? Grab your pot, your soil, and your plant, and get repotting. Your rubber plant will thank you.