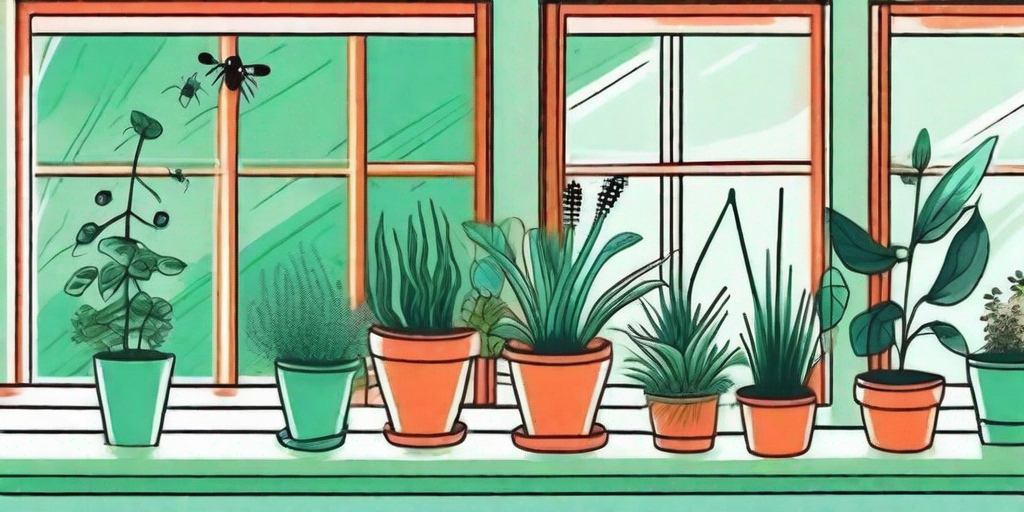
Welcome, green-thumbed enthusiasts and indoor gardeners! Today, we're diving into the world of the resilient and ever-popular snake plant. Known for its hardiness, this plant is a favorite among those who may not have been blessed with the greenest of thumbs. But even the snake plant, with its ability to survive in less than ideal conditions, can benefit from a little TLC now and then. And by TLC, we mean repotting. So, let's roll up our sleeves, get our hands dirty, and breathe some new life into your snake plant!
Understanding Your Snake Plant
Before we get into the nitty-gritty of repotting, it's important to understand what makes your snake plant tick. Also known as Sansevieria or Mother-in-Law's Tongue (a name as sharp as its leaves), this plant is native to West Africa. It's a succulent, which means it stores water in its leaves and can survive in dry conditions. This is great news for those of us who occasionally forget to water our plants (we won't tell if you won't).
Snake plants are also known for their air-purifying abilities. They can filter out harmful toxins in the air, making them a great addition to your home or office. Plus, they're pretty easy on the eyes, with their tall, upright leaves and striking patterns. But enough about why we love snake plants, let's get to the repotting!
When to Repot Your Snake Plant
Now, you might be wondering when the best time to repot your snake plant is. Well, these plants are pretty low-maintenance and don't need to be repotted often. However, there are a few signs to look out for that indicate your snake plant might be ready for a new home.
Firstly, if you notice the roots are starting to peek out of the drainage holes at the bottom of the pot, it's time to repot. This means your plant is outgrowing its current home and needs more space to spread its roots. Secondly, if your plant is looking a little droopy or yellow, it might be suffering from root rot. This can be caused by overwatering and poor drainage, and repotting can help solve this issue.
How to Repot Your Snake Plant
Alright, it's time to get down to business. Grab your gardening gloves, because we're about to get our hands dirty!
Step 1: Choose the Right Pot
When it comes to choosing a new pot for your snake plant, there are a few things to consider. Firstly, you want to make sure the pot is larger than the current one. This will give your plant more room to grow. Secondly, make sure the pot has good drainage. Snake plants don't like to sit in water, so a pot with drainage holes is a must.
As for the material, terracotta pots are a great option. They're porous, which allows excess water to evaporate, preventing root rot. Plus, they're pretty stylish, if we do say so ourselves.
Step 2: Prepare the Pot
Once you've chosen the perfect pot, it's time to prepare it for your snake plant. Start by placing a layer of pebbles or broken pottery at the bottom of the pot. This will improve drainage and prevent the soil from clogging the drainage holes.
Next, fill the pot about one-third of the way with a well-draining potting mix. You can buy a premade mix, or make your own by combining regular potting soil with perlite or sand. This will ensure the soil drains well and your snake plant's roots don't get waterlogged.
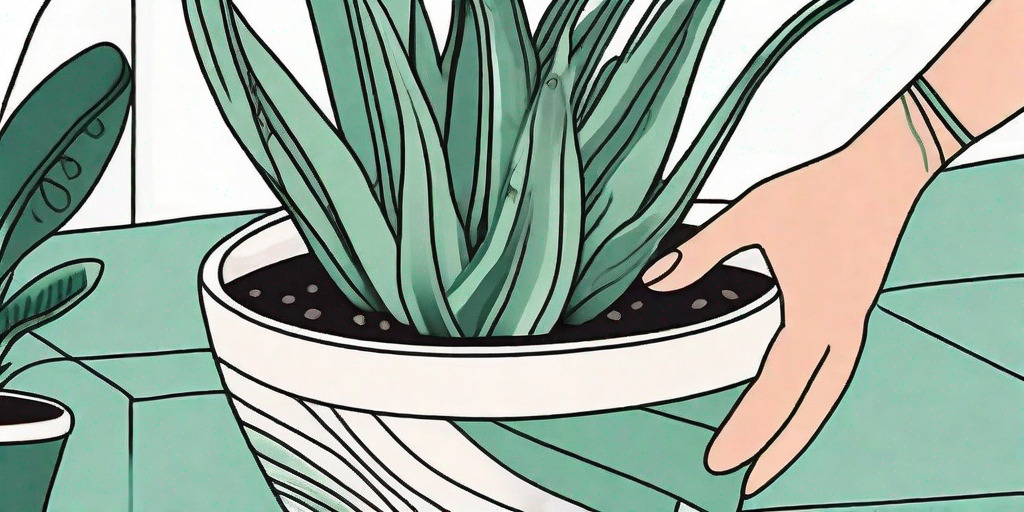
Step 3: Remove the Snake Plant from Its Current Pot
This is where things get a little tricky. You want to be gentle when removing your snake plant from its current pot to avoid damaging the roots. Start by gently squeezing the sides of the pot to loosen the soil. Then, tip the pot sideways and gently pull the plant out. If it's being stubborn, try tapping the bottom of the pot to dislodge the plant.
Once you've successfully removed the plant, take a moment to check the roots. If you see any that are black or mushy, trim them off. These are signs of root rot, and removing them will prevent the rot from spreading to the healthy roots.
Step 4: Place the Snake Plant in the New Pot
Now that your snake plant is free from its old pot, it's time to place it in its new home. Place the plant in the center of the pot and gently spread the roots out. Then, fill in the rest of the pot with your potting mix, making sure to leave about an inch of space at the top for watering.
Once the plant is securely in the pot, give it a good watering. This will help settle the soil and ensure the roots are making contact with the potting mix. And voila! You've successfully repotted your snake plant.
Aftercare for Your Repotted Snake Plant
After repotting, your snake plant might need a little extra care. Start by placing it in a spot with indirect light. Snake plants can tolerate low light, but they thrive in bright, indirect light. Avoid placing them in direct sunlight, as this can scorch their leaves.
As for watering, wait a few days after repotting before giving your plant a drink. This will give the roots time to recover from any damage they might have sustained during the repotting process. After that, water your snake plant when the top inch of soil is dry. Remember, these plants are succulents and can tolerate dry conditions, so it's better to underwater than overwater.
FAQs
How often should I repot my snake plant?
Snake plants are slow growers and don't need to be repotted often. Generally, you should only need to repot your snake plant every 2-3 years. However, if you notice the roots are starting to peek out of the drainage holes, or your plant is looking a little worse for wear, it might be time for a new pot.
Can I propagate my snake plant when I repot it?
Absolutely! Snake plants are easy to propagate. When you're removing your plant from its old pot, simply cut off a leaf and let it dry out for a couple of days. Then, place it in a pot with well-draining soil. Keep the soil slightly moist, and in a few weeks, you should see new growth.
What should I do if my snake plant has root rot?
If your snake plant has root rot, don't panic. Start by removing the plant from its pot and trimming off any black or mushy roots. Then, repot the plant in fresh, well-draining soil. Make sure to let the soil dry out between waterings to prevent the rot from returning.
Conclusion
And there you have it, folks! The ultimate guide to repotting your snake plant. With a little care and attention, your snake plant can thrive in its new home and continue to purify your air and brighten up your space. So, don't be afraid to get your hands dirty and give your snake plant the TLC it deserves. Happy gardening!