Welcome to the world of fern propagation, where you'll get your hands dirty, but the rewards are oh-so-green. Today, we're going to delve into the secrets of successfully propagating your Bird's Nest Fern. This isn't rocket science, but it does require a bit of patience, a dash of care, and a sprinkle of love. So, put on your gardening gloves, and let's get started!
Understanding Your Bird's Nest Fern
Before we dive into the propagation process, let's take a moment to understand our green friend, the Bird's Nest Fern. This tropical beauty, scientifically known as Asplenium nidus, is a popular houseplant, loved for its lush, ripple-edged fronds that resemble a bird's nest. It's not just a pretty face, though. This fern is a hardy soul, capable of withstanding less-than-ideal conditions. But remember, it's not invincible. So, no desert or arctic adventures, please!
Native to Southeast Asia, the Bird's Nest Fern thrives in warm, humid conditions. It's an epiphyte, which means it grows on other plants in the wild. But don't worry, it's not a freeloader. It doesn't steal nutrients from its host plant; it just needs a place to hang out.
Propagating Your Bird's Nest Fern
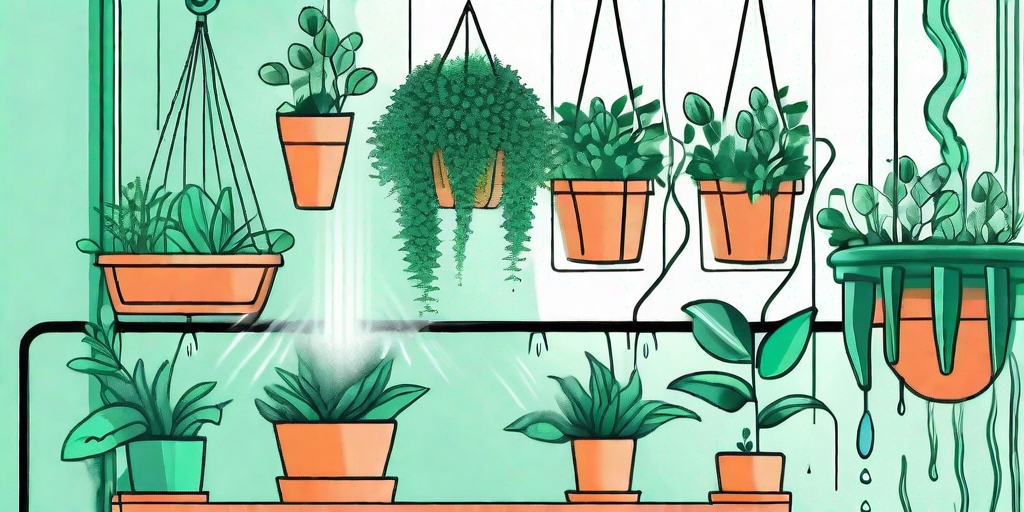
Now that we've got the introductions out of the way, let's get down to business. Propagating your Bird's Nest Fern can be done in two ways: division and spores. Division is the easiest and quickest method, but if you're up for a challenge and have some time on your hands, try propagating from spores.
Before we start, it's important to note that the best time to propagate your fern is in the spring or early summer. This gives your new plant plenty of time to establish itself before the cooler months arrive. So, mark your calendar, set a reminder, or tie a knot in your handkerchief. Just don't forget!
Propagation by Division
Division is the propagation method for those who like instant gratification. It involves separating a mature fern into two or more sections, each with its own roots and fronds. Here's how you do it:
- First, carefully remove your fern from its pot. This is a delicate operation, so no yanking or pulling. Gently does it.
- Next, using a clean, sharp knife, divide the root ball into two or more sections. Make sure each section has at least one healthy frond and a portion of the root system.
- Plant each section in a pot filled with a well-draining potting mix. Water thoroughly and place in a warm, well-lit spot.
And voila! You've successfully propagated your Bird's Nest Fern by division. Now, all you need to do is wait for your new plants to grow. Patience is a virtue, my friend.
Propagation by Spores
Propagation by spores is for the adventurous souls who like a challenge. It's a slower process, but it's also incredibly rewarding. Here's the step-by-step guide:
- First, you'll need to collect spores. These are found on the underside of mature fronds. They look like small, brown patches. Once the patches turn a dark brown color, it's time to collect.
- Next, place the spore-covered frond on a piece of paper and leave it to dry. After a few days, the spores will fall off onto the paper.
- Now, sprinkle the spores onto the surface of a pot filled with a sterile potting mix. Do not cover the spores with soil.
- Place the pot in a plastic bag to create a mini greenhouse and put it in a warm, well-lit spot.
After a few weeks, you'll see tiny green dots appearing on the soil surface. Congratulations, you've successfully propagated your Bird's Nest Fern by spores!
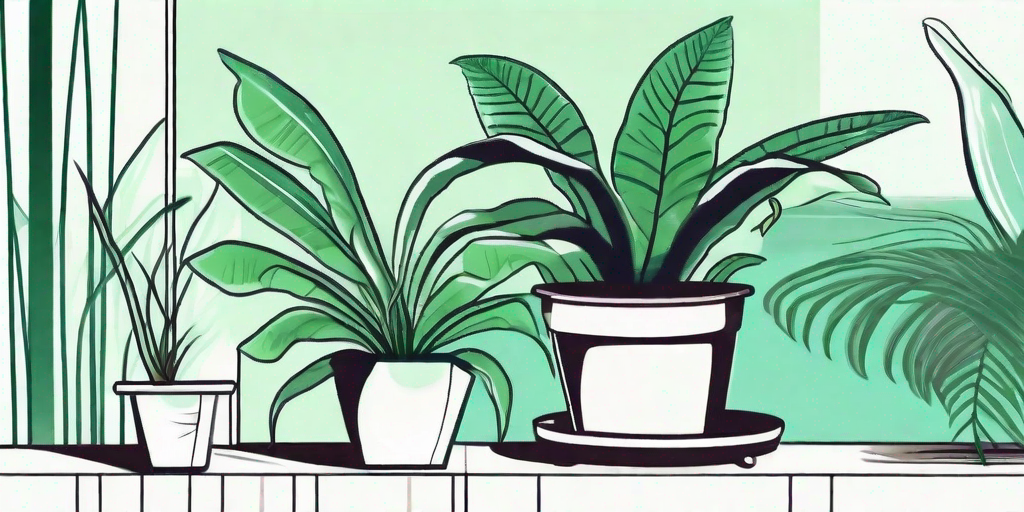
Caring for Your New Ferns
Propagation is just the first step. Now, you need to care for your new ferns to ensure they grow into healthy, mature plants. Here are some tips:
- Water regularly, but don't overdo it. The soil should be moist, not waterlogged.
- Provide plenty of indirect light. Direct sunlight can scorch the fronds.
- Keep the temperature warm and the humidity high. Remember, your fern is a tropical plant.
- Feed with a balanced houseplant fertilizer during the growing season.
With the right care, your new ferns will thrive and grow, providing you with a lush, green oasis in your home.
Frequently Asked Questions
Can I propagate my Bird's Nest Fern in water?
While some plants can be propagated in water, the Bird's Nest Fern is not one of them. It prefers to be propagated in soil, either by division or spores.
Why are the fronds on my new fern turning brown?
Brown fronds can be a sign of underwatering, overwatering, or too much direct sunlight. Check your care routine and make any necessary adjustments.
How long does it take for a new fern to grow?
Propagation by division can result in a new plant in a matter of weeks. Propagation by spores, on the other hand, can take several months. Patience is key!
And there you have it, the secrets to successfully propagating your Bird's Nest Fern. Now, go forth and propagate!