Welcome, green-thumbed enthusiasts and curious beginners! If you're here, it's probably because you've heard about the mystical charm of African Violets. Maybe you're already a proud parent of these lovely plants, or perhaps you're just starting your journey. Either way, you're in for a treat. Today, we're revealing the secrets to propagating African Violets. It's foolproof, we promise. So, buckle up, and let's dive into the world of these vibrant beauties.
Understanding African Violets
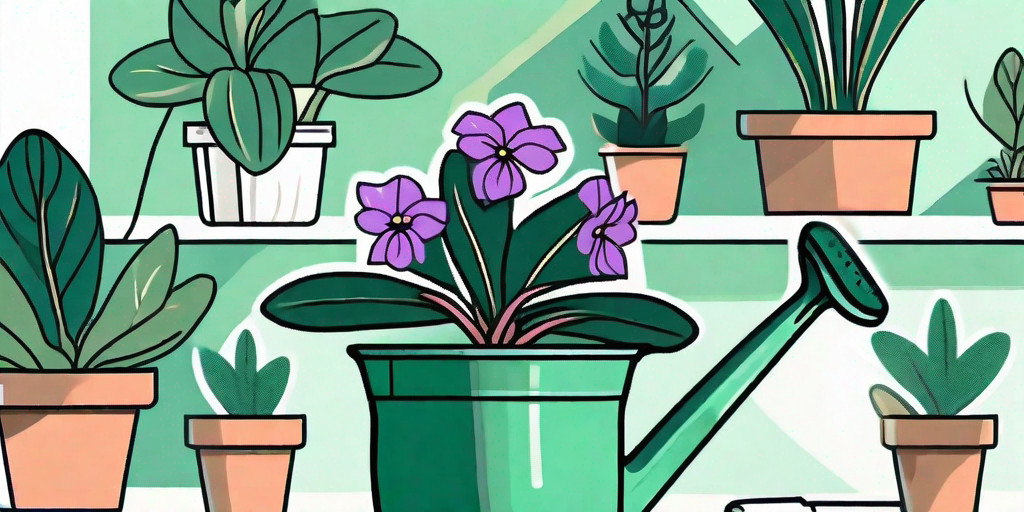
Before we get our hands dirty, let's take a moment to appreciate African Violets. Native to Tanzania and Kenya, these perennial flowering plants are known for their stunning array of colors and velvety leaves. They're not just pretty faces, though. African Violets are also known for their resilience and adaptability, making them perfect for indoor gardening.
However, like all good things in life, African Violets require a bit of effort. They're not exactly high-maintenance, but they do have their quirks. Understanding these quirks is the first step to successful propagation. So, let's get to know our green friends a little better.
The Ideal Environment
African Violets are tropical plants, which means they love warmth and humidity. They thrive in temperatures between 65-75°F (18-24°C) and humidity levels around 40-60%. Too much heat or cold can cause leaf curling and slow growth, while too much humidity can lead to fungal diseases. So, keep an eye on your thermostat and humidity levels.
Light is another crucial factor. African Violets prefer bright, indirect light. Direct sunlight can cause leaf burn, while insufficient light can lead to leggy growth and fewer blooms. So, find a spot that gets plenty of filtered light, like a north or east-facing window.
Watering and Feeding
When it comes to watering, African Violets can be a bit picky. They prefer room-temperature water, and they don't like getting their leaves wet. So, it's best to water from the bottom, using a tray or saucer. As for frequency, it's better to let the soil dry out a bit between waterings. Overwatering can lead to root rot and other problems.
Feeding is another important aspect. African Violets need a balanced fertilizer to bloom and grow. Look for a fertilizer specifically designed for African Violets, and follow the package instructions. Remember, it's better to underfeed than overfeed.
The Foolproof Propagation Method
Now that we've covered the basics, let's get to the fun part: propagation. Propagating African Violets is surprisingly simple. All you need is a healthy mother plant, a sharp knife, a pot, some soil, and a bit of patience. Here's a step-by-step guide.
Step 1: Select a Healthy Leaf
The first step is to select a healthy, mature leaf from the mother plant. Look for a leaf that's fully grown but still vibrant. Avoid leaves with spots, blemishes, or signs of disease. Remember, the healthier the leaf, the better the chances of successful propagation.
Once you've selected a leaf, cut it off at the base using a sharp, clean knife. Make sure to include about an inch of the leaf stem. This is where the new plant will sprout from.
Step 2: Prepare the Pot and Soil
Next, prepare a small pot with well-draining soil. African Violets prefer a light, airy soil mix, so consider using a mix designed for African Violets or make your own by combining equal parts peat moss, perlite, and vermiculite.
Fill the pot with the soil mix, leaving about an inch of space at the top. Then, make a small hole in the center of the soil, about an inch deep. This is where you'll plant the leaf.
Step 3: Plant the Leaf
Now, it's time to plant the leaf. Place the leaf stem in the hole you made in the soil, and gently firm the soil around it. The leaf blade should be sitting on top of the soil, while the stem is buried.
Once the leaf is planted, water the soil thoroughly. Remember to water from the bottom to avoid getting the leaf wet. Then, place the pot in a warm, bright spot, away from direct sunlight.
Step 4: Wait and Watch
Now comes the hardest part: waiting. It can take anywhere from 4-8 weeks for the new plant to sprout. During this time, keep the soil moist but not soggy, and maintain the right temperature and light conditions.
With a bit of patience and care, you'll soon see tiny new leaves sprouting from the base of the mother leaf. Congratulations, you've successfully propagated an African Violet!
Common Questions About African Violets
Still have questions? Don't worry, we've got you covered. Here are some common questions about African Violets and their answers.
Why are my African Violets not blooming?
Several factors can affect blooming in African Violets. These include insufficient light, incorrect watering, lack of nutrients, and unsuitable temperature or humidity. If your African Violets are not blooming, check these factors and adjust as necessary.
Can I propagate African Violets in water?
Yes, you can propagate African Violets in water. However, this method can take longer and is more prone to failure due to rot or disease. The soil propagation method is generally more reliable and successful.
How often should I repot my African Violets?
African Violets should be repotted about once a year, or whenever the plant outgrows its pot. Repotting helps refresh the soil and provides the plant with more room to grow.
In Conclusion
There you have it, the foolproof way to propagate African Violets. With a bit of knowledge, patience, and care, you can fill your home with these vibrant beauties. So, what are you waiting for? Get propagating!
Remember, every plant is unique, and what works for one might not work for another. So, don't be afraid to experiment and learn from your experiences. After all, that's what gardening is all about.


