The Dieffenbachia, also known as the Dumb Cane, is a popular houseplant with a reputation for being a bit of a drama queen. But don't let that fool you. With the right care and a little bit of cheeky know-how, you can propagate this tropical beauty with ease. So, put on your gardening gloves, grab your favorite plant shears, and let's dive into the world of Dieffenbachia propagation.
The Dieffenbachia: A Brief Introduction
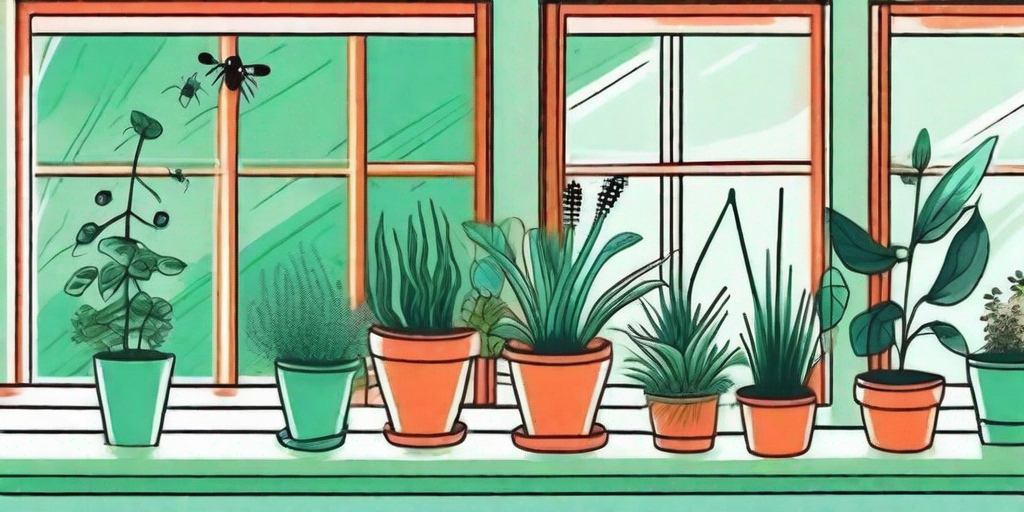
Before we get down to the nitty-gritty, let's take a moment to appreciate the Dieffenbachia. This plant is a native of the tropical rainforests of Central and South America. It's known for its lush, variegated leaves that can add a touch of the tropics to any indoor space. But beware! The Dieffenbachia is not just a pretty face. It's also a bit of a diva when it comes to its care requirements.
Now, don't let that scare you off. While the Dieffenbachia might be a bit high maintenance, it's also incredibly rewarding. With the right care, this plant can grow up to six feet tall and live for many years. Plus, it's a great conversation starter. After all, how many people can say they have a plant that's both beautiful and a little bit dangerous?
The Art of Dieffenbachia Propagation
Now, onto the main event: propagation. This is the process of creating new plants from the parts of existing ones. For the Dieffenbachia, this typically involves taking stem cuttings and coaxing them into growing new roots. It's a bit like performing a magic trick, but with plants instead of rabbits and hats.
But don't worry, you don't need to be a magician to propagate a Dieffenbachia. All you need is a little bit of patience, the right tools, and a sense of humor. After all, plants can be unpredictable, and sometimes the best thing you can do is laugh and try again.
Step 1: Choose Your Cutting
The first step in propagating a Dieffenbachia is choosing the right cutting. You'll want to look for a healthy, mature stem with at least two to three leaves. Avoid any stems that are discolored, damaged, or showing signs of disease. Remember, the healthier the cutting, the better your chances of success.
Once you've chosen your cutting, it's time to make the chop. Using a sharp, clean pair of shears, cut the stem at a 45-degree angle. This will increase the surface area for root growth and help prevent disease. And remember, always be careful when handling a Dieffenbachia. The sap can be irritating to the skin and eyes, so it's best to wear gloves and avoid touching your face.
Step 2: Prepare Your Cutting
After you've taken your cutting, it's time to prepare it for propagation. This involves removing the lower leaves and letting the cut end dry out for a few hours. This process, known as "callousing," helps prevent rot and encourages root growth.
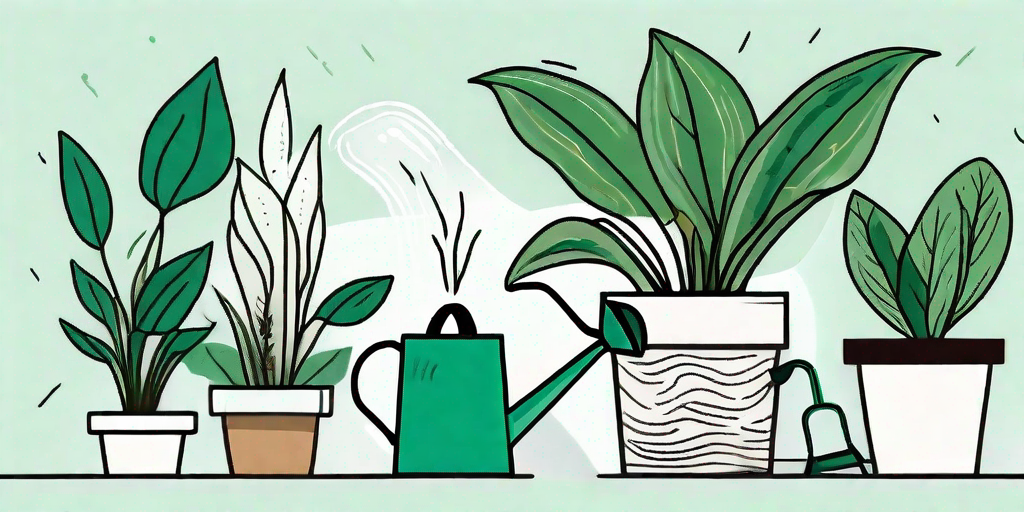
While your cutting is callousing, you can prepare your potting mix. Dieffenbachia prefers a well-draining soil, so a mix of peat moss and perlite is a good choice. You can also add a bit of compost for extra nutrients, but this is optional.
Step 3: Plant Your Cutting
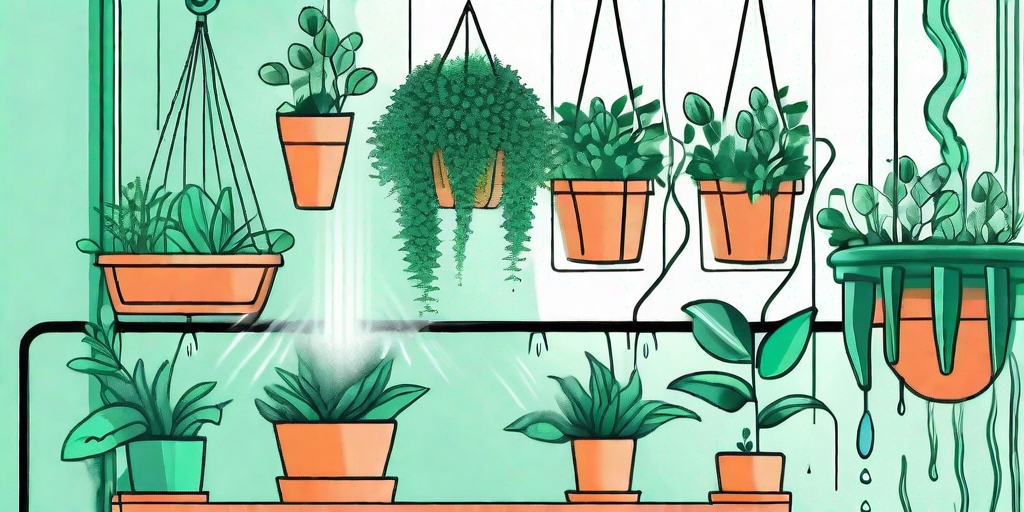
Once your cutting has calloused and your potting mix is ready, it's time to plant. Make a hole in the center of your pot, place your cutting in the hole, and gently firm the soil around it. Then, give your cutting a good drink of water and place it in a warm, bright location.
From here, it's a waiting game. It can take several weeks for your cutting to develop roots, so be patient. Keep the soil slightly moist, but avoid overwatering. Too much water can lead to rot, which is a surefire way to kill your cutting.
Common Challenges and How to Overcome Them
Propagation is not always a smooth process. There can be bumps along the way, but don't worry. With a little bit of troubleshooting, you can overcome these challenges and become a Dieffenbachia propagation pro.
One common issue is rot. This can occur if the cutting is kept too wet or if the cut end wasn't allowed to callous properly. If you notice your cutting turning brown or mushy, it's best to start over with a new cutting.
Another challenge is slow or no root growth. This can be due to a number of factors, including poor light, low temperatures, or improper watering. If your cutting isn't showing signs of growth after several weeks, try adjusting these conditions. And remember, patience is key. Root growth can take time, so don't give up too soon.
Frequently Asked Questions
Can I propagate Dieffenbachia in water?
Yes, you can! Propagating in water is a great way to visually monitor root growth. Just make sure to change the water regularly to prevent bacterial growth.
Why is my Dieffenbachia cutting turning yellow?
Yellowing can be a sign of overwatering or poor light. Try adjusting these conditions and see if your cutting improves.
How long does it take for a Dieffenbachia cutting to root?
It can take anywhere from two to six weeks for a Dieffenbachia cutting to root. Be patient and keep the faith!
Conclusion
And there you have it, the foolproof way to propagate Dieffenbachia. With a bit of patience, a sense of humor, and the right care, you can fill your home with these tropical beauties. So, what are you waiting for? Grab your shears and get propagating!
Remember, propagation is as much an art as it is a science. Don't be afraid to experiment and learn from your mistakes. After all, even the most experienced gardeners have killed a plant or two. The important thing is to keep trying, keep learning, and most importantly, keep having fun. Happy propagating!