Welcome to the world of gardening, where patience is a virtue, dirt is your friend, and the joy of watching something grow from a tiny seed to a towering tree is unparalleled. Today, we're going to delve into the secrets of successfully propagating your Norfolk Pine. So, grab your gardening gloves, put on your favorite sun hat, and let's get started!
Understanding the Norfolk Pine
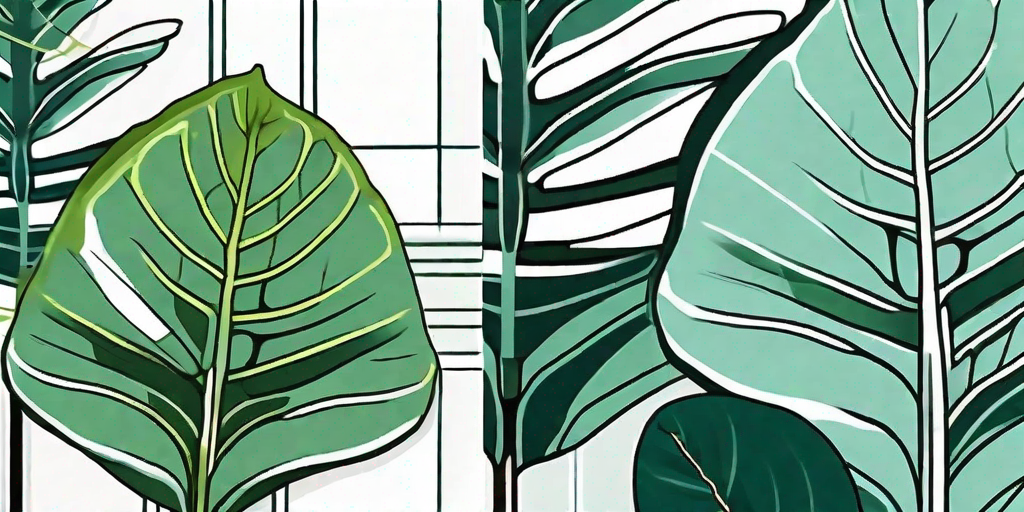
Before we dive into the propagation process, it's important to understand what makes the Norfolk Pine so special. Native to Norfolk Island in the Pacific Ocean, this evergreen tree is known for its symmetrical branches and soft, needle-like leaves. Despite its name, it's not a true pine but a member of the Araucariaceae family. It's a bit of an impostor, but we love it anyway.
Indoors, the Norfolk Pine can reach heights of 6 to 8 feet, while outdoors, it can tower up to 200 feet. It's like the Hulk of the plant world – mild-mannered and manageable indoors, but a true giant outdoors. But don't worry, it won't smash your other plants.
Light and Temperature Requirements
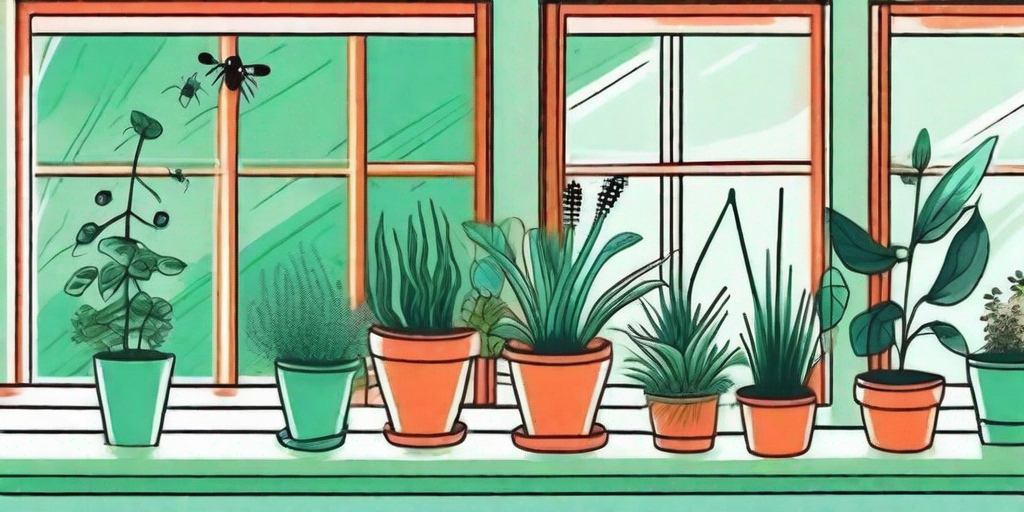
Like a sunbathing beauty, the Norfolk Pine loves bright, indirect light. It's not a fan of the shade and will protest with yellowing needles if it doesn't get enough light. So, make sure to place it near a window where it can soak up the sun.
When it comes to temperature, the Norfolk Pine prefers cooler conditions. It's not a fan of the heat and will start to sulk if the temperature rises above 70°F. So, if you're living in a tropical paradise, you might want to consider a different plant.
Propagating Your Norfolk Pine
Now that we've gotten to know our green friend a little better, let's move on to the main event: propagation. Propagating your Norfolk Pine can be a bit tricky, but with a little patience and a lot of love, you can create a whole forest of these beautiful trees.
There are two main methods of propagation: seeds and cuttings. Seeds can be a bit of a gamble, as they require specific conditions to germinate and can take a long time to grow. Cuttings, on the other hand, are a bit more reliable and quicker to establish.
Propagation by Seeds
Propagating by seeds is a bit like playing the lottery. You might hit the jackpot, or you might end up with a handful of duds. But if you're feeling lucky, here's how to do it:
- Collect seeds from a mature Norfolk Pine. Look for brown, cone-like structures on the branches.
- Soak the seeds in warm water for 24 hours to soften the outer shell.
- Plant the seeds in a well-draining potting mix, covering them lightly with soil.
- Place the pot in a warm, bright location and keep the soil moist.
- Wait for germination. This can take anywhere from a few weeks to a few months, so patience is key.
Propagation by Cuttings
If you're not a fan of waiting, propagation by cuttings might be more your speed. Here's how to do it:
- Select a healthy branch from your Norfolk Pine and cut a 4 to 6-inch section. Make sure to make a clean cut to avoid damaging the parent plant.
- Remove the lower needles from the cutting and dip the cut end in rooting hormone.
- Plant the cutting in a pot filled with a well-draining potting mix.
- Place the pot in a warm, bright location and keep the soil moist.
- Wait for roots to develop. This can take a few weeks, but it's faster than waiting for seeds to germinate.
Caring for Your New Norfolk Pine
Once your new Norfolk Pine has established roots, it's time to start caring for it. Like a newborn baby, it will need plenty of attention and care to grow strong and healthy.
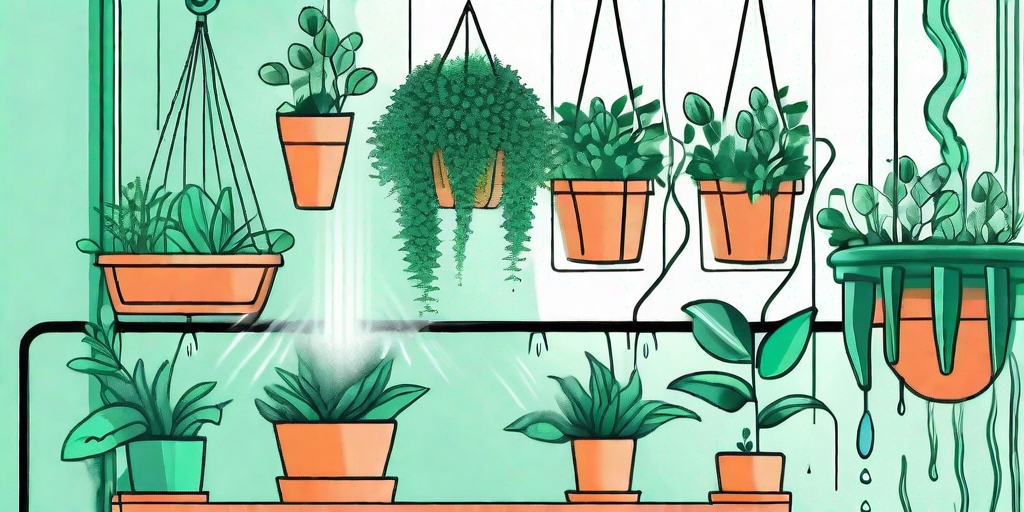
Watering is crucial for the Norfolk Pine. It prefers evenly moist soil, but be careful not to overwater. Too much water can lead to root rot, which is as unpleasant as it sounds. It's a bit like Goldilocks – it doesn't like its soil too dry or too wet, it has to be just right.
Fertilizing Your Norfolk Pine
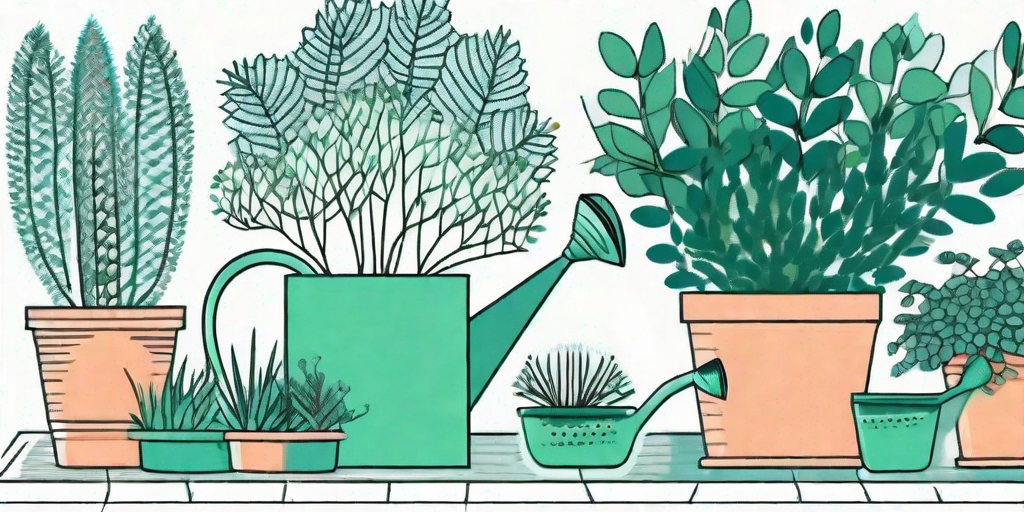
Feeding your Norfolk Pine is also important. It's a bit of a foodie and enjoys a balanced diet of nitrogen, phosphorus, and potassium. A slow-release fertilizer applied in the spring and summer should do the trick.
Remember, too much of a good thing can be harmful. Over-fertilizing can lead to nutrient burn, which can damage the roots and leaves. So, go easy on the fertilizer, your Norfolk Pine will thank you.
Frequently Asked Questions
Why are the needles on my Norfolk Pine turning brown?
Brown needles can be a sign of underwatering or low humidity. Try increasing the frequency of watering and misting the leaves to increase humidity.
Can I grow a Norfolk Pine outdoors?
Yes, but only if you live in USDA zones 10-11. The Norfolk Pine is not frost-tolerant and prefers cooler temperatures.
How often should I fertilize my Norfolk Pine?
A slow-release fertilizer applied in the spring and summer should be sufficient. Remember, over-fertilizing can lead to nutrient burn.
Conclusion
And there you have it, the secrets to successfully propagating your Norfolk Pine. It might seem like a daunting task, but with patience, care, and a bit of luck, you'll soon have a forest of these beautiful trees. So, roll up your sleeves and get your hands dirty. Happy gardening!