If you've ever dreamt of having your own personal forest, then the Norfolk Island Pine is the perfect tree for you. This majestic tree, with its symmetrical branches and soft, feathery foliage, is a sight to behold. But, like any diva, it demands a certain level of care and attention. So, let's roll up our sleeves and dive into the world of Norfolk Island Pine care.
A Brief Introduction to Norfolk Island Pine
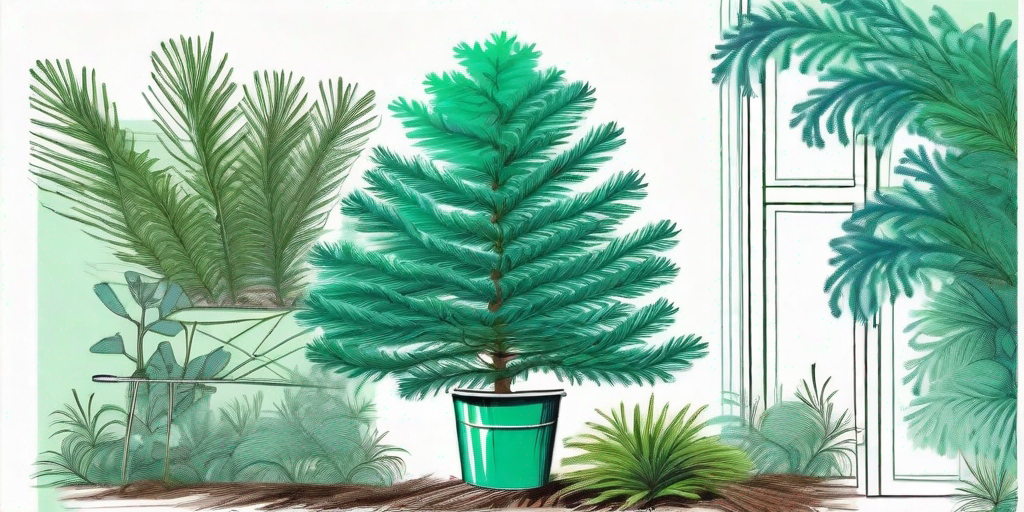
First things first, let's get acquainted with our star. The Norfolk Island Pine, or Araucaria heterophylla, is not actually a pine, despite its name. It's a tropical plant native to Norfolk Island, a tiny island in the Pacific Ocean. This tree is a bit of a show-off, with its tiered branches and soft, needle-like leaves. It can grow up to 200 feet tall in its natural habitat, but don't worry, it won't take over your backyard. When grown outdoors in a suitable climate, it usually reaches a more modest 20 to 25 feet.
Now, you might be thinking, "I live in a city, not a tropical island. Can I still grow a Norfolk Island Pine?" The answer is a resounding yes! This tree is surprisingly adaptable and can thrive in a variety of climates, as long as it's protected from extreme temperatures. So, whether you live in sunny California or chilly New York, you too can have a piece of tropical paradise in your backyard.
Planting Your Norfolk Island Pine
Now that we're familiar with our green friend, let's get down to business. Planting a Norfolk Island Pine is not rocket science, but it does require some planning and preparation. Here's a step-by-step guide to help you get started.
Step 1: Choose the Right Spot
Location, location, location. This is the mantra of every Norfolk Island Pine. These trees love sunlight and need at least six hours of direct sunlight each day. So, choose a spot in your garden that gets plenty of sun. But remember, they also need protection from strong winds, so a sheltered spot is ideal.
Another thing to consider is the size of the tree. Norfolk Island Pines can grow quite large, so make sure there's enough space for it to spread its branches. A good rule of thumb is to plant the tree at least 15 feet away from any buildings or other trees.
Step 2: Prepare the Soil
Norfolk Island Pines are not fussy about soil, but they do prefer a well-draining soil. So, if your garden has heavy clay soil, you might need to amend it with some organic matter or sand to improve drainage. The ideal pH for these trees is slightly acidic, between 6.0 and 6.5.
Before planting, dig a hole that's twice as wide and just as deep as the root ball of the tree. This will give the roots plenty of room to spread out and establish themselves.
Step 3: Plant the Tree
Now comes the fun part: planting the tree. Place the tree in the hole, making sure that the top of the root ball is level with the ground. Then, backfill the hole with soil, firming it gently around the roots. Water the tree thoroughly and apply a layer of mulch around the base to conserve moisture and suppress weeds.
And voila! You've just planted your very own Norfolk Island Pine. Give yourself a pat on the back and prepare for the next stage: caring for your tree.
Caring for Your Norfolk Island Pine
Now that you've planted your tree, it's time to learn how to take care of it. Norfolk Island Pines are relatively low-maintenance, but they do have some specific needs.
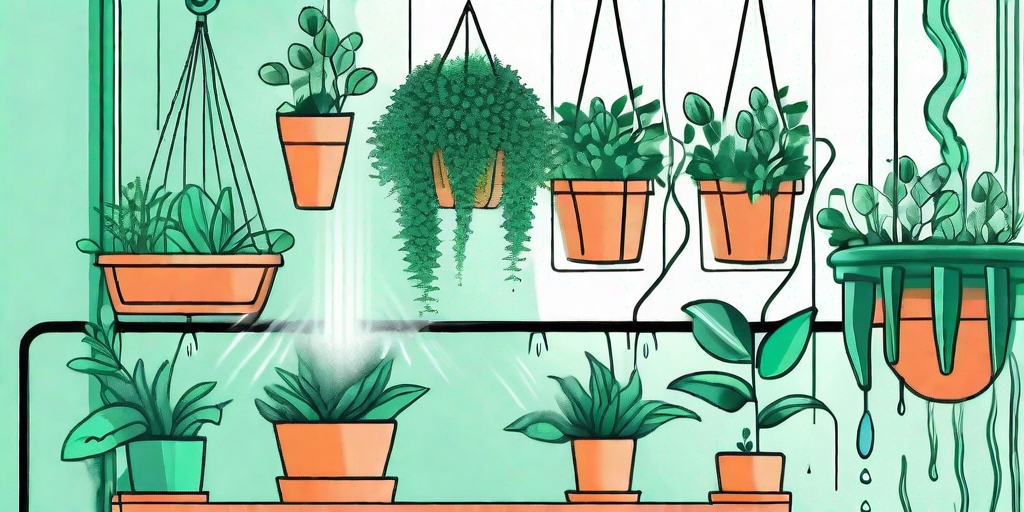
Watering
These trees like to stay hydrated, but they don't like wet feet. So, water your tree regularly, but let the soil dry out between waterings. A good rule of thumb is to water the tree when the top inch of soil feels dry to the touch. In hot, dry weather, you might need to water more frequently.
Remember, overwatering can lead to root rot, which is a death sentence for your tree. So, when in doubt, it's better to underwater than overwater.
Fertilizing
Norfolk Island Pines are not heavy feeders, but they do appreciate a little snack now and then. Feed your tree with a balanced, slow-release fertilizer once or twice a year, in spring and early summer. This will provide the nutrients it needs to grow strong and healthy.
Be careful not to over-fertilize, as this can cause the foliage to turn yellow or brown. If this happens, stop fertilizing and water the tree thoroughly to flush out the excess nutrients.
Pruning
Pruning is not necessary for Norfolk Island Pines, as they naturally grow in a symmetrical, pyramid shape. However, if a branch becomes damaged or diseased, you can prune it off to prevent the problem from spreading. Always use sharp, clean pruning shears to avoid damaging the tree or spreading diseases.
And there you have it, folks! With these tips, you can grow a beautiful Norfolk Island Pine in your backyard and enjoy its tropical beauty all year round. So, what are you waiting for? Get planting!
FAQs about Norfolk Island Pine
Can Norfolk Island Pine survive winter?
Yes, but it depends on how cold the winter is. Norfolk Island Pines are tropical trees and can't tolerate freezing temperatures. If you live in a region where temperatures regularly drop below freezing, it's best to grow your tree in a pot and bring it indoors during winter.
Can I grow a Norfolk Island Pine from a cutting?
Yes, you can propagate Norfolk Island Pines from cuttings. However, it's a bit tricky and requires some patience. The best time to take cuttings is in spring or early summer. Choose a healthy, vigorous branch and cut off a 4-6 inch piece. Dip the cut end in rooting hormone, then plant it in a pot filled with a mix of peat moss and perlite. Keep the cutting moist and in a warm, bright spot until it develops roots.
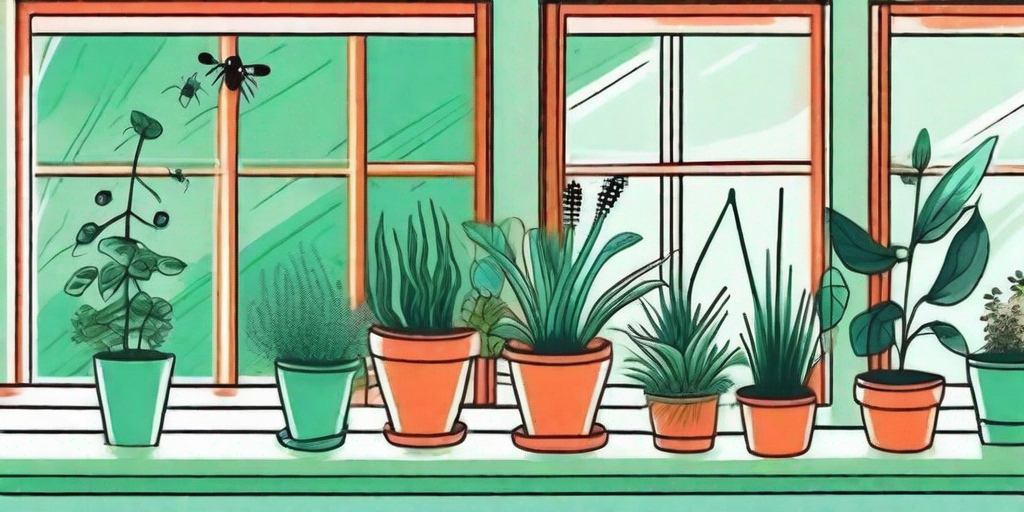
Why are the tips of my Norfolk Island Pine turning brown?
Brown tips can be a sign of several problems, including underwatering, overwatering, low humidity, or nutrient deficiency. Check the soil moisture and adjust your watering schedule as needed. If the problem persists, try misting the tree with water to increase humidity, or feed it with a balanced fertilizer.
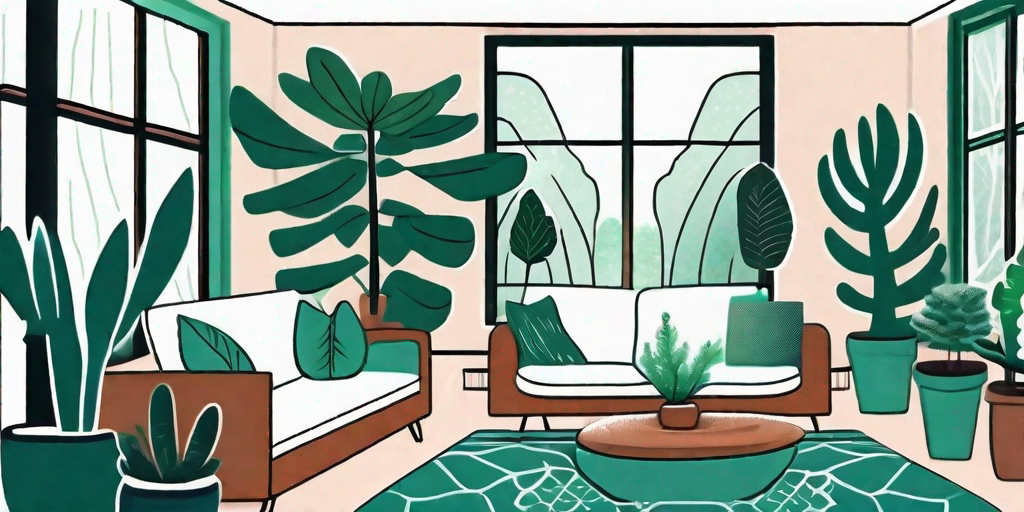
Can I keep a Norfolk Island Pine indoors?
Yes, Norfolk Island Pines make excellent houseplants. They can tolerate low light conditions, but they prefer bright, indirect light. Keep the soil slightly moist and provide high humidity to keep your tree happy. Remember to rotate the pot regularly to ensure even growth.
Conclusion
There you have it, the complete guide to growing and caring for Norfolk Island Pine outdoors. With a bit of love and care, this tropical beauty can become the star of your garden. So, go ahead and unleash the beauty of Norfolk Island Pine. Happy gardening!