Welcome, budding horticulturists and seasoned green thumbs alike! Today, we're going to delve into the verdant world of ivy propagation. Now, don't let the fancy term scare you off. Propagation is just a posh way of saying "making more plants from the ones you've got." And who wouldn't want more ivy? It's like having a little piece of Hogwarts at home, minus the owls and the moving staircases, of course.
The Ivy League of Plants
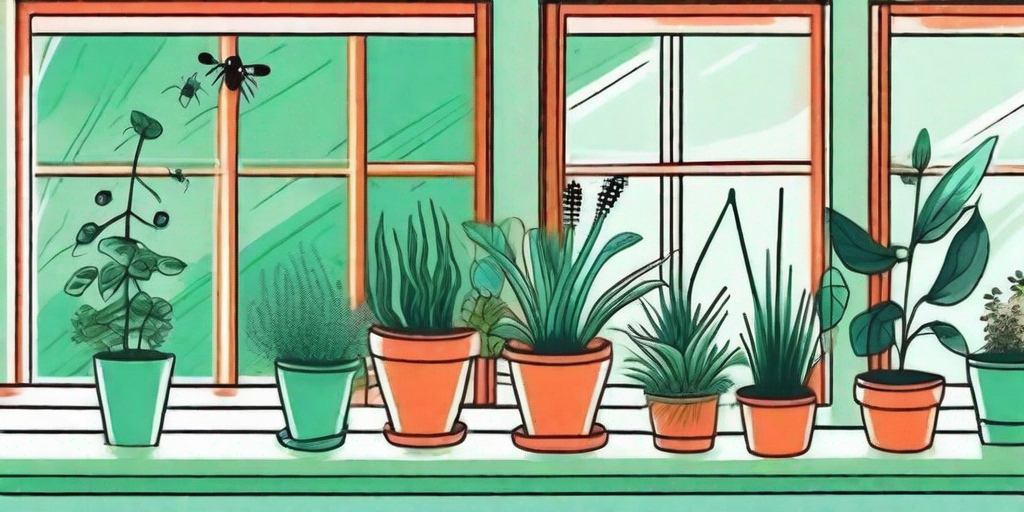
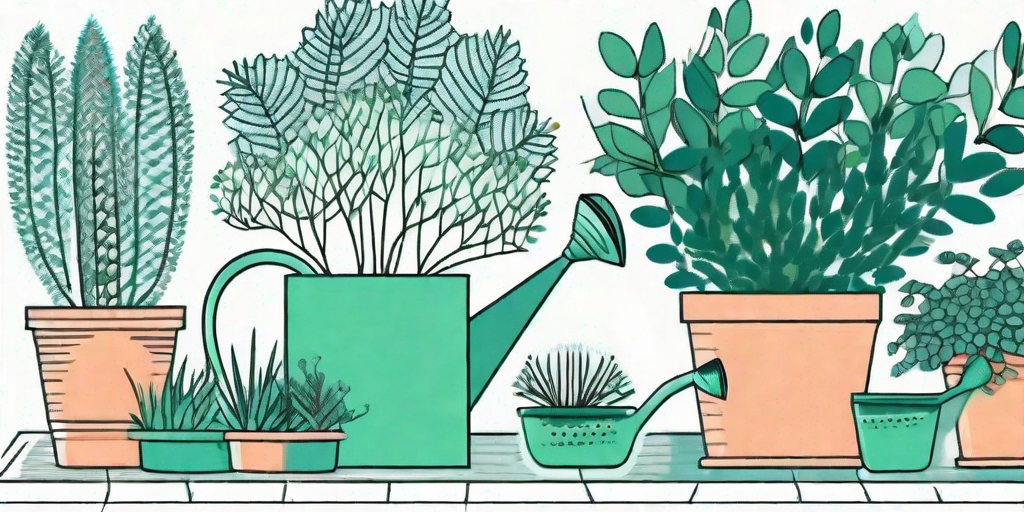
Before we get our hands dirty, let's take a moment to appreciate the star of our show: the ivy plant. Ivy, or Hedera, to use its Latin name (we're all about the fancy words today), is a genus of 12-15 species of evergreen climbing or ground-creeping woody plants. They're native to the western, central, and southern parts of Europe, Macaronesia, northwestern Africa, and across central-southern Asia east to Japan and Taiwan.
Not only is ivy a versatile decorator, but it's also a champion of the environment. It provides shelter for birds and insects, and its berries are a food source for wildlife. Plus, it's a great air purifier. So, by propagating ivy, you're not just expanding your plant collection, you're also doing your bit for Mother Nature. How's that for a green thumb?
Propagation Station
Now, let's get down to business. Propagating ivy is a simple process that even the most novice of gardeners can master. All you need is a healthy ivy plant, a sharp pair of scissors, some pots, and a bit of patience. Oh, and a sense of humor, because plants, like people, can be a bit temperamental at times.
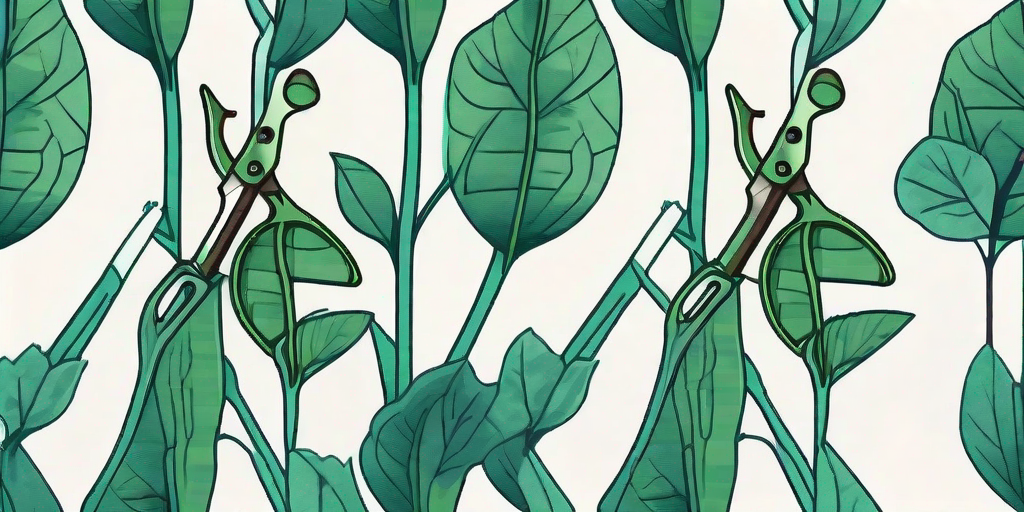
Step 1: Snip, Snip
The first step in propagating ivy is to take a cutting from a healthy plant. Choose a long, healthy vine from the parent plant and cut off a 4-6 inch section. Make sure the cutting has at least 3-4 leaves, and cut directly below a leaf node (that's the little bump where the leaf grows). This is where the new roots will sprout from.
Step 2: Rooting Around
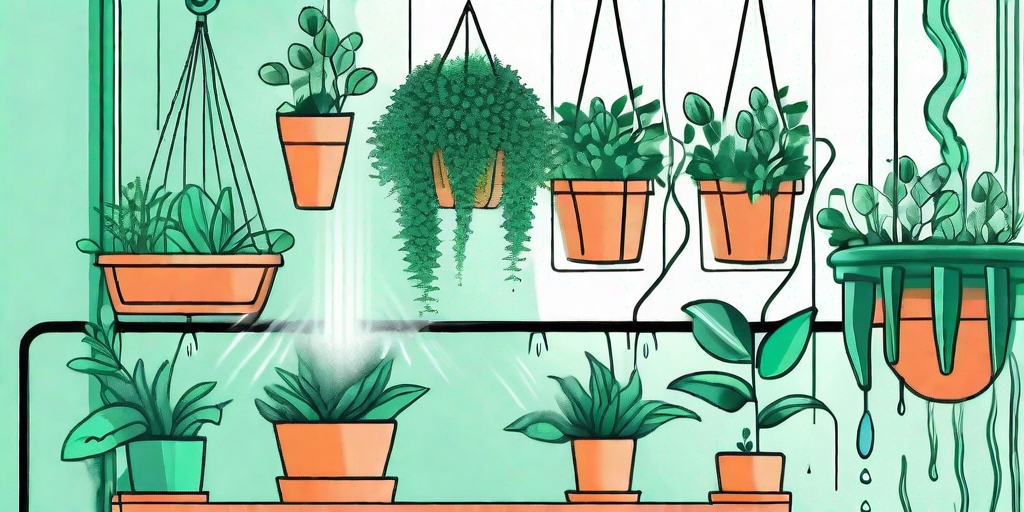
Next, remove the leaves from the bottom 2 inches of the cutting. This is where the new roots will grow from. You can then place the cutting in a glass of water, making sure the leafless section is submerged. Place the glass in a warm, bright spot, but not in direct sunlight. Then, sit back, relax, and wait for the roots to grow. This can take anywhere from 1-3 weeks, so patience is key here.
Step 3: Potting On
Once the roots are about an inch long, it's time to pot on. Fill a pot with well-draining potting soil and make a hole in the center. Place the rooted cutting in the hole and gently firm the soil around it. Water well, and place the pot in a bright spot out of direct sunlight. Congratulations, you've just propagated your first ivy plant!
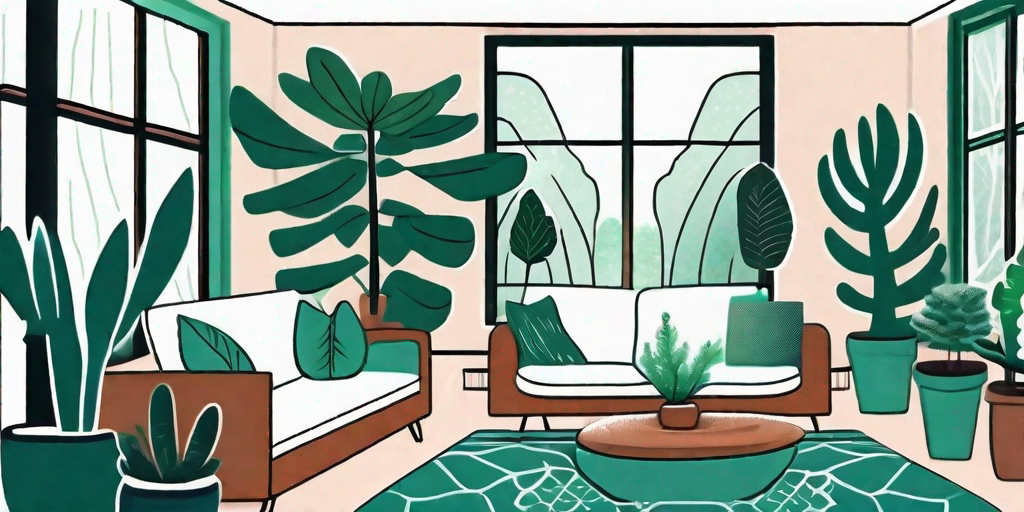
Keeping Ivy Happy
Now that you've got your new ivy plant, you'll want to keep it happy and healthy. Ivy is a pretty low-maintenance plant, but it does have a few specific needs.
Firstly, ivy likes bright, indirect light. Too much direct sunlight can scorch the leaves, while too little light can cause the plant to become leggy. Secondly, ivy prefers a humid environment, so consider misting the plant regularly or placing it on a tray of pebbles and water. Finally, ivy likes well-draining soil and should be watered when the top inch of soil feels dry to the touch.
Frequently Asked Questions
Can I propagate ivy in soil?
Yes, you can! Instead of placing the cutting in water, you can plant it directly in a pot of moist, well-draining soil. Keep the soil moist until the cutting has rooted, which usually takes about 4-6 weeks.
Why are the leaves on my ivy plant turning yellow?
Yellow leaves can be a sign of overwatering. Ivy likes its soil to dry out a bit between waterings, so try cutting back on the H2O. If the problem persists, check for signs of pests or disease.
Can I grow ivy outdoors?
Absolutely! Ivy is a hardy plant that can thrive in a variety of conditions. Just keep in mind that it can become invasive in some areas, so be sure to keep it in check.
Final Thoughts
And there you have it, folks! A foolproof guide to propagating ivy. So, what are you waiting for? Grab those gardening gloves, wield those scissors, and unleash your green thumb. Happy propagating!