Are you ready to take your indoor gardening skills to the next level? Do you want to be the envy of all your plant-loving friends? If so, it's time to learn the art of propagating ZZ plants. This foolproof guide will take you through the process step by step, making it as easy as pie. And who doesn't love pie?
Understanding ZZ Plants
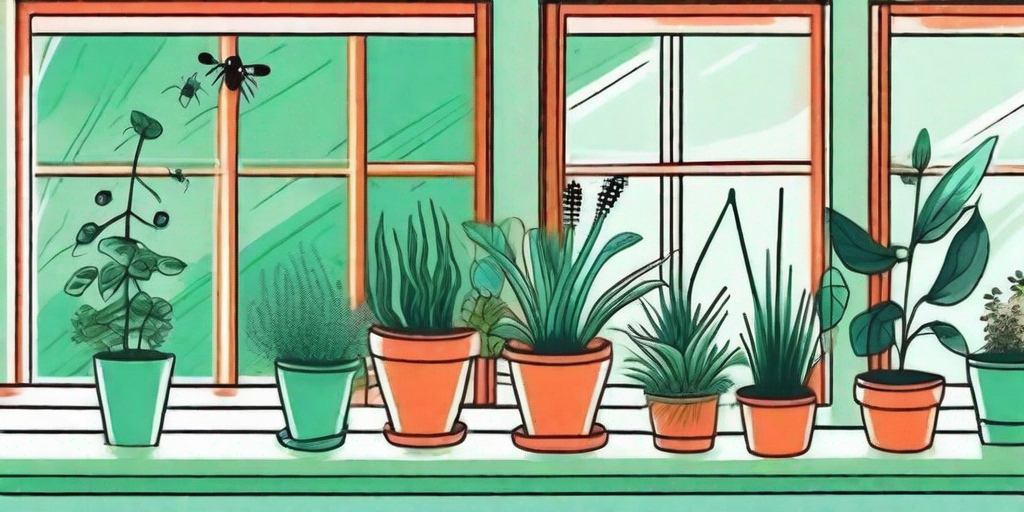
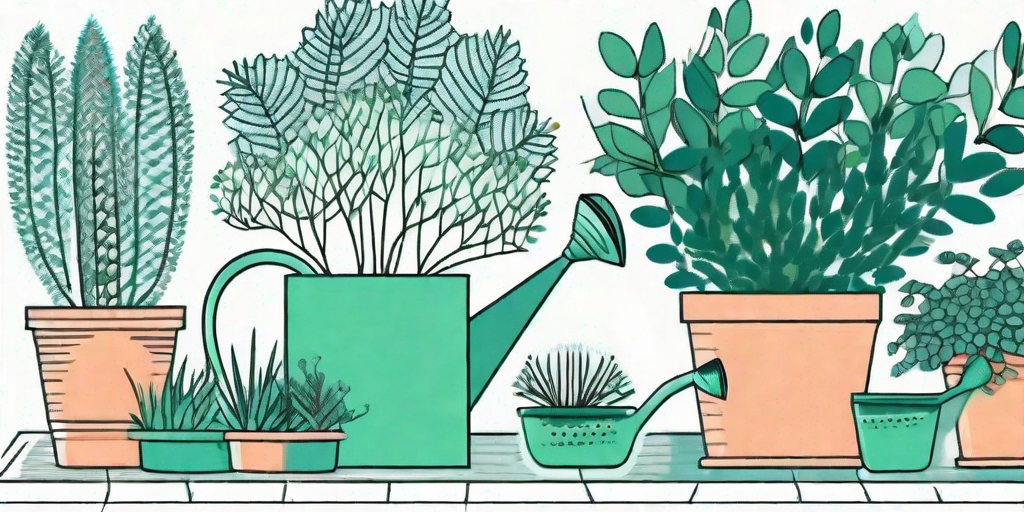
Before we dive into the propagation process, let's get to know our green friend a little better. The ZZ plant, scientifically known as Zamioculcas zamiifolia, is a tropical perennial native to Eastern Africa. It's loved by indoor gardeners worldwide for its glossy, dark green leaves and its ability to thrive in low light conditions. In other words, it's the perfect plant for those of us who are a little forgetful when it comes to watering.
ZZ plants are also known for their hardiness. They can withstand a variety of conditions, making them an excellent choice for beginners. But don't let their tough exterior fool you. These plants have a soft spot for propagation. They love to multiply, and with a little help from you, they can fill your home with their lush, green beauty.
The Art of Propagating ZZ Plants
Propagation might sound like a fancy term used by botanists in white lab coats, but it's actually a simple process that anyone can master. It involves taking a piece of the plant and encouraging it to grow into a new plant. It's like magic, but with more dirt.
There are several methods of propagation, but for ZZ plants, the most successful methods are leaf cuttings and division. Let's explore each of these methods in more detail.
Leaf Cuttings
Leaf cuttings are the easiest method of propagation for ZZ plants. All you need is a healthy leaf, a pot with well-draining soil, and a little patience. Here's how to do it:
- Cut a leaf from the ZZ plant at the base of the stem.
- Let the cutting dry for a few hours to a day. This allows the cut to callous over, reducing the risk of rot.
- Place the cutting in a pot with well-draining soil. The cut end should be buried about 1 inch deep.
- Water the soil lightly and place the pot in a warm, bright spot. Avoid direct sunlight as it can scorch the leaf.
- Wait for the magic to happen. In a few weeks to a few months, you should see a new sprout emerging from the soil.
Division
Division is a slightly more involved method of propagation, but it's a great way to get a head start on growth. Here's how to do it:
- Remove the ZZ plant from its pot and gently separate the root ball into two or more sections. Each section should have at least one stem and a good amount of roots.
- Replant each section in a new pot with fresh, well-draining soil.
- Water the new plants thoroughly and place them in a warm, bright spot.
- With a little luck and a lot of love, your new ZZ plants should start to grow in no time.
Caring for Your New ZZ Plants
Once your new ZZ plants have started to grow, they'll need a little care to keep them happy and healthy. Here are some tips:
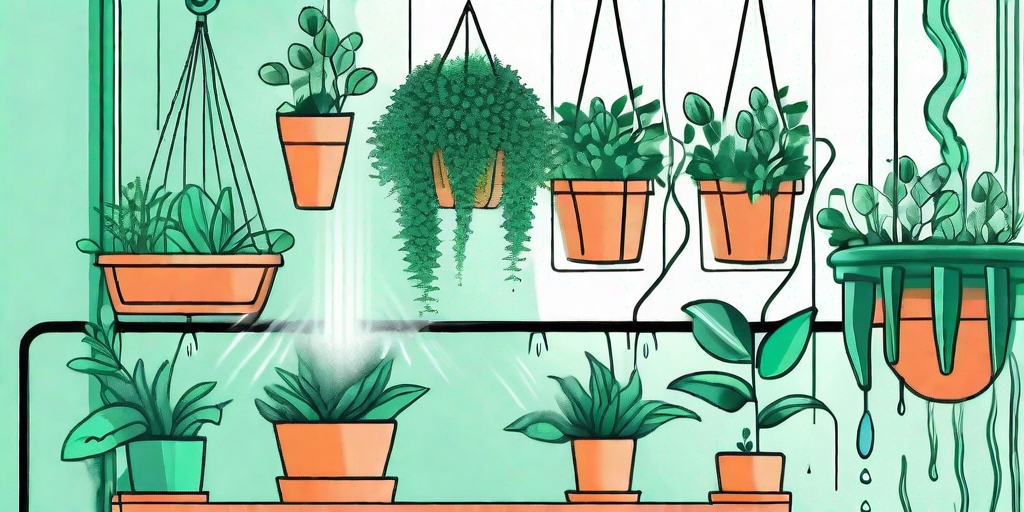
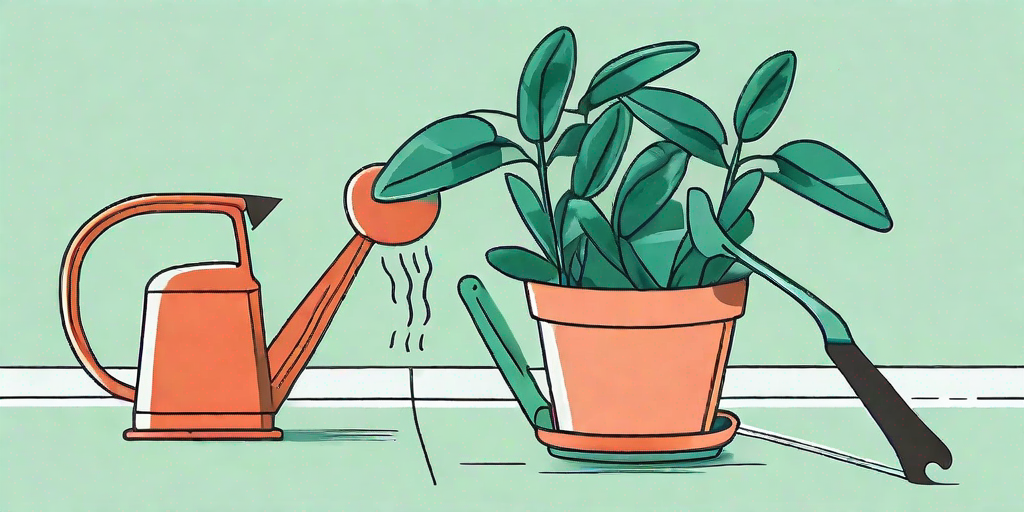
- Water sparingly. ZZ plants are drought-tolerant and prefer to be a little on the dry side. Overwatering can lead to root rot, which is a surefire way to kill your plant.
- Provide indirect light. While ZZ plants can tolerate low light conditions, they prefer bright, indirect light. Avoid placing them in direct sunlight, which can scorch their leaves.
- Feed occasionally. ZZ plants aren't heavy feeders, but they can benefit from a little fertilizer during the growing season. Use a balanced houseplant fertilizer and follow the package instructions.
FAQs
Why is my ZZ plant not propagating?
Patience, grasshopper! ZZ plant propagation can take a while. If it's been a few months and you still don't see any growth, it might be time to try again with a new cutting or division.
Can I propagate a ZZ plant in water?
Yes, you can! However, water propagation can be a bit trickier than soil propagation. The key is to change the water regularly to prevent rot and to transfer the plant to soil as soon as roots appear.
Why are the leaves on my ZZ plant turning yellow?
Yellow leaves are often a sign of overwatering. Try cutting back on watering and make sure your plant is in a pot with good drainage.
Conclusion
And there you have it, folks! The foolproof guide to propagating ZZ plants. With a little patience and care, you can fill your home with these lush, green beauties. So go ahead, unleash your green thumb and start propagating!