Welcome, dear readers, to the world of horticulture, where the grass is always greener, and the flowers always brighter. But wait! Before you start dreaming of your Eden, let's tackle the not-so-glamorous but utterly essential task of watering. Today, we're going to delve into the nitty-gritty of installing and using a plant drip line. So, grab your gardening gloves, and let's get started!
Understanding the Basics of a Plant Drip Line
What is a Plant Drip Line?
Let's start with the basics. A plant drip line, also known as a drip irrigation system, is a watering method that delivers water directly to the root zone of your plants. This system is like a personal butler for your plants, serving them water exactly where and when they need it. No more, no less.
But what makes it so special? Well, unlike traditional watering methods, a drip line minimizes water wastage and prevents overwatering. It's like the Goldilocks of watering systems - it gives your plants just the right amount of water.
Why Use a Drip Line?
Now, you might be wondering, "Why should I bother with a drip line when I have a perfectly good watering can?" Well, dear reader, while your watering can has its charm, a drip line offers several benefits that can make your life as a gardener easier and your plants happier.
Firstly, drip lines are incredibly efficient. They deliver water directly to the roots, reducing water wastage. Secondly, they save you time. Once installed, they do the watering for you, leaving you free to enjoy the fruits (or flowers) of your labor. And lastly, they help prevent plant diseases by keeping the foliage dry.
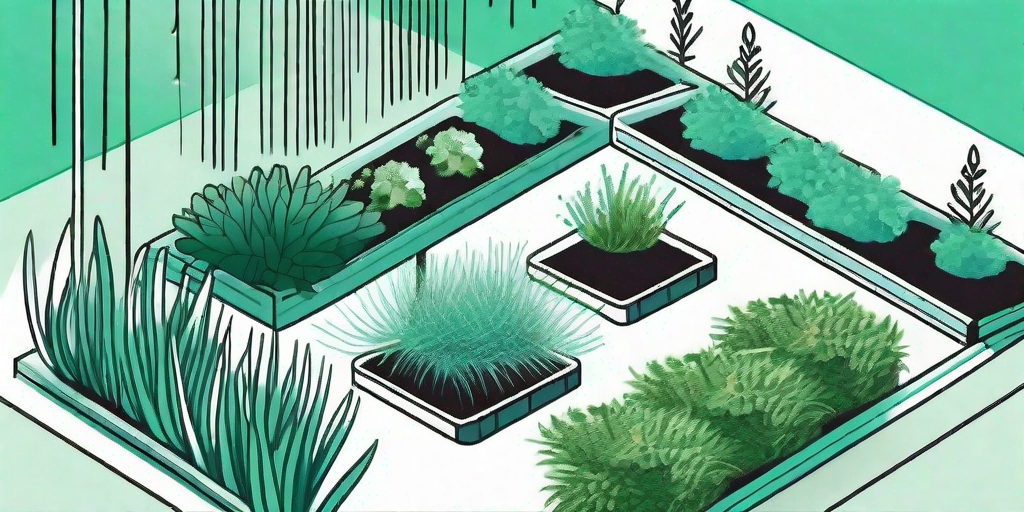
Installing Your Drip Line: A Step-by-Step Guide
Step 1: Gather Your Materials
Before we start, let's make sure we have all the necessary tools. For this project, you'll need a drip line kit, a garden hose, a hole punch, and a pair of scissors. And of course, a healthy dose of patience and humor - because let's face it, DIY projects are always a bit of an adventure.
Step 2: Lay Out Your Drip Line
Start by laying out your drip line along the base of your plants. This is like giving your plants a sneak peek of the luxury treatment they're about to receive. Make sure the drip emitters are positioned near the root zone of each plant.
Once you're happy with the layout, connect the drip line to your garden hose. This is where the magic happens - the hose will deliver water to the drip line, which will then distribute it to your plants.
Step 3: Secure Your Drip Line
Now it's time to secure your drip line. Use the hole punch to create holes in the ground along the drip line, and then insert the drip stakes into these holes. These stakes will keep your drip line in place, ensuring that your plants continue to receive their VIP watering treatment.
Step 4: Test Your System
Finally, it's time for the moment of truth. Turn on your garden hose and watch as the water trickles out of the drip line, hydrating your plants. If you notice any leaks or issues, don't panic. Simply adjust the drip line or stakes as needed.
Using Your Drip Line: Tips and Tricks
Watering Schedule
Now that your drip line is installed, you might be wondering how often to use it. The answer depends on several factors, including the type of plants you have, the weather, and the soil type. A good rule of thumb is to water deeply and infrequently, allowing the soil to dry out between waterings.
Maintenance
Like any good butler, your drip line requires a bit of upkeep. Regularly check for leaks, clean the emitters, and replace any damaged parts. This will ensure your drip line continues to serve your plants efficiently.
Frequently Asked Questions
- Can I use a drip line for all types of plants?
Yes, you can! Drip lines are versatile and can be used for a variety of plants, from vegetables to flowers to trees.
- How long should I run my drip line?
This depends on your plants and soil type. Generally, running your drip line for 30 minutes to 2 hours at a time is a good starting point.
- Can I install a drip line myself?
Absolutely! With a bit of patience and the right tools, you can install a drip line yourself. Just follow our step-by-step guide above.
Conclusion
And there you have it, folks! You're now well-equipped to install and use a plant drip line. So, go forth and water wisely. Your plants (and water bill) will thank you.
Remember, gardening is a journey, not a destination. So, enjoy the process, learn from your mistakes, and don't forget to stop and smell the roses (or whatever you're growing) along the way.