
If you're a plant enthusiast who's into propagation, then you've probably heard of air layering. This technique allows you to create new plants from existing ones, without the need for seed germination or cuttings. It's like magic, but for plants! In this ultimate guide, we'll delve into the art of air layering and show you how to become a master of this quirky propagation technique.
Understanding the Technique of Air Layering
Before we dive into the step-by-step process, let's take a moment to understand what air layering is all about. Essentially, it involves creating a new plant by encouraging a stem or branch to grow roots while still attached to the parent plant. It's as if the original plant is saying, "Hey, kid, I'll help you out before you venture into the world on your own!"
Air layering is a fascinating technique that has been used by horticulturists and plant enthusiasts for centuries. It allows you to propagate plants that may be difficult to root from cuttings or those that have a low success rate with traditional propagation methods. By creating a favorable environment for root growth on a selected branch, you can effectively clone the parent plant and create a new individual that is genetically identical.
Now, let's get into the nitty-gritty.
A Step-by-Step Guide to Air Layering
1. Choose your target branch like a true plant detective. Look for a healthy stem or branch that's at least one year old and about the thickness of your thumb (or whatever appendage closely resembles a thumb).
When selecting a branch, it's important to consider the overall health of the plant. Look for branches that have a good amount of foliage and are actively growing. These branches are more likely to have the necessary nutrients and energy to support root development.
2. Prepare your tools, which include a sharp knife (the kind that would make a surgeon proud) and some rooting hormone (because even plants need a boost of confidence sometimes).
A sharp knife is essential for making a clean and precise cut. This will minimize damage to the branch and ensure successful rooting. Rooting hormone, such as powdered or gel form, contains growth-promoting substances that stimulate root formation. It's like giving your plant a little extra push to start its journey towards independence.
3. Make a small incision in the target branch, about one-third of the way through. This is where you'll insert some rooting hormone to encourage root growth. Think of it as sprinkling a little spice to bring out the flavor of your plant's potential.
The incision should be made just below a node, which is where leaves or buds emerge from the stem. This is where the majority of root growth will occur. By applying rooting hormone to the incision, you provide the necessary nutrients and hormones to stimulate root development.
4. Wrap the incision with some moist sphagnum moss or a piece of plastic film. It's like giving your plant a cozy blanket to snuggle up with while it grows some roots.
Sphagnum moss is a popular choice for wrapping the incision because it retains moisture well and provides a suitable environment for root growth. Alternatively, you can use plastic film to create a mini greenhouse effect, trapping moisture and heat around the incision. Both methods create a favorable environment for root development.
5. Secure the moss or film with some twine, ensuring it's snug enough to keep everything in place but not so tight that your plant can't breathe. Remember, plants need oxygen too!
When securing the moss or film, it's important to strike a balance between tightness and breathability. If it's too loose, the moisture may evaporate too quickly, hindering root growth. If it's too tight, the branch may be constricted, impeding the flow of nutrients and water. Find that sweet spot where your plant feels comfortable and supported.
6. Sit back, relax, and let nature do its thing. Check on your creation regularly to make sure the moss or film remains moist. Within a few weeks to a few months, you'll start to see roots forming. It's like watching a tiny miracle unfold right before your eyes!
During the waiting period, it's important to monitor the moisture levels of the moss or film. If it becomes dry, simply mist it with water or add a little more moisture. This will ensure that the branch remains hydrated and that root development continues smoothly. Be patient, as the time it takes for roots to form can vary depending on the plant species and environmental conditions.
Air layering is a rewarding technique that allows you to expand your plant collection and share your favorite plants with others. With a little practice and patience, you can become a master at creating new plants through this fascinating method. So go ahead, give air layering a try, and watch as your garden flourishes with beautiful, rooted creations!
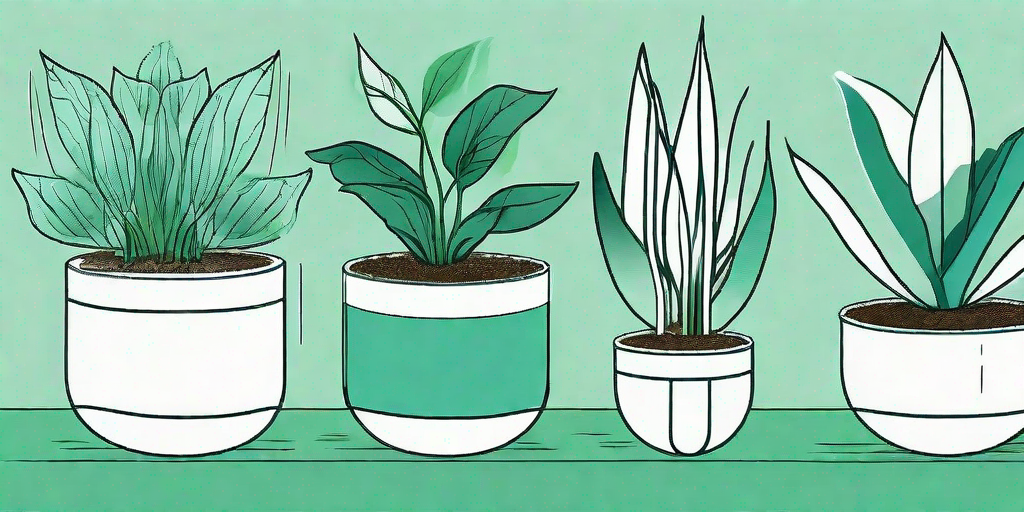
Top Plant Choices for Successful Air Layering
Now that you know how air layering works, you're probably wondering which plants are most likely to thrive using this technique. Fear not, dear green thumb, for we have some recommendations that will make your air layering adventures a breeze!
Plants That Thrive with Air Layering
1. Ficus elastica, or the rubber tree. This beauty boasts glossy leaves and can reach heights that will make your neighbors green with envy. Perfect for adding a touch of jungle vibes to your living space.
2. Philodendron scandens, or the sweetheart plant. If you're a hopeless romantic looking to add some green love to your home, this climbing vine will delight you with its heart-shaped leaves.
3. Magnolia grandiflora, or the southern magnolia. With its fragrant white flowers and lush green foliage, this tree will make you feel like you're living in a Southern fairy tale.
These plants are just the tip of the horticultural iceberg, but they're a great starting point for your air layering journey. Feel free to explore other plant species and let your imagination run wild!
Mastering the Art of Air Layering
Now that you've mastered the basics of air layering, it's time to take your skills to the next level. Like a true air layering maestro, you can experiment with different techniques and push the boundaries of propagation possibilities.
Here are a few advanced tips to help you become an air layering virtuoso:
- Try different rooting mediums such as perlite, vermiculite, or coconut coir. Think of it as giving your plant a menu of rooting options to choose from. Who said plants can't be picky eaters?
- Explore different types of cuts, like the T-budding or chip budding technique. It's like giving your plant a trendy haircut that will make all the other plants green with envy.
- Experiment with different rooting hormone concentrations to see which one entices your plants the most. Remember, plants appreciate a little confidence boost just as much as humans do.
Mastering air layering is a journey filled with excitement and surprises. So go forth, dear plant lover, and let your creativity soar as you create new life from old branches. With a little patience and a lot of love, you'll become an air layering legend in no time!
Frequently Asked Questions (FAQs)
1. How long does it take for roots to form when air layering?
Ah, the eternal question of patience! The time it takes for roots to form when air layering can vary depending on the plant species and environmental conditions. On average, you can expect to start seeing roots within a few weeks to a few months. It's like waiting for your favorite TV show to release a new season - a test of endurance, but oh, so worth it!
2. Can I air layer any plant?
While air layering can work for many plant species, not all plants are created equal when it comes to this propagation technique. Woody plants, like trees and shrubs, are the best candidates for air layering. So if you're dreaming of creating a miniature forest in your backyard, air layering is your ticket to arboreal paradise!
3. Can I air layer a plant that has already been air layered?
Ah, the circle of life, or in this case, the circle of air layering! Technically, yes, you can air layer a plant that has already been air layered. But keep in mind that each layering process weakens the plant to some extent. So, it's like asking your favorite superhero to save the day twice in a row - it might be possible, but it's not without its challenges.
So there you have it, dear plant aficionado, the ultimate guide to air layering plants. Armed with this knowledge, a sharp knife, and a sprinkle of rooting hormone, you're ready to embark on your propagation adventure. Happy layering!