
Welcome to the ultimate guide to making DIY soil blocks for seedlings! If you're tired of dealing with flimsy plastic seed trays or messy peat pots, then soil blocks might just be your new best friend. In this guide, we'll dive into everything you need to know about soil block makers, how to craft your own blocker, the advantages of using them, and how to create the perfect soil block mix. So grab your gardening gloves, because we're about to get our hands dirty!
Understanding the Soil Block Maker
Before we jump into the nitty-gritty of making soil blocks, let's first understand what a soil block maker is and why it's become so popular among avid gardeners. Soil block makers are ingenious little devices that allow you to create compact blocks of soil without any container. These soil blocks act as individual mini pots for your seedlings, providing a cozy and nutrient-rich environment for them to grow.
How Soil Block Makers Work and Why They're Popular
Soil block makers work by compressing moistened soil into a solid block shape, eliminating the need for pots or trays. The blocks hold their shape thanks to the precise blend of soil, moisture, and a touch of magic (okay, maybe not magic, but it feels like it!). These convenient little blocks offer several benefits:
- No more transplant shock! When it's time to plant your seedlings, you don't need to remove them from their containers. Just pop the soil block directly into the ground, and watch your plants thrive.
- Save space and money! With soil blocks, you won't need to invest in plastic trays, cell packs, or peat pots. Plus, they take up less space compared to traditional containers, so you can fit more plants in your gardening space.
- Eco-friendly gardening! Say goodbye to plastic waste. Soil blocks are the sustainable alternative to single-use plastic pots. Mother Earth will thank you!
Crafting Your Own Soil Blocker
Ready to roll up your sleeves and make your very own soil block maker? Let's dive into the step-by-step process of building a DIY soil blocker. Don't worry, you don't need a degree in engineering or a box full of fancy tools. All you need is a few basic materials and a can-do attitude.
Step-by-Step Guide to Building a DIY Soil Blocker
- Materials you'll need: A wooden block or plank, dowels, screws, and a bit of elbow grease. You got this!
- Measurements matter: Start by measuring and cutting the wooden block or plank. Make sure it's sturdy enough to withstand some serious soil-blocking action.
- Drill those holes: Carefully drill holes into the wooden block, making sure they're evenly spaced and deep enough to create your desired soil block size.
- Insert the dowels: Insert dowels into the holes, securing them with screws if needed. These dowels will act as plungers to compress the soil into blocks.
- Voila! Your DIY soil blocker is ready to rock: Grab your soil mixture, insert the blocker into the soil, and give it a satisfying press. Watch as perfect little soil blocks emerge!
Advantages of Using a Soil Blocker
Now that you've made your DIY soil blocker, let's explore the advantages of using this game-changing gardening tool. Trust us, once you start using a soil blocker, you won't look back!
Why Soil Blockers Are a Game-Changer for Seed Starting
Using a soil blocker for seed starting offers numerous benefits that will make you wonder why you haven't tried it sooner. Here are a few reasons why soil blockers are the superheroes of seed starting:
- Better root development: Soil blocks encourage healthier and more robust root systems. With no container walls to constrict them, your seedlings will thank you with strong roots that can access nutrients more efficiently.
- Improved moisture retention: The porous nature of soil blocks allows for optimal moisture retention. This means fewer watering sessions and less chance of overwatering your precious seedlings.
- Easy peasy transplanting: No more fussing over delicate seedlings during transplanting. Just pop the entire soil block into the ground, and watch your plants thrive without any root disturbance.
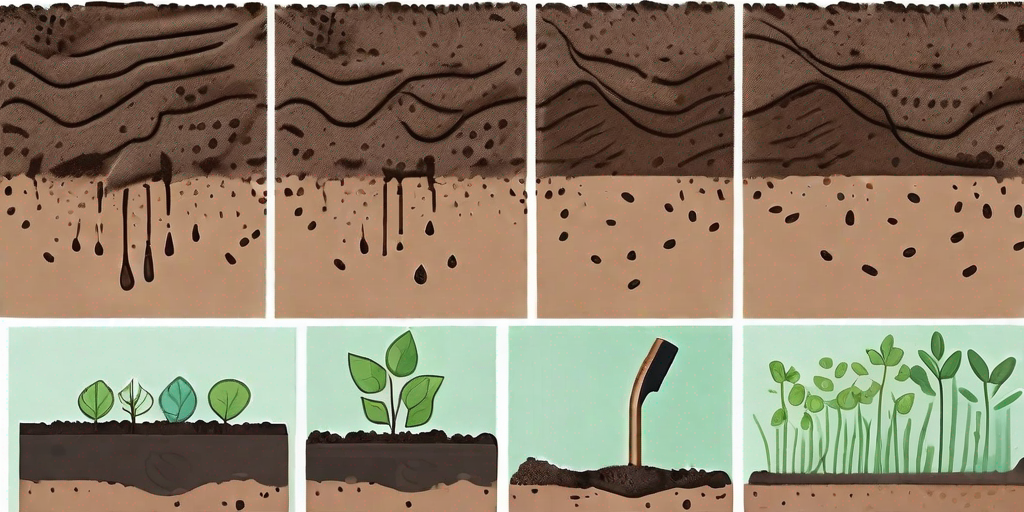
Creating the Perfect Soil Block Mix
Now that you have your soil block maker and are ready to roll, let's talk about the essential ingredients for a successful soil block mix. Remember, your seedlings will spend their early days nestled in this mixture, so it's crucial to get it right.
Essential Ingredients for a Successful Soil Block Mix
Creating the perfect soil block mix is like crafting a top-secret recipe. Each ingredient plays a crucial role in ensuring your seedlings have everything they need to thrive:
- High-quality seed starting soil: Look for a sterile, well-draining seed starting mix that's specifically formulated for soil blocking. It's the foundation of your mix.
- Coconut coir: This magical, sustainable ingredient helps retain moisture while ensuring proper aeration. It's like a spa treatment for your seedlings' roots!
- Compost: A rich source of nutrients, compost adds that extra boost to your soil block mix. Your seedlings will thank you with luxurious growth and productivity.
- Perlite or vermiculite: These lightweight minerals improve drainage and aeration, preventing waterlogged soil and giving your seedlings room to breathe.
Tips for Mixing Your Soil Blocks at Home
Mixing soil blocks is an art, and we're here to help you reach Picasso level. Here are a few tips to make sure your soil blocks come out perfectly every time:
- Measure twice, mix once: Precision is key! Measure your ingredients carefully to maintain the perfect balance between moisture and aeration.
- Wet, but not too wet: Soil blocks need enough moisture to hold their shape, but too much can create a soppy mess. Aim for a consistency that feels like a damp sponge.
- Mix it up: Use your hands or a trusty garden fork to blend the ingredients thoroughly. Think of it as a mini workout for your gardening muscles!
- Experiment and adapt: Don't be afraid to adjust the mix based on your plants' needs. Every gardener and every plant is unique, so play around and find what works best for you!
FAQs
Q: Can I reuse soil blocks after my seedlings have been transplanted?
A: Absolutely! Once your seedlings have been successfully transplanted, you can reuse the soil blocks for future plantings. Just remember to refresh the soil block mix with some additional compost and nutrients before planting new seedlings.
Q: Can I use soil blocks for all types of seeds?
A: Most seeds can be started in soil blocks, but some larger seeds may require more space to develop their roots. It's always a good idea to check the seed packet instructions or consult a gardening resource to determine the best method for specific seeds.
Q: How often should I water my soil blocks?
A: As with any container gardening, the watering frequency will depend on factors such as temperature, humidity, and the moisture retention capacity of your soil block mix. It's best to check the soil moisture regularly with your finger to determine when it's time for a drink. Trust your senses, and your seedlings will thank you!
Q: Are soil blocks suitable for all gardening zones?
A: Yes, soil blocks are suitable for all gardening zones. Whether you're growing your seedlings indoors or outdoors, in cold climates or balmy ones, soil blocks offer a versatile and convenient solution for starting your plants.
Q: Can I stack soil blocks on top of each other?
A: While soil blocks can be stacked to save space, it's essential to provide adequate support to prevent any collapsing or damage to your precious seedlings. Adding wooden supports or using specialized soil block trays can help maintain stability.
So there you have it, the ultimate guide to making DIY soil blocks for seedlings. With your newfound knowledge, you're now ready to dive into the wonderful world of soil block gardening. Happy seed starting, fellow green thumbs!