Welcome to the ultimate guide to successful seed starting! Whether you're a seasoned plant enthusiast or a beginner with a green thumb, this article will provide you with all the information you need to start your seeds at just the right time for optimal growth. So grab your gardening gloves and get ready to dive into the art of growing plants from seed!
The Art of Growing Plants from Seed
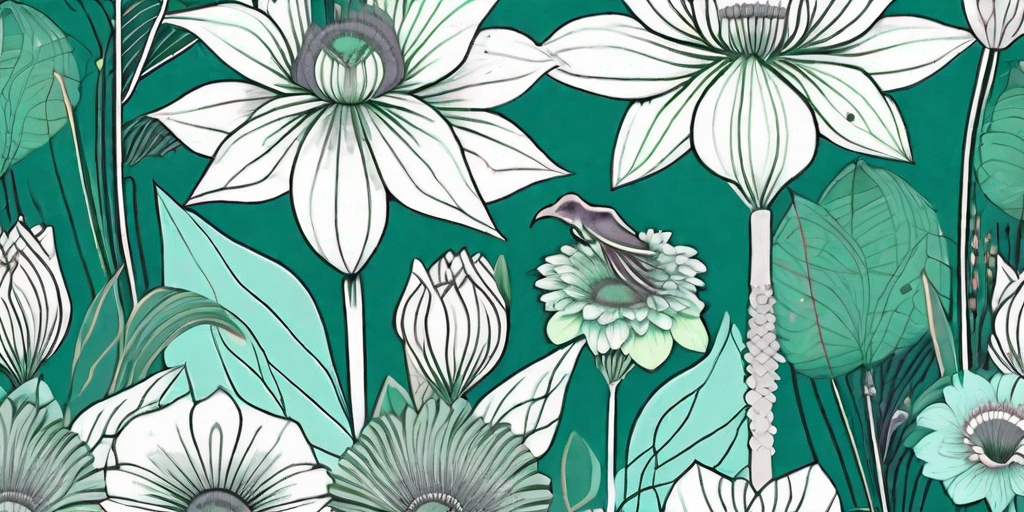
There's something truly magical about witnessing the transformation of a tiny seed into a flourishing plant. But before we get into the nitty-gritty of seed starting, let's take a moment to appreciate the wonders of nature and the power of germination.
Mastering the Seed Starting Process
Seed starting is not just about scattering a few seeds in the soil and hoping for the best (although we admit, it can sometimes feel like a game of chance). To truly master the art of seed starting, you need to understand the process from start to finish.
It all begins with selecting the right seeds for your desired plants. Be sure to choose varieties that are suitable for your climate and growing conditions. Then, create the perfect seed starting mix by combining soil, compost, and vermiculite or perlite. This will provide your seeds with the ideal conditions for germination.
Once you have your seeds and starting mix ready, it's time to sow them. Make small holes in the soil, place the seeds inside, and gently cover them with a thin layer of soil. Water the soil lightly, and then wait patiently for the magic to happen.
Essential Tips for Successful Seed Starting
Now that you have a basic understanding of the seed starting process, let's dive into some handy tips that will set you up for success.
- Start with fresh seeds: As tempting as it may be to use those old seeds sitting in the back of your gardening cabinet, it's best to invest in fresh seeds. Old seeds may have low germination rates and could lead to disappointment.
- Provide proper lighting: Seeds need plenty of light to grow, so make sure they have access to at least 12 hours of bright, indirect light each day. Consider using grow lights if you're starting seeds indoors.
- Water wisely: While it's important to keep the soil moist during the germination process, be careful not to overwater your seeds. Too much moisture can lead to rot and fungal diseases.
- Monitor temperature: Different seeds have different temperature requirements for germination. Make sure to check the optimal temperature range for each type of seed and adjust accordingly.
- Provide adequate ventilation: Good air circulation is crucial for healthy seedlings. Open a window or use a fan to prevent dampness and promote strong, sturdy growth.
- Harden off your seedlings: Before transplanting your seedlings outdoors, give them some time to acclimate to the outdoor conditions. Gradually expose them to the elements by placing them outside for a few hours each day, gradually increasing the duration over a week or two.
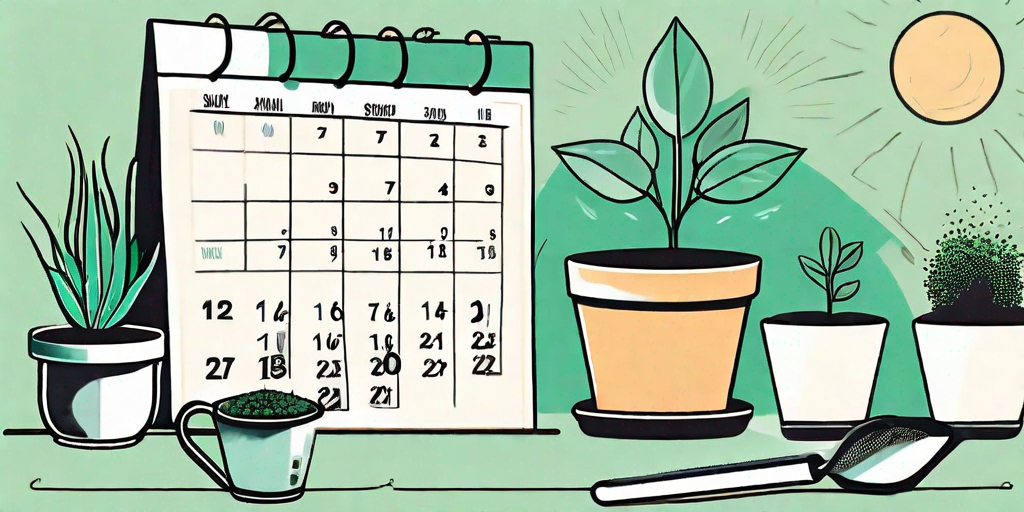
Timing is Everything: When to Start Your Seeds
Now that you have all the necessary knowledge and tips, it's time to delve into the heart of the matter: when to start your seeds for optimal growth. Timing is everything in the world of gardening, so let's ensure you have it down to a science!
Understanding the Optimal Seed Starting Times
Every type of plant has its own preferred time for seed starting. Some seeds need to be started early, while others prefer a later start. Understanding these optimal times will give your seeds the best chances of thriving.
For cool-season crops like lettuce, spinach, and peas, it's best to start them indoors 4-6 weeks before the last frost date in your area. These plants can tolerate cooler temperatures and can be transplanted into the garden early in the season.
Warm-season crops such as tomatoes, peppers, and squash require a longer growing season. Start these seeds indoors 6-8 weeks before the last frost date to give them ample time to mature before being moved outside. You don't want to miss out on fresh homegrown tomatoes, do you?
A Guide to Determining the Right Time for Each Seed
While general guidelines can help you determine when to start your seeds, it's always best to consult the specific recommendations for each plant. Seed packets usually provide valuable information on the optimal sowing time, so don't toss them aside!
If you're unsure about a particular plant, a quick online search or a chat with your local gardening expert can help you figure out the best course of action. After all, it's better to be safe than sorry when it comes to your garden.
Indoor Seed Sowing: A Step-by-Step Guide
If you don't have a sprawling garden or if the weather outside is less than favorable, fear not! You can still grow your favorite plants from seeds indoors. Let's explore the step-by-step process of indoor seed sowing.
Creating the Perfect Environment for Indoor Seed Sowing
Creating the ideal environment for your indoor seed sowing adventure doesn't require a degree in horticulture or expensive equipment. All you need are a few supplies and a pinch of enthusiasm!
- Choose the right containers: Opt for seed trays or individual pots with drainage holes to ensure proper water drainage. You can also repurpose egg cartons or yogurt cups if you're feeling eco-friendly.
- Prepare the seed starting mix: Combine equal parts of sterile seedling mix and vermiculite or perlite to create a light and well-draining medium for your seeds.
- Sow the seeds: Fill your containers with the seed starting mix, make small holes for each seed, and place them inside. Lightly cover the seeds with more soil and mist them with water to moisten the soil surface.
- Provide warmth and light: Most seeds germinate best under warm temperatures (around 70-75°F or 21-24°C). Consider using a special seedling heat mat to maintain consistent temperatures. Place your containers near a sunny window or use fluorescent grow lights to provide adequate illumination.
- Water and care for your seedlings: Keep the soil consistently moist but not overly saturated. Use a spray bottle or a watering can with a fine nozzle to avoid disturbing the delicate seedlings. Rotate the containers regularly to ensure even growth.
Tips for Successfully Sowing Seeds Indoors
Sowing seeds indoors can be both rewarding and challenging. To stack the odds in your favor and ensure success, keep these helpful tips in mind:
- Label your containers: It's easy to forget which seed is which, especially when they start sprouting. Use popsicle sticks or plant tags to label each container, and you'll avoid any veggie mix-ups.
- Keep pests at bay: Indoor seedlings are no stranger to unwelcome visitors. Use natural pest control methods, such as neem oil or insecticidal soap, to protect your delicate sprouts from pesky critters.
- Thin out overcrowded seedlings: If multiple seeds sprout in one container, thin them out by snipping the weakest ones at soil level. This will prevent overcrowding and give the stronger seedlings more room to grow.
- Transplant with care: When it's time to move your indoor seedlings outdoors, handle them gently to prevent damage to the delicate roots. Dig a hole in the garden soil, carefully place the seedling inside, and gently firm the soil around it.
- Don't forget to harden off: Remember to gradually acclimate your indoor seedlings to the outdoor conditions before transplanting them. Start with short periods outside in a sheltered area, then gradually increase their exposure to sunlight and wind over a week or two.
Now that you have all the tools, tips, and knowledge, you're well on your way to becoming a seed-starting expert. Just remember, the key to successful seed starting is patience, a little bit of trial and error, and a touch of magic. Happy sowing!
FAQs
1. How deep should I plant my seeds?
The general rule of thumb is to plant seeds at a depth that's two to three times their diameter. However, it's always a good idea to consult the specific instructions on the seed packet, as some seeds may have different requirements.
2. Can I reuse soil mix from previous seed starting seasons?
While it may be tempting to reuse old soil to save a few bucks, it's best to start with fresh, sterile soil mix. Reusing soil can lead to the introduction of pests, diseases, and nutrient depletion, which can hinder the growth of your seeds.
3. How do I prevent damping off?
Damping off is a common fungal disease that can be devastating to young seedlings. To prevent damping off, make sure to provide good air circulation, avoid overwatering, and use sterilized containers and soil. If you notice signs of damping off, remove the affected seedlings immediately and adjust your watering practices.
4. Can I start seeds outdoors directly in the garden?
While it's possible to sow seeds directly in the garden, this can be risky, especially if you have a short growing season. Starting seeds indoors gives them a head start and allows you to control the growing conditions until they're ready to be transplanted outside.
5. Do all seeds require light to germinate?
No, not all seeds require light to germinate. Some seeds, such as lettuce and pansies, actually prefer darkness. However, most seeds benefit from exposure to light once they've germinated, as it helps promote strong, healthy growth.
Remember, successful seed starting is a journey filled with excitement, surprises, and a few challenges along the way. Embrace the process, experiment with different plants, and most importantly, have fun watching your garden come to life from a humble seed. Happy gardening!