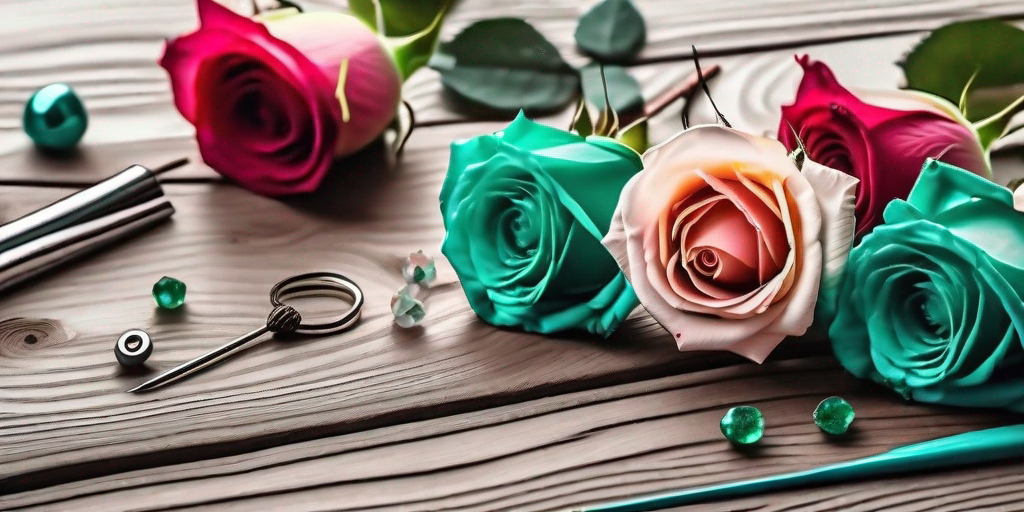
Are you ready to channel your inner flower child? Do you have a love for roses that goes beyond just admiring them in your garden? Well, you're in luck! This guide will teach you how to create your very own DIY rose beads, perfect for crafting unique jewelry or adding a touch of floral charm to your home decor. So, roll up your sleeves, put on your favorite folk music, and let's get started!
A Brief History of Rose Beads
Before we dive into the nitty-gritty of making rose beads, let's take a moment to appreciate their history. Rose beads, also known as rosary beads, have been around for centuries. They were traditionally used in prayer rituals, with each bead representing a prayer or devotion. Pretty deep, right?
But don't worry, you don't have to be a history buff or a religious scholar to enjoy making and using rose beads. Today, they're appreciated for their beauty, their sweet aroma, and the personal touch they add to any DIY project.
Materials You'll Need
Alright, enough with the history lesson. Let's get down to business. To make rose beads, you'll need a few basic materials. Don't worry, nothing too fancy or hard to find. You probably have most of these items in your home already.
Here's what you'll need:
- Roses (the more, the merrier!)
- A blender or food processor
- A strainer
- A baking sheet
- Wax paper
- A needle and thread
Got everything? Great! Let's move on to the fun part.
Step-by-Step Guide to Making Rose Beads
Step 1: Preparing the Roses
The first step in making rose beads is to prepare your roses. You'll want to remove the petals from the stem and place them in your blender or food processor. Don't be shy, the more petals, the better!
Once you've got a good amount of petals, blend them until they form a thick paste. This might take a few minutes, so be patient. Remember, good things come to those who wait!
Step 2: Straining the Mixture
Next, you'll want to strain the rose petal paste. This will remove any excess water and help your beads hold their shape. Simply place your strainer over a bowl and pour the paste into the strainer. Let it sit for a few hours, or until the paste is thick and malleable.
Pro tip: Don't throw away the leftover rose water! It's great for skin care or adding a floral touch to your favorite cocktails.
Step 3: Forming the Beads
Now comes the fun part: forming the beads. Take a small amount of the rose petal paste and roll it into a ball. The size of the bead is up to you, but keep in mind that they will shrink a bit as they dry.
Once you've formed a bead, thread it onto the needle and slide it onto the thread. Repeat this process until you've used up all your paste. Then, leave your beads to dry for a few days.
Step 4: Enjoying Your Rose Beads
Once your beads are dry, they're ready to be used! String them onto a necklace, add them to a bracelet, or use them to decorate your home. The possibilities are endless!
And there you have it: your very own DIY rose beads. Not only have you learned a new skill, but you've also created something beautiful and personal. So go ahead, unleash your inner flower child and let your creativity bloom!
FAQs
Can I use any type of rose?
Absolutely! Any type of rose can be used to make rose beads. However, keep in mind that different types of roses may produce different colors and scents.
How long do rose beads last?
With proper care, rose beads can last for many years. To prolong their life, keep them out of direct sunlight and avoid getting them wet.
Can I use rose beads in other crafts?
Of course! Rose beads can be used in a variety of crafts, from jewelry making to home decor. Let your imagination run wild!
Final Thoughts
Making rose beads is a fun and rewarding process. Not only do you get to enjoy the beauty and scent of roses in a whole new way, but you also get to create something truly unique. So why not give it a try? You might just find your new favorite hobby!
Remember, the best part about DIY projects is that they're a reflection of you. So don't be afraid to experiment and make your rose beads your own. After all, you're the artist here!


