


Gladiolus bulbs, often known as the "sword lilies", are a gardener's delight and a florist's dream. With their vibrant hues and dramatic height, they add a touch of elegance and drama to any garden or bouquet. But, like all good things, they too have a lifespan. Let's delve into the captivating journey of these bulbs, from their bloom to their eventual gloom.
The Life Cycle of Gladiolus Bulbs
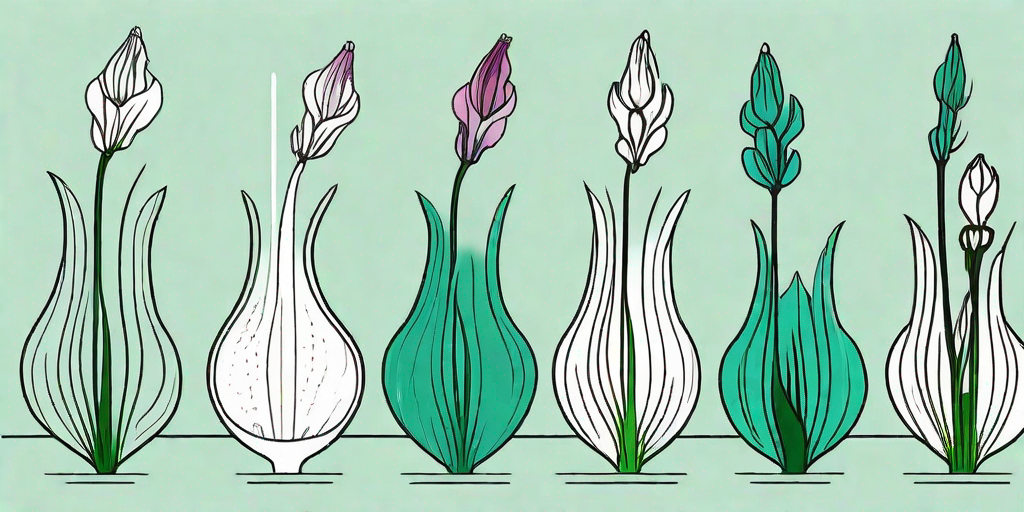
Understanding the life cycle of gladiolus bulbs can be as fascinating as watching a mystery thriller unfold. There's suspense, there's drama, and there's a beautiful ending (or beginning, depending on how you look at it).
So, let's don our detective hats and unravel this botanical mystery, shall we?
Stage 1: Planting and Germination
The journey of a gladiolus bulb begins beneath the soil. Planted in the cool, early spring, these bulbs are like dormant volcanoes, waiting to erupt with vibrant life. The germination process takes about 10-14 days, depending on the soil temperature and moisture levels.
Pro tip: Plant the bulbs about 4 inches deep and 6 inches apart. This gives them enough room to grow without overcrowding.
Stage 2: Growth and Development
Once the bulbs have germinated, they begin their journey towards the sun. The stems grow tall and strong, reaching for the sky like a toddler reaching for a cookie jar on a high shelf. This stage lasts for about 70-90 days, culminating in the formation of the flower buds.
Pro tip: Regular watering and a good quality bulb food can help the plants grow healthier and stronger.
Stage 3: Blooming
The blooming stage is like the grand finale of a fireworks show. The buds burst open, revealing the vibrant petals within. The flowers bloom from the bottom up, creating a stunning display of colors. This stage lasts for about 1-2 weeks, depending on the weather conditions.
Pro tip: Cut the flowers in the morning when they are still fresh for longer-lasting bouquets.
Stage 4: Dormancy and Decay
After the flowers have bloomed and faded, the plant enters a period of dormancy. The leaves turn yellow and the plant begins to die back. This is the gloom stage of the gladiolus bulb's life cycle. But fear not, for this is not the end. The bulbs can be dug up, stored, and replanted the following spring, starting the cycle all over again.
Pro tip: Dig up the bulbs after the first frost to prevent them from rotting in the ground.
Common Problems and Solutions
Like any Hollywood star, gladiolus bulbs too have their share of problems. But with a little care and attention, these can be easily resolved.
Problem 1: Thrips
Thrips are tiny insects that can cause significant damage to gladiolus plants. They suck the sap from the plants, causing the leaves to turn silver and the flowers to become distorted.
Solution: Use insecticidal soap or neem oil to control thrips. Regular monitoring and early detection can help prevent severe infestations.
Problem 2: Rot
Rot is a common problem in gladiolus bulbs, often caused by overwatering or poor drainage. The bulbs become soft and mushy, and the plants may wilt or die.
Solution: Ensure proper drainage in the planting area and avoid overwatering. If rot is detected, remove and dispose of the affected bulbs immediately to prevent the disease from spreading.
Frequently Asked Questions
- When is the best time to plant gladiolus bulbs?
Gladiolus bulbs are best planted in the early spring, after the threat of frost has passed. - How long do gladiolus flowers last?
Gladiolus flowers typically last for 1-2 weeks, depending on the weather conditions. - Can gladiolus bulbs be reused?
Yes, gladiolus bulbs can be dug up, stored, and replanted the following spring. - What should I do if my gladiolus bulbs have rotted?
If your gladiolus bulbs have rotted, remove and dispose of them immediately to prevent the disease from spreading. Ensure proper drainage in the planting area and avoid overwatering in the future.
Conclusion
So there you have it, the fascinating journey of gladiolus bulbs from bloom to gloom. Whether you're a seasoned gardener or a budding green thumb, understanding the life cycle of these bulbs can help you grow healthier and more vibrant gladiolus plants.
Remember, every ending is a new beginning. So, even when your gladiolus plants enter their gloom stage, know that it's just a sign of a new bloom waiting to happen. Happy gardening!


