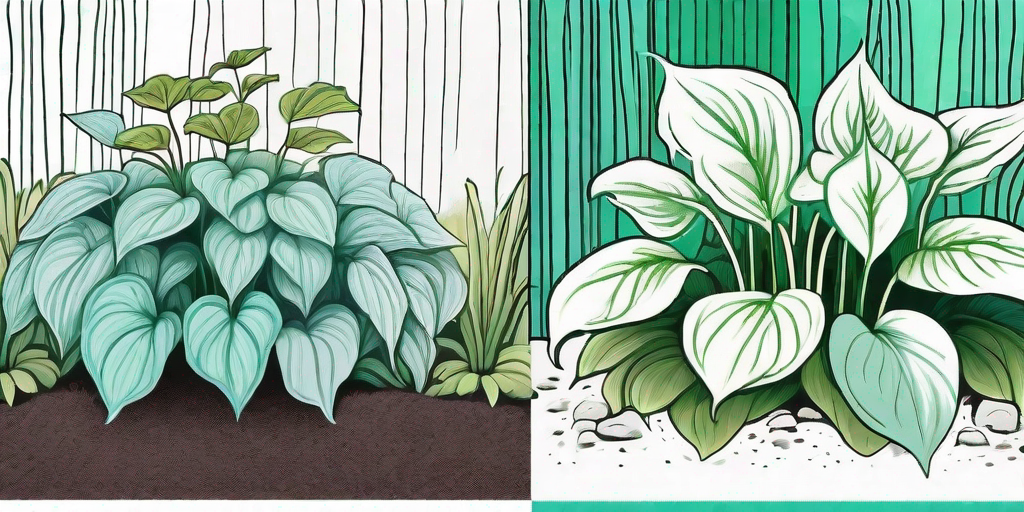
Hostas, the humble heroes of the shade garden, have a reputation for being hardy, versatile, and oh-so-easy to grow. But what if we told you there's a secret to taking your hosta game from "meh" to "marvelous"? That's right, folks, we're talking about transplanting. It's not just about digging a hole and plopping in a plant. Oh no, there's an art to it. And we're here to spill the beans.
The Art of Transplanting Hostas
Transplanting hostas is like performing a magic trick. You take a seemingly ordinary plant, move it to a new location, and voila! It transforms into a lush, leafy masterpiece that's the envy of the neighborhood. But just like any good magic trick, it's all about the technique.
Timing is crucial. Hostas are best transplanted in the spring or fall when the weather is cool and the plants are dormant. This gives them a chance to establish their roots before they have to deal with the stress of hot weather or the demands of producing new growth.
Choosing the Right Location
Hostas are shade-lovers, but that doesn't mean they want to live in the dark. They need some light to photosynthesize and produce those gorgeous leaves we all love. The ideal location is one with morning sun and afternoon shade. Too much sun can scorch the leaves, while too little can result in a lackluster plant.
Soil is another important factor. Hostas prefer rich, well-drained soil. If your garden has heavy clay or sandy soil, you'll need to amend it with organic matter to improve its texture and fertility. And don't forget about space. Hostas need room to spread out, so be sure to give them plenty of elbow room.
Preparing the Plant
Before you can transplant your hosta, you need to prepare it for the move. This involves watering it thoroughly a day or two before the transplant to ensure it's well-hydrated. You'll also need to dig it up carefully to avoid damaging the roots. Use a sharp spade to cut a circle around the plant, then lift it out of the ground with the root ball intact.
Once the hosta is out of the ground, it's a good idea to divide it. This not only gives you more plants for your garden, but it also helps to rejuvenate older hostas that have become crowded or overgrown. To divide a hosta, simply cut through the root ball with a sharp knife, making sure each division has at least one eye (the point from which new growth emerges).
Planting the Hosta
Now that your hosta is ready for its new home, it's time to plant it. Dig a hole that's twice as wide and just as deep as the root ball. Place the hosta in the hole, making sure the crown (the point where the stems meet the roots) is level with the soil surface. Backfill the hole with soil, firming it gently around the roots.
After planting, water the hosta thoroughly and apply a layer of mulch to conserve moisture and suppress weeds. Continue to water the plant regularly, especially during dry spells. With the right care, your transplanted hosta should settle in nicely and reward you with a spectacular display of foliage.
Frequently Asked Questions
When is the best time to transplant hostas?
The best time to transplant hostas is in the spring or fall when the weather is cool and the plants are dormant. This gives them a chance to establish their roots before they have to deal with the stress of hot weather or the demands of producing new growth.
Can I transplant hostas in the summer?
While it's possible to transplant hostas in the summer, it's not ideal. The heat and dry conditions can stress the plants and make it harder for them to establish in their new location. If you must transplant in the summer, be sure to water the plants thoroughly before and after the move, and provide them with some shade until they're established.
How often should I water my transplanted hostas?
Water your transplanted hostas thoroughly after planting, and continue to water them regularly, especially during dry spells. The soil should be kept consistently moist, but not waterlogged. A layer of mulch can help conserve moisture and reduce the need for frequent watering.
Conclusion
Transplanting hostas may seem like a daunting task, but with a little know-how and a dash of humor, it can be a fun and rewarding experience. So roll up your sleeves, grab your spade, and get ready to transform your garden from dull to dazzling. Remember, the secret to a lush garden is not just in the plants you choose, but in how you care for them. Happy gardening!


