


Ah, the Bleeding Heart, a plant that wears its heart on its sleeve, or rather, on its stem. This perennial beauty, with its heart-shaped flowers and arching stems, is a sight to behold in any garden. But what happens when your Bleeding Heart needs a new home? Fear not, dear gardener, for we are here to guide you through the process of transplanting this delicate darling from heartbreak to heartfelt.
Understanding the Bleeding Heart
Before we delve into the nitty-gritty of transplantation, it's important to understand the Bleeding Heart itself. This plant, also known as Lamprocapnos spectabilis, is a spring-blooming perennial that thrives in cool, moist, and shady conditions. Its unique heart-shaped flowers are a sight to behold, but they're also a sign of a sensitive soul. Yes, the Bleeding Heart is a bit of a drama queen, requiring careful handling to ensure it thrives.
Native to Siberia, northern China, Korea and Japan, the Bleeding Heart is a hardy plant that can withstand cold temperatures. However, it's not a fan of the spotlight, preferring the shade to direct sunlight. This is an important factor to consider when choosing a new location for your plant.
The Bleeding Heart's Preferred Conditions
As we've mentioned, the Bleeding Heart prefers cool, shady conditions. But what does this mean in practical terms? Well, it means that your plant will do best in a location that gets morning sun and afternoon shade. It also means that your plant will appreciate a well-drained soil that's rich in organic matter.
While the Bleeding Heart can tolerate a range of soil types, it prefers a slightly acidic to neutral pH. If your soil is on the alkaline side, you may need to add some organic matter, such as compost or well-rotted manure, to lower the pH. But don't worry, we'll cover soil preparation in more detail later on.
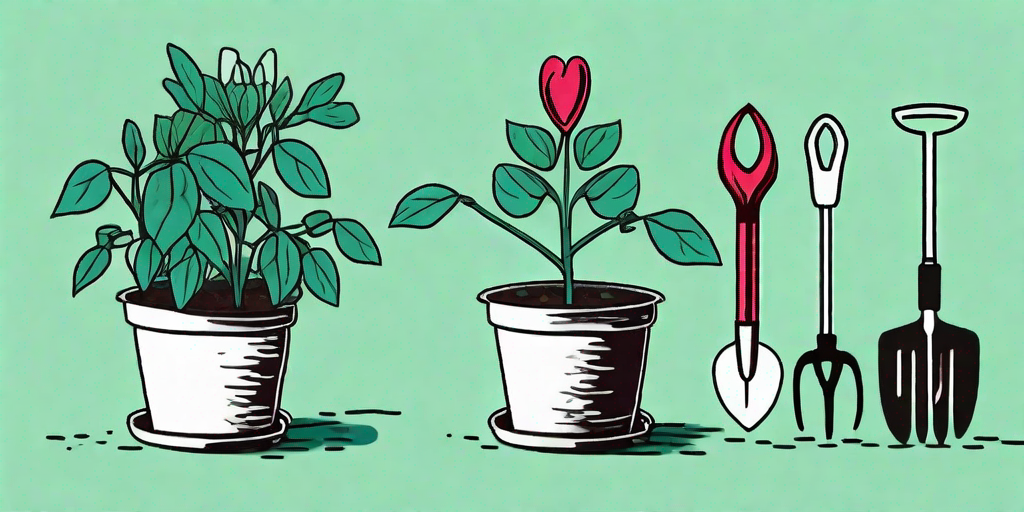
Transplanting Your Bleeding Heart
Now that we've covered the basics of the Bleeding Heart, let's move on to the main event: transplantation. This process can be a bit daunting, especially if you're dealing with a mature plant. But don't worry, we're here to guide you every step of the way.
Transplanting a Bleeding Heart involves three main steps: preparing the new location, digging up the plant, and planting it in its new home. Let's break down each step in detail.
Preparing the New Location
Before you even think about digging up your Bleeding Heart, you'll need to prepare its new home. This involves choosing a suitable location and preparing the soil.
As we've mentioned, the Bleeding Heart prefers a location that gets morning sun and afternoon shade. It also likes a well-drained soil that's rich in organic matter. To prepare the soil, dig a hole that's twice as wide and just as deep as the root ball of your plant. Then, mix some compost or well-rotted manure into the soil to improve its fertility and drainage.
Digging Up the Plant
Once the new location is ready, it's time to dig up your Bleeding Heart. This can be a bit tricky, as you'll need to be careful not to damage the roots. Start by watering the plant thoroughly, as this will make it easier to remove from the ground. Then, using a sharp spade, dig a circle around the plant, making sure to go deep enough to get under the root ball.
Once you've loosened the soil, carefully lift the plant out of the ground, trying to keep as much of the root ball intact as possible. If the plant is large, you may need to enlist the help of a friend or use a garden fork to lever it out of the ground.
Planting in the New Location
Now that you've successfully dug up your Bleeding Heart, it's time to plant it in its new home. Place the plant in the prepared hole, making sure that the top of the root ball is level with the soil surface. Then, backfill the hole with the amended soil, firming it gently around the roots.
Once the plant is in place, water it thoroughly and apply a layer of mulch around the base to conserve moisture and suppress weeds. Then, sit back and watch as your Bleeding Heart settles into its new home.
Post-Transplant Care
Transplanting a Bleeding Heart can be a bit of a shock to the system, so it's important to provide some post-transplant care. This involves watering, feeding, and monitoring the plant for signs of stress.
Water your Bleeding Heart regularly, especially during dry periods. The soil should be kept moist, but not waterlogged. Feed your plant with a balanced fertilizer in the spring to promote healthy growth. And keep an eye out for signs of stress, such as wilting or yellowing leaves. If you notice any of these symptoms, check the soil moisture levels and adjust your watering schedule as necessary.
FAQs
When is the best time to transplant a Bleeding Heart?
The best time to transplant a Bleeding Heart is in the early spring or late fall, when the plant is dormant. This reduces the risk of transplant shock and gives the plant a chance to establish its roots before the growing season.
Can I divide my Bleeding Heart when I transplant it?
Yes, you can divide your Bleeding Heart when you transplant it. In fact, this is a great way to propagate the plant. Simply cut the root ball into sections, making sure each section has at least one growing point.
How long does it take for a transplanted Bleeding Heart to establish?
It can take a few weeks for a transplanted Bleeding Heart to establish. During this time, it's important to keep the soil moist and protect the plant from extreme weather conditions.
Conclusion
Transplanting a Bleeding Heart may seem like a daunting task, but with a bit of preparation and care, it can be a rewarding experience. So don your gardening gloves, grab your spade, and get ready to give your Bleeding Heart a new lease on life.


