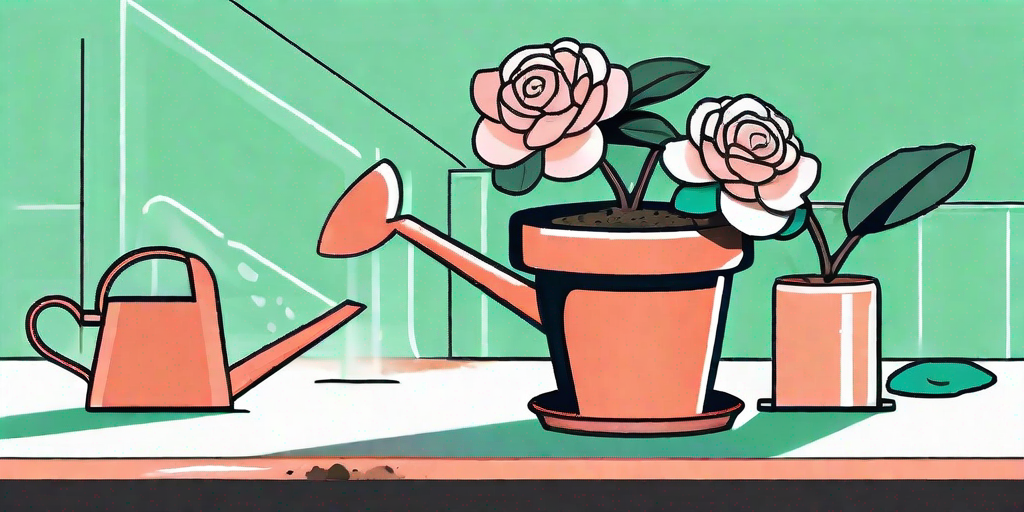
If you've ever been captivated by the stunning beauty of camellias, you're not alone. These evergreen shrubs, with their glossy leaves and show-stopping flowers, have been enchanting gardeners for centuries. But, as with any plant, there comes a time when your potted camellia might outgrow its current home and need a little more room to stretch its roots. That's where we come in! This guide will walk you through the process of transplanting your camellias from pot to ground, with a dash of humor and a sprinkle of cheekiness.
Understanding Your Camellias
Before we dive into the nitty-gritty of transplanting, it's important to understand a bit about camellias. These plants are native to eastern and southern Asia and are known for their large, dramatic flowers that bloom in the colder months. They're a bit like the divas of the plant world - they demand attention, but boy, do they deserve it!
Camellias prefer well-drained, acidic soil and partial shade. They're not big fans of extreme temperatures, so if you live in a region with scorching summers or freezing winters, you might want to think twice before planting them in the ground. But don't worry, they can still thrive in pots indoors!
Types of Camellias
There are over 250 species of camellias, but the most common ones you'll find in gardens are Camellia japonica and Camellia sasanqua. Japonicas are the drama queens, with large, showy flowers that bloom in late winter and early spring. Sasanquas, on the other hand, are the early birds, blooming in autumn and early winter, with smaller but equally beautiful flowers.
Knowing the type of camellia you have can help you determine the best time to transplant it. Generally, it's best to transplant camellias when they're not in bloom, as this can reduce stress on the plant.
Transplanting Your Camellias: A Step-by-Step Guide
Now that we've covered the basics, let's get down to business. Transplanting camellias might seem daunting, but with a little patience and care, you can give your plant a new home where it can flourish. Here's a step-by-step guide to help you through the process.
Step 1: Choose the Right Spot
Remember, camellias are a bit picky about their environment. Choose a spot in your garden that gets partial shade and has well-drained, acidic soil. If your soil is more on the alkaline side, you can amend it with sulfur or peat moss to increase its acidity.
Also, make sure the spot you choose has enough space for your camellia to grow. These plants can grow quite large, so give them plenty of room to spread their branches.
Step 2: Prepare the Planting Hole
Once you've chosen the perfect spot, it's time to prepare the planting hole. The hole should be twice as wide and just as deep as the root ball of your camellia. This gives the roots plenty of room to spread out and establish themselves in their new home.
Before you place your camellia in the hole, loosen the soil at the bottom and sides of the hole. This makes it easier for the roots to penetrate the soil and establish themselves.
Step 3: Transplant the Camellia
Now comes the fun part - transplanting the camellia! Carefully remove the camellia from its pot, making sure not to damage the roots. Place the camellia in the planting hole, making sure it's at the same depth it was in the pot. Backfill the hole with soil, firming it gently around the base of the plant.
Once the camellia is planted, water it thoroughly. This helps settle the soil around the roots and reduces transplant shock. Continue to water the camellia regularly, especially during dry periods.
Post-Transplant Care
Transplanting is just the first step in your camellia's journey. Post-transplant care is equally important to ensure your camellia thrives in its new home.
Watering and Fertilizing
Camellias prefer consistently moist soil, so make sure to water your plant regularly, especially during dry periods. However, be careful not to overwater, as this can lead to root rot.
About a month after transplanting, you can start fertilizing your camellia. Use a slow-release, acid-forming fertilizer to promote healthy growth. Remember, it's better to under-fertilize than over-fertilize, so start with a small amount and adjust as needed.
Pruning and Mulching
Pruning is not necessary for camellias, but it can help maintain a desired shape and size. If you choose to prune, do so immediately after blooming to avoid cutting off next year's buds.
Mulching can help retain soil moisture and suppress weeds. Apply a layer of organic mulch, such as pine needles or bark chips, around the base of your camellia, but be careful not to pile it against the stem, as this can lead to rot.
FAQs
When is the best time to transplant camellias?
The best time to transplant camellias is in the early spring or fall, when the plant is not in bloom. This reduces stress on the plant and allows it to establish itself in its new location before the next blooming season.
How often should I water my transplanted camellia?
Water your transplanted camellia regularly to keep the soil consistently moist. However, be careful not to overwater, as this can lead to root rot. The frequency of watering will depend on your climate and soil type, but a good rule of thumb is to water when the top inch of soil feels dry to the touch.
Can I transplant a camellia in bloom?
While it's possible to transplant a camellia in bloom, it's not recommended. Transplanting can be stressful for the plant, and doing so while it's in bloom can cause the flowers to drop prematurely. It's best to wait until the plant has finished blooming before transplanting.
In Conclusion
Transplanting camellias might seem like a daunting task, but with a little knowledge and care, you can successfully move your plant from pot to ground. Remember, the key is to understand your camellia's needs and provide the right conditions for it to thrive. So roll up your sleeves, grab your gardening gloves, and get ready to give your camellia the room it needs to grow!


