


Welcome to the wonderful world of daylilies! These vibrant, hardy perennials are a favorite among gardeners for their showy blooms and easy care. But what happens when you want to move your daylilies to a new spot in your garden? Fear not, green thumbs! We've got you covered with this comprehensive guide to transplanting daylilies. Let's dig in, shall we?
Understanding Daylilies
Before we get our hands dirty, let's take a moment to appreciate the humble daylily. Known scientifically as Hemerocallis, daylilies are not true lilies, but they sure do put on a show like their namesake. With blooms that last just one day, these plants are a testament to the fleeting beauty of nature.
Daylilies come in a dizzying array of colors, sizes, and shapes. From the petite and delicate to the bold and dramatic, there's a daylily for every garden. But no matter their appearance, all daylilies share a common trait: they're tougher than a two-dollar steak. These plants can survive in a variety of soil conditions, tolerate drought, and resist most pests and diseases. In other words, they're the Chuck Norris of the plant world.
Why Transplant Daylilies?
Now, you might be wondering, "Why would I want to move such a hardy plant?" Well, there are several reasons. Maybe you're redesigning your garden, and your daylilies need to make way for a new rose bush. Or perhaps your daylilies have multiplied faster than rabbits in springtime, and you need to thin them out. Whatever the reason, transplanting daylilies is a straightforward process that even the most novice gardener can handle.
Transplanting can also give your daylilies a new lease on life. If they're not blooming as profusely as they once did, moving them to a sunnier spot or richer soil can help them regain their mojo. So, in a way, transplanting is like sending your daylilies on a spa retreat. Who wouldn't want that?
When to Transplant Daylilies
Timing is everything when it comes to transplanting daylilies. The best time to do this is in early spring or late fall, when the plants are dormant. This gives them a chance to establish their roots in their new home before they start their growth spurt.
However, if you're in a pinch, you can transplant daylilies at any time during the growing season. Just be aware that they might not bloom as well that year. But don't worry, they'll bounce back faster than a cat with a rubber tail.
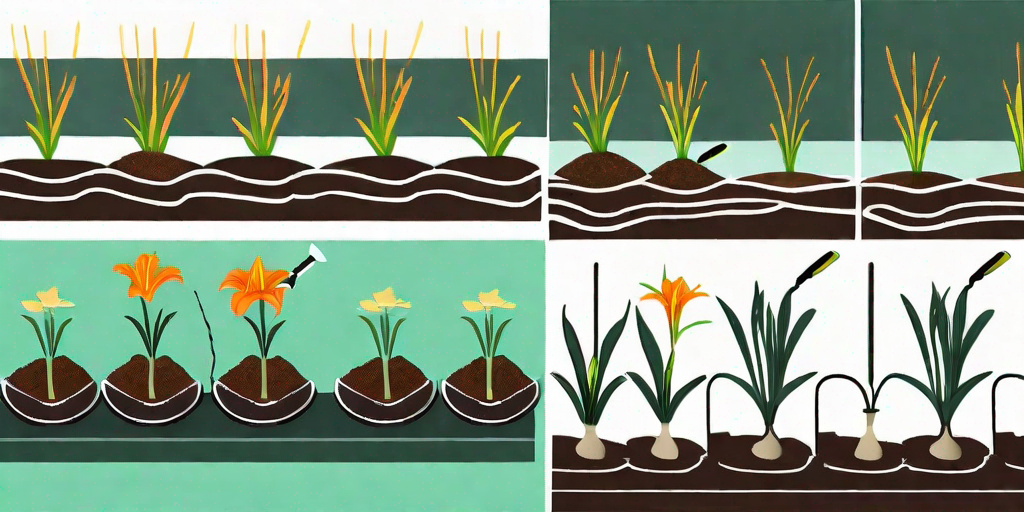
How to Transplant Daylilies
Step 1: Dig Up the Daylilies
First, you'll need to dig up your daylilies. Start by watering the soil around the plants to make it easier to dig. Then, using a garden fork or spade, gently lift the plants out of the ground. Be careful not to damage the roots as you do this.
Once you've dug up the daylilies, shake off any excess soil and rinse the roots with water. This will make it easier to separate the plants if they've formed a clump.
Step 2: Divide the Daylilies
If your daylilies have formed a clump, now's the time to divide them. This is as easy as pulling apart the individual plants by hand. If the roots are stubborn, you can use a knife to cut them apart. Just make sure each division has at least two or three fans of leaves and a healthy root system.
Dividing your daylilies not only helps control their size, but also promotes healthier, more vigorous growth. Plus, it gives you more plants to spread around your garden or share with friends. It's like getting free plants!
Step 3: Plant the Daylilies
Now it's time to plant your daylilies in their new home. Dig a hole that's wide and deep enough to accommodate the roots without bending them. Place the plant in the hole, making sure the crown (where the leaves meet the roots) is level with the soil surface. Then, backfill the hole with soil, firm it gently, and water thoroughly.
And voila! You've successfully transplanted your daylilies. Give yourself a pat on the back, and maybe a cold beverage. You've earned it.
Aftercare for Transplanted Daylilies
After transplanting, your daylilies will need a little TLC to help them settle in. Keep the soil moist, but not waterlogged, for the first few weeks. You can also apply a balanced fertilizer to give them a nutrient boost.
Don't be alarmed if your daylilies look a little sad after transplanting. This is normal and they should perk up within a few weeks. If they don't, they might be holding a grudge. Try apologizing and see if that helps.
FAQs
Can I transplant daylilies in the summer?
While it's possible to transplant daylilies in the summer, it's not ideal. The heat and dry conditions can stress the plants and hinder their recovery. If you must transplant in the summer, do it early in the morning or late in the evening to avoid the hottest part of the day.
How often should I water transplanted daylilies?
For the first few weeks after transplanting, water your daylilies every other day or whenever the soil feels dry to the touch. After that, you can reduce watering to once a week or less, depending on your local climate.
Can I transplant daylilies in containers?
Absolutely! Daylilies are very adaptable and can thrive in containers. Just make sure the container is large enough to accommodate the roots and has drainage holes to prevent waterlogging.
Conclusion
Transplanting daylilies might seem like a daunting task, but with a little knowledge and some elbow grease, you can do it with ease. So go ahead, move those daylilies to their new home. They might not thank you for it, but your garden certainly will.
Remember, gardening is all about trial and error. So don't be afraid to get your hands dirty and make mistakes. After all, even the best gardeners have killed a plant or two in their time. Happy gardening!


