


Welcome to the world of daylilies, a realm where the green-thumbed and the not-so-green-thumbed alike can find joy and fulfillment. If you've ever wondered how to transform a tiny seed into a stunning daylily, you're in the right place. This guide will take you on a journey from seed to stunning, and by the end, you'll be ready to start your own daylily garden.
Understanding Daylilies
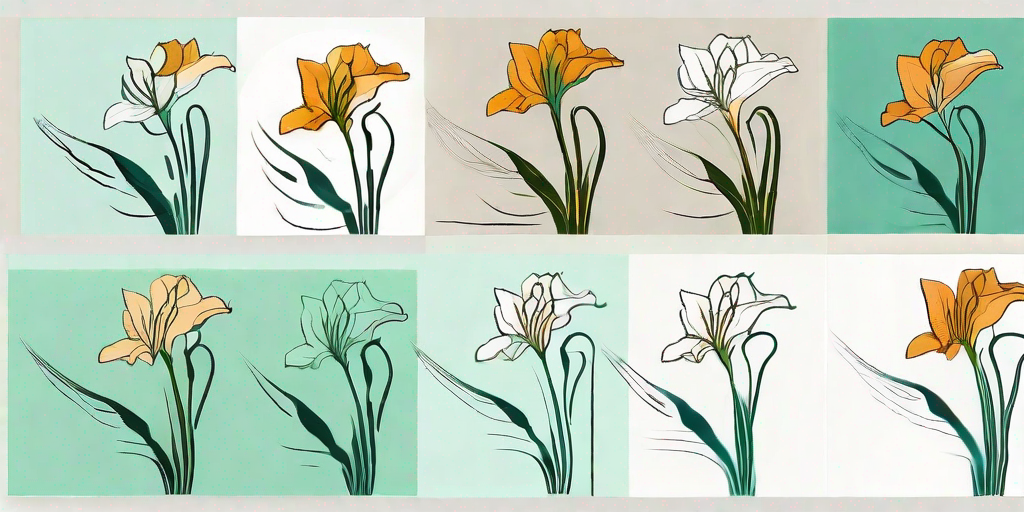
Before we dive into the nitty-gritty of daylily cultivation, let's take a moment to appreciate these beauties. Daylilies, or Hemerocallis as the botanists like to call them, are perennial plants known for their vibrant colors and resilience. They're like the superheroes of the flower world, able to withstand harsh conditions while still looking fabulous.
Daylilies are native to Asia, but have found their way into gardens around the world. They come in a variety of colors, shapes, and sizes, making them a versatile choice for any garden. And the best part? Each plant produces numerous flowers, which means you get more bang for your buck.
The Lifecycle of a Daylily
Daylilies are named for their flowers, which typically last no more than 24 hours. The flowers open in the morning and wither by nightfall, to be replaced by a new flower the next day. This might sound like a lot of work for a plant, but daylilies are hardy creatures and can bloom for several weeks.
After the flowering period, the plant focuses on producing seeds. These seeds can be collected and used to grow new plants, which is where our journey from seed to stunning begins.
How to Grow Daylilies from Seed
Now that we've covered the basics, let's get down to business. Growing daylilies from seed is a rewarding process that requires patience, care, and a bit of cheeky humor. Here's a step-by-step guide to help you on your way.
Step 1: Collecting Seeds
After the daylilies have finished blooming, they'll produce seed pods. These pods should be left on the plant until they turn brown and split open. Once they're ready, simply collect the seeds and store them in a cool, dry place.
Remember, not all seeds are created equal. Some might not be viable, so it's a good idea to collect more than you need. Think of it as a botanical insurance policy.
Step 2: Preparing the Seeds
Before you can plant your seeds, they need to go through a process called stratification. This involves exposing the seeds to a period of cold to simulate winter conditions. You can do this by placing the seeds in a bag with moist sand or peat moss and storing them in the refrigerator for about six weeks.
Once the seeds have been stratified, they're ready to be planted. But first, you'll need to prepare your soil.
Step 3: Preparing the Soil
Daylilies aren't picky about soil, but they do prefer well-drained soil with a slightly acidic pH. You can prepare your soil by adding organic matter like compost or peat moss. This will improve the soil's structure and provide nutrients for your plants.
Once your soil is ready, you can plant your seeds. They should be sown about 1 inch deep and 2 inches apart. After planting, water the soil thoroughly and keep it moist until the seeds germinate.
Caring for Your Daylilies
Now that you've planted your seeds, it's time to sit back and watch them grow. But don't get too comfortable—your daylilies will need some TLC to reach their full potential.
Watering and Fertilizing
Daylilies need regular watering, especially during dry periods. However, they don't like to have wet feet, so make sure your soil drains well. As for fertilizing, a balanced fertilizer applied in the spring and again in the summer should do the trick.
Remember, daylilies are tough cookies. They can handle a bit of neglect, so don't worry if you forget to water them once in a while. They'll forgive you.
Pruning and Dividing
Pruning your daylilies will keep them looking neat and tidy. Simply remove any dead or yellowing leaves and spent flowers. As for dividing, this is a task best done in the fall. Dividing your plants every few years will keep them healthy and promote more blooms.
Dividing might sound like a daunting task, but it's actually quite simple. Just dig up the plant, separate the clumps, and replant them. Easy peasy.
FAQs
Here are some common questions beginners might have about growing daylilies:
- Can I grow daylilies in pots?
Yes, daylilies can be grown in pots. Just make sure the pot is large enough to accommodate the plant and has good drainage. - Do daylilies attract pests?
Daylilies are generally pest-resistant, but they can attract aphids and thrips. If you notice any pests, treat the plant with an insecticidal soap. - Can I grow daylilies indoors?
Daylilies prefer to be grown outdoors, but they can be grown indoors if they receive enough light. A south-facing window is ideal.
Conclusion
And there you have it—a beginner's guide to growing daylilies from seed. With a bit of patience and care, you can transform a humble seed into a stunning daylily. So why not give it a try? After all, every garden could use a touch of daylily drama.
Happy gardening!


