


Ah, the hibiscus. A tropical beauty that's as cheeky as it is charming. With its bold, trumpet-shaped flowers and lush, glossy leaves, it's no wonder this plant is a favorite among garden enthusiasts and Instagram plant parents alike. But how do you grow your own hibiscus, you ask? Well, buckle up, buttercup. We're about to embark on a horticultural adventure.
Understanding the Hibiscus
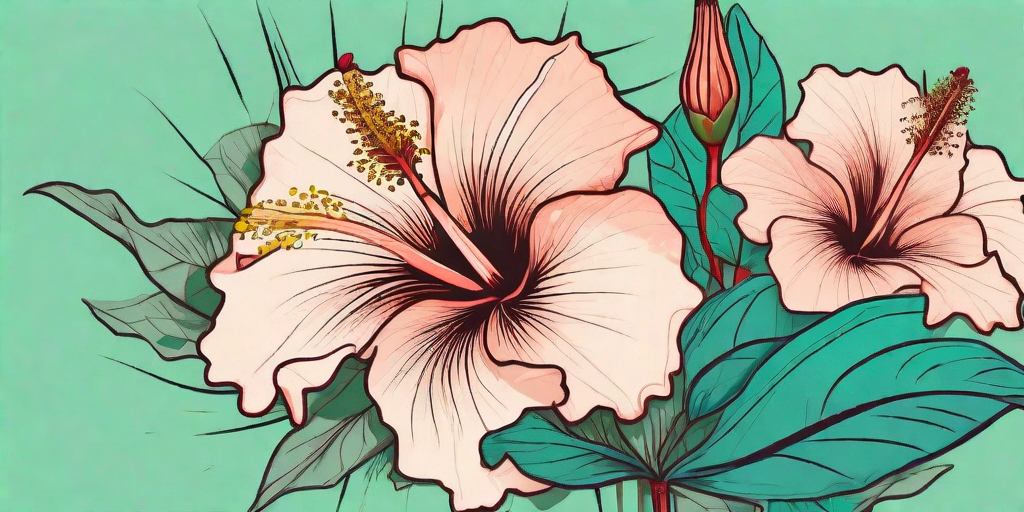
Before we dive into the nitty-gritty of hibiscus propagation, let's take a moment to appreciate this plant's unique characteristics. The hibiscus genus includes hundreds of species, but the most commonly grown variety is the Hibiscus rosa-sinensis, also known as the Chinese hibiscus. This plant is a tropical evergreen shrub that loves heat, humidity, and plenty of sunlight. In other words, it's the botanical equivalent of a beach bum.
Chinese hibiscus flowers come in a variety of colors, including red, pink, orange, yellow, and white. Each flower lasts only a day or two, but the plant blooms prolifically from late spring to early fall. So, while each individual flower might be a fleeting beauty, the plant as a whole is a reliable source of color and drama.
Propagating Hibiscus: A Step-by-Step Guide
Now that we've gotten to know our plant friend a little better, let's get down to business. Here's a step-by-step guide on how to propagate hibiscus from cuttings.
Step 1: Choose Your Cutting
First things first, you'll need a cutting. This should be a healthy, vigorous stem from a mature hibiscus plant. Look for a stem that's about the thickness of a pencil and has several nodes (the bumps where leaves grow). The best time to take cuttings is in the morning, when the plant is fully hydrated.
Once you've chosen your stem, cut it off just below a node using a sharp, clean knife or pruners. The cutting should be about 4-6 inches long. Remove the leaves from the lower half of the cutting, but leave a couple of leaves at the top. This will help the cutting photosynthesize while it's developing roots.
Step 2: Prepare the Cutting
Next, dip the cut end of the stem in rooting hormone. This isn't strictly necessary, but it can help speed up the rooting process. After that, stick the cutting in a pot filled with a mix of perlite and peat moss. This mix is light and well-draining, which is just what our hibiscus cutting needs.
Once the cutting is in the pot, water it thoroughly and cover the pot with a plastic bag. This creates a mini greenhouse that keeps the cutting humid and warm. Place the pot in a bright spot, but out of direct sunlight.
Step 3: Wait for Roots to Develop
Now comes the hardest part: waiting. It can take anywhere from 2-6 weeks for roots to develop. During this time, keep the potting mix moist but not waterlogged. If the plastic bag gets foggy, open it up to let some fresh air in.
After about two weeks, you can start checking for roots. Gently tug on the cutting. If it resists, that's a good sign that roots are forming. Once the cutting has a good root system, you can remove the plastic bag and start treating the cutting like a regular plant.
Caring for Your New Hibiscus
So, you've successfully propagated a hibiscus. Congratulations! Now, how do you keep it alive?
Firstly, hibiscus plants love sunlight. They need at least 6 hours of direct sunlight each day. However, they also appreciate some afternoon shade, especially in hot climates. So, find a sunny spot for your hibiscus, but be ready to provide some shade if it looks like it's getting too much sun.
Secondly, hibiscus plants need well-draining soil. They don't like to have wet feet, so make sure your plant's pot has good drainage. Water your hibiscus when the top inch of soil feels dry to the touch.
Finally, hibiscus plants are heavy feeders. They appreciate a regular feeding schedule with a balanced, slow-release fertilizer. Feed your hibiscus every two weeks during the growing season, but cut back to once a month during the winter.
Frequently Asked Questions
Can I propagate hibiscus from seeds?
Yes, you can propagate hibiscus from seeds, but it's a bit more complicated than propagating from cuttings. Plus, hibiscus plants grown from seeds can take up to 3 years to bloom, whereas plants grown from cuttings can bloom in their first year.
Why isn't my hibiscus blooming?
There could be several reasons why your hibiscus isn't blooming. It might not be getting enough sunlight, or it might be getting too much. It could be overwatered or underwatered. It might not be getting enough nutrients. Or, it could just be taking its sweet time. Hibiscus plants can be a bit temperamental, but with a little patience and care, they'll reward you with their gorgeous blooms.
Can I grow hibiscus indoors?
Yes, you can grow hibiscus indoors, but you'll need to provide it with plenty of light. A south-facing window is ideal. You'll also need to keep the humidity high, as hibiscus plants are tropical and love humid conditions.
Conclusion
And there you have it, folks. A comprehensive guide to propagating and caring for hibiscus plants. With a little patience, a little care, and a lot of love, you too can grow your own blooming beauties. So, what are you waiting for? Get out there and start growing!


