


Ah, the camellia! A flower of such elegance and beauty that it could make a rose blush. But let's not get too carried away. We're here to talk about how you can grow your own camellias from cuttings, not to wax poetic about their beauty. So, let's get down to the nitty-gritty, shall we?
Understanding Camellias
Before we dive into the propagation process, it's important to understand what makes camellias tick. They're not your average flower, you know. These are high-class blooms that demand a certain level of respect and understanding.
Camellias are evergreen shrubs native to eastern and southern Asia. They're known for their large, showy flowers and glossy, dark green leaves. They're also quite picky about their growing conditions, preferring acidic soil and a spot in partial shade.
There are thousands of varieties of camellias, each with its own unique characteristics. Some are small and compact, perfect for container gardening, while others can grow into large shrubs or even small trees. The flowers can be single, semi-double, or double, and come in a range of colors from white to pink to red.
Propagating Camellias from Cuttings
Now that we've got the introductions out of the way, let's move on to the main event: propagating camellias from cuttings. This is where the real magic happens, folks.
Propagation from cuttings is a relatively simple process that involves taking a small piece of the parent plant and encouraging it to grow into a new plant. It's like cloning, but for plants. And don't worry, it's completely legal.
Here's a step-by-step guide to help you through the process:
Step 1: Gather Your Materials
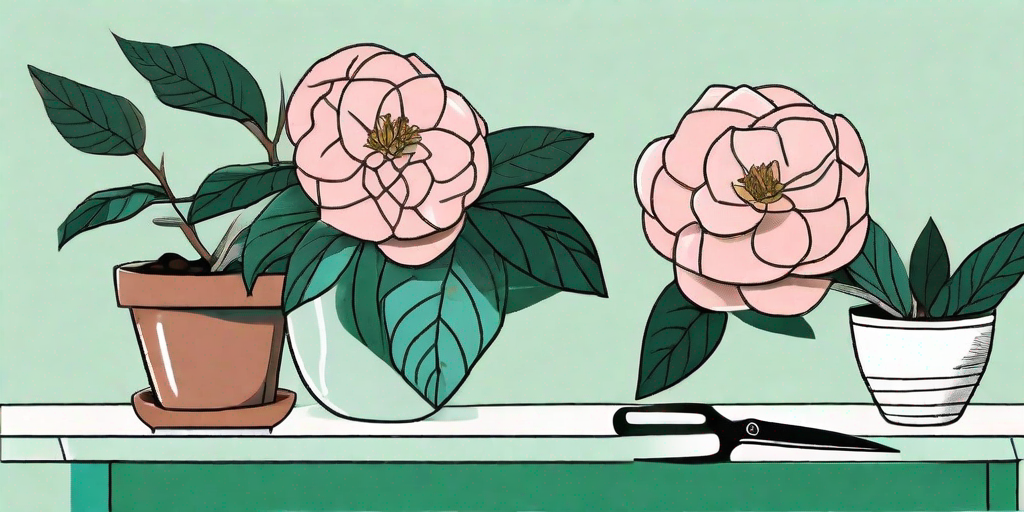
You'll need a few things before you get started. These include a sharp, clean pair of pruning shears, a pot filled with a mixture of peat moss and perlite, a plastic bag, and a rubber band. And of course, you'll need a camellia plant to take cuttings from.
Step 2: Take the Cutting
Choose a healthy, vigorous branch from your camellia plant. Look for one that has several leaves but no flowers. Cut a 4-6 inch piece from the end of the branch, making sure to include at least one leaf node (the spot where a leaf attaches to the stem).
Step 3: Prepare the Cutting
Remove the leaves from the lower half of the cutting. This will encourage the cutting to focus its energy on producing roots rather than maintaining leaves. Then, dip the cut end of the cutting into rooting hormone. This will help stimulate root growth.
Step 4: Plant the Cutting
Make a hole in the potting mix with your finger, then insert the cut end of the cutting into the hole. Firm the soil around the cutting to hold it in place.
Step 5: Create a Mini Greenhouse
Place the pot inside the plastic bag and secure it with the rubber band. This will create a mini greenhouse that will keep the cutting humid and warm, which is just how it likes it.
Step 6: Wait for Roots to Form
Place the pot in a warm, bright location out of direct sunlight and wait. It can take several weeks for roots to form, so be patient. Check the cutting regularly and water if the soil starts to dry out.
Caring for Your New Camellia Plant
Once your cutting has formed roots, it's time to celebrate! You've successfully propagated a camellia from a cutting. But don't pop the champagne just yet. Your new plant will need some TLC to help it grow and thrive.
First, remove the plastic bag and place the pot in a bright location out of direct sunlight. Water regularly, but don't let the soil get soggy. Camellias don't like wet feet.
After a few weeks, you can start to feed your camellia with a slow-release fertilizer designed for acid-loving plants. This will provide the nutrients it needs to grow strong and healthy.
Common Questions About Propagating Camellias
Now, let's address some common questions that people often have about propagating camellias. Because let's face it, we all have questions, and it's always good to get answers.
When is the best time to take camellia cuttings?
The best time to take camellia cuttings is in late spring or early summer. This is when the plant is actively growing and the stems are flexible but not too soft.
How long does it take for camellia cuttings to root?
It can take anywhere from 6 weeks to several months for camellia cuttings to root. Be patient and keep the cutting humid and warm, and it will eventually form roots.
Can I propagate camellias from flower cuttings?
No, flower cuttings will not root. You need to take cuttings from the stem of the plant, not the flower.
Conclusion
And there you have it, folks! Everything you need to know to successfully propagate camellia cuttings. So, what are you waiting for? Grab those pruning shears and get to work. Your garden will thank you.


