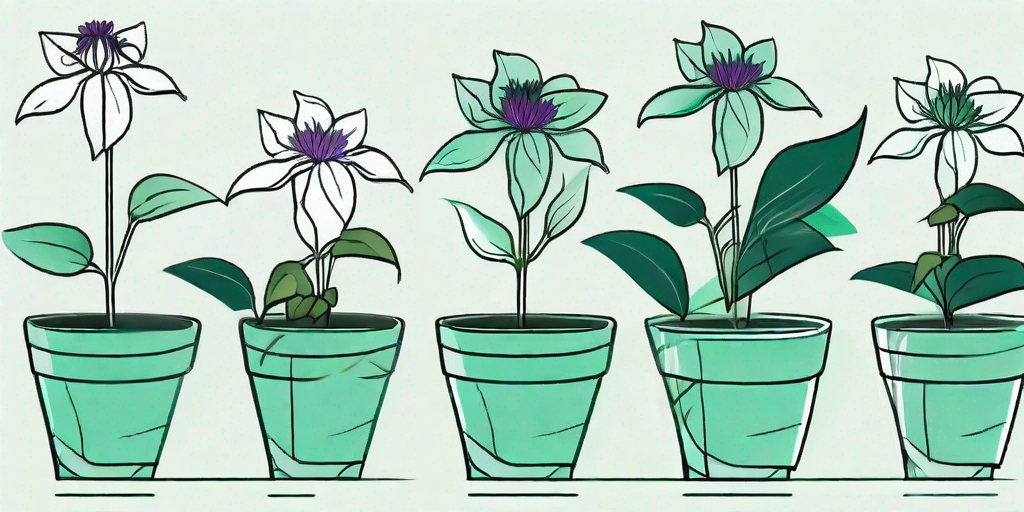
If you've ever seen a clematis in full bloom, you know it's a sight to behold. These climbing vines, with their lush flowers and vigorous growth, can transform a simple garden into a magical wonderland. But what if you could grow your own clematis from cuttings? Yes, you heard it right! With a little patience and a pinch of green thumb, you can propagate your own clematis plants. So, let's dive into the world of clematis propagation, shall we?
The Basics of Clematis Propagation
Understanding Clematis
Before we start snipping away at our plants, it's important to understand what makes clematis tick. Clematis is a genus of about 300 species within the buttercup family. They are mostly climbing vines, but there are also varieties that grow as shrubs. Their flowers can be large and showy or small and delicate, but they all share a love for sunlight and well-drained soil.
Most clematis plants are deciduous, but there are some evergreen varieties as well. They can be propagated by seeds, layering, or cuttings. For this guide, we're going to focus on propagation by cuttings, which is a relatively easy and reliable method.
When to Take Clematis Cuttings
Timing is everything when it comes to taking clematis cuttings. The best time to do so is in spring, when the plant is in active growth. This is when the stems are flexible and full of energy, which increases the chances of successful rooting.
However, if you missed the spring window, don't despair! You can also take cuttings in late summer or early fall. The success rate might be slightly lower, but it's definitely worth a try.
How to Propagate Clematis from Cuttings
Materials You'll Need
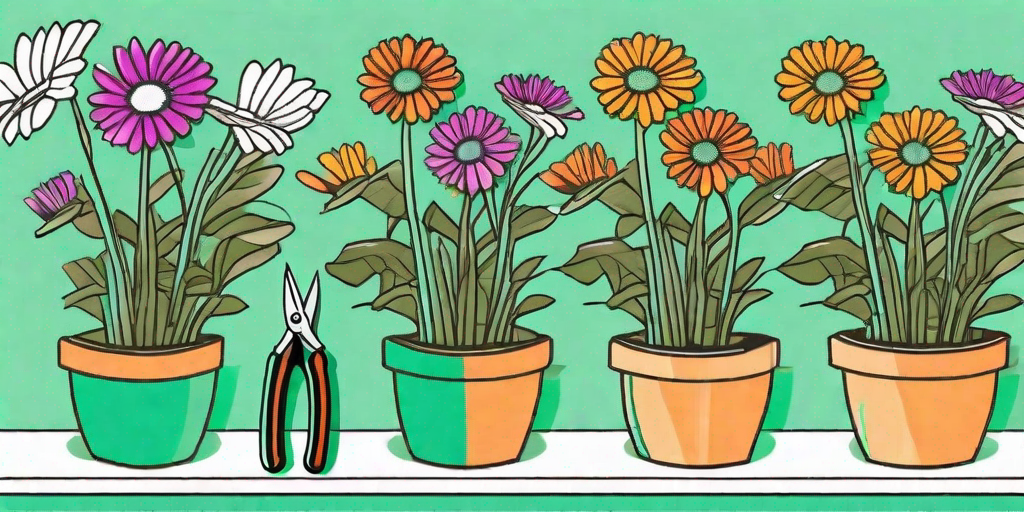
Before you start, gather all the necessary materials. You'll need a sharp, clean pair of pruning shears, a pot with drainage holes, potting mix, a clear plastic bag, and a rubber band. Oh, and don't forget the clematis plant!
It's important to use clean tools to prevent the spread of diseases. So, give your pruning shears a good wipe with alcohol before you start. As for the potting mix, choose one that's well-draining. Clematis doesn't like to have wet feet!
Step-by-Step Guide
- Choose a healthy stem from your clematis plant. It should be flexible but not too soft.
- With your clean pruning shears, cut a section of the stem that has at least two sets of leaves. Make the cut just below a leaf joint.
- Remove the lower leaves and dip the cut end of the stem in rooting hormone. This step is optional, but it can help speed up the rooting process.
- Fill your pot with potting mix and make a hole in the center. Place the cutting in the hole, making sure the leaf joint is buried in the soil.
- Water the cutting thoroughly and cover the pot with a clear plastic bag. Secure the bag with a rubber band to create a mini greenhouse.
- Place the pot in a warm, bright location, but out of direct sunlight. Check the cutting regularly and water if the soil starts to dry out.
- Patience is key! It can take several weeks for the cutting to root. Once it has developed a strong root system, you can remove the plastic bag and start acclimating the new plant to outdoor conditions.
Common Problems and Solutions
Rotting Cuttings
If your clematis cuttings keep rotting, it's likely because they're too wet. Remember, clematis likes well-drained soil. Make sure your pot has drainage holes and don't overwater your cuttings. If the problem persists, try using a different potting mix.
Another possible reason for rotting cuttings is disease. Always use clean tools and healthy plant material to prevent the spread of diseases.
Slow Rooting
If your cuttings are taking forever to root, don't lose hope. Clematis can be slow to root, especially if the conditions are not ideal. Make sure your cuttings are in a warm, bright location, but out of direct sunlight. Using a rooting hormone can also speed up the process.
Remember, patience is a virtue, especially in gardening. So, keep an eye on your cuttings, provide them with the right conditions, and they'll eventually reward you with new growth.
Frequently Asked Questions
- Can I propagate clematis from a leaf?
While it's possible to propagate some plants from a leaf, clematis is not one of them. Clematis is best propagated from stem cuttings.
- Can I propagate clematis in water?
Yes, you can propagate clematis in water. However, the success rate is usually lower than with soil propagation, and the transition from water to soil can be challenging for the new plant.
- How long does it take for clematis cuttings to root?
It can take several weeks for clematis cuttings to root. Be patient and keep the cuttings in a warm, bright location, but out of direct sunlight.
So, there you have it, folks! A foolproof guide to propagating clematis cuttings. With a little patience and care, you can fill your garden with these beautiful climbers. Happy gardening!


