Welcome to the wonderful world of Salvia propagation! If you're a green thumb looking for a new challenge, or a beginner gardener wanting to dip your toes into the world of plant propagation, you've come to the right place. Salvia, also known as sage, is a vibrant and versatile plant that can bring a splash of color to any garden. And the best part? You can propagate it in water. Yes, you heard it right! No soil, no mess, just a glass of water and a cutting from a healthy Salvia plant. So, let's dive right in and start our journey towards creating a Salvia oasis.
Understanding Salvia: The Basics
Before we get our hands wet, let's take a moment to understand what Salvia is. Salvia is a large genus of plants in the mint family, known for their vibrant flowers and aromatic leaves. They're a favorite among gardeners and bees alike, thanks to their hardiness and nectar-rich blooms.
Salvias come in a variety of colors, from the deep blues of Salvia guaranitica to the fiery reds of Salvia splendens. But no matter the color, all Salvias share a love for sunlight and well-drained soil. They're also drought-tolerant, making them a great choice for those forgetful waterers out there.
The Benefits of Propagating Salvia in Water
Now, you might be wondering, why propagate Salvia in water? Well, aside from the sheer fun of watching roots grow in a glass jar, water propagation has a few key advantages. First, it's a clean and easy method that requires minimal equipment. All you need is a glass, some water, and a cutting from a healthy Salvia plant.
Second, water propagation allows you to closely monitor the root development of your cuttings. You can easily see when roots start to form and how fast they're growing. This can be particularly helpful for beginner gardeners who are still getting the hang of propagation.
How to Propagate Salvia in Water: A Step-by-Step Guide
Alright, enough chit-chat. Let's get down to business. Here's a step-by-step guide on how to propagate Salvia in water.
Step 1: Gather Your Materials
First things first, you'll need to gather your materials. Here's what you'll need:
- A healthy Salvia plant
- A clean, sharp pair of scissors or pruning shears
- A glass or jar
- Water
Step 2: Take Your Cutting
Next, you'll need to take a cutting from your Salvia plant. Look for a healthy, vigorous stem with several leaves. Using your scissors or pruning shears, cut the stem just below a node (the point where a leaf joins the stem). Your cutting should be about 4-6 inches long.
Once you've taken your cutting, remove the leaves from the bottom half of the stem. This will prevent them from rotting in the water and encourage root growth.
Step 3: Place Your Cutting in Water
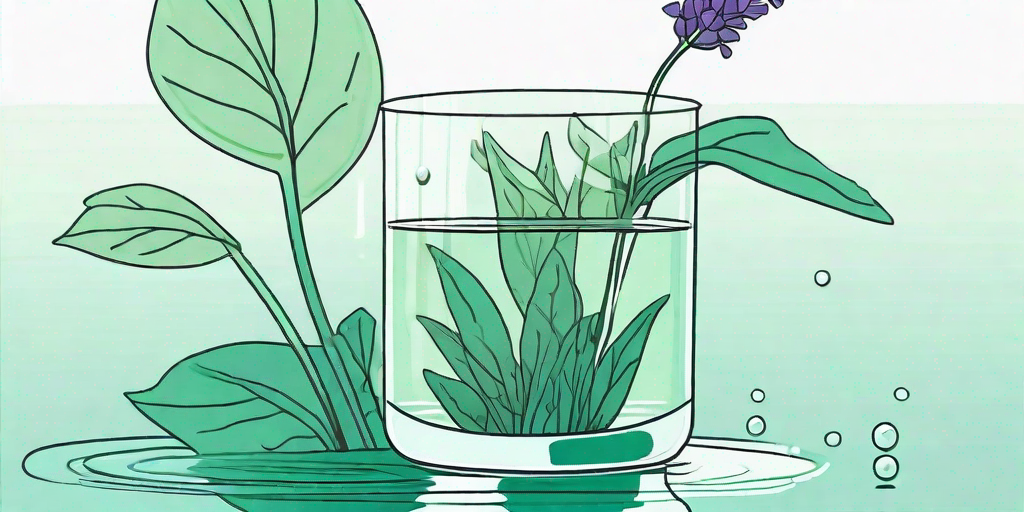
Now, it's time to place your cutting in water. Fill your glass or jar with water and place your cutting in it, making sure the cut end is submerged. Place your glass in a warm, bright spot, but out of direct sunlight. Too much sun can heat the water and damage the cutting.
And there you have it! You've successfully started propagating Salvia in water. Now, all you need to do is wait and watch as your cutting grows new roots.
Troubleshooting and FAQs
Propagation can be a tricky business, and you might run into a few hiccups along the way. But don't worry, we've got you covered. Here are some common questions and problems you might encounter while propagating Salvia in water.
Why isn't my cutting growing roots?
If your cutting isn't growing roots, it could be due to a few reasons. First, check the water. Is it clean? Dirty water can inhibit root growth. Change the water every few days to keep it fresh. Second, check the temperature. Is it too cold? Salvia cuttings prefer warm conditions for root growth. Try moving your cutting to a warmer spot.
Why are the leaves on my cutting turning yellow?
Yellow leaves can be a sign of overwatering. Yes, even in water propagation, it's possible to overwater your plants! If the leaves on your cutting are turning yellow, try changing the water more frequently. This can help prevent the buildup of bacteria and other pathogens that can cause leaf yellowing.
Can I propagate Salvia in water during winter?
Yes, you can propagate Salvia in water during winter. However, keep in mind that Salvia cuttings prefer warm conditions for root growth. You might need to provide additional heat, such as a heat mat, to encourage root growth during the colder months.
Conclusion
And there you have it, folks! A comprehensive guide on how to propagate Salvia in water. With a little patience and care, you'll soon have a thriving Salvia oasis of your own. So, what are you waiting for? Grab a glass, fill it with water, and start propagating!


