


Gardeners, plant enthusiasts, and self-proclaimed green thumbs, lend me your ears! Or rather, your eyes. Today, we're diving deep into the world of Canna Lilies, those beautiful, tropical plants that grace our gardens with their vibrant colors and lush foliage. But, as winter approaches, these delicate beauties need a little extra care. We're talking about storing bulbs, folks! So, grab your gardening gloves, your favorite cup of tea, and let's get down to the nitty-gritty of keeping your Canna Lilies cozy.
Understanding Your Canna Lilies
Before we delve into the specifics of storing your bulbs, it's crucial to understand what makes your Canna Lilies tick. These plants, native to tropical and subtropical regions, are not fans of the cold. In fact, they're the botanical equivalent of that friend who insists on wearing a sweater in the middle of summer. So, when temperatures start to dip, it's time to take action.
Now, you might be wondering, "Why can't I just leave my Canna Lilies in the ground?" Well, you could, but then you'd be playing a risky game with Mother Nature. If the ground freezes, your bulbs could be damaged, leading to a less-than-stellar bloom the following year. And we don't want that, do we?
The Art of Storing Bulbs
Storing bulbs is not just a task; it's an art. It requires patience, precision, and a dash of love. But don't worry, we're here to guide you through it, step by step.
Digging Up Your Bulbs
The first step in this process is to dig up your bulbs. Wait until the first frost has blackened the foliage, then carefully dig around the plant, taking care not to damage the bulbs. Once you've freed your bulbs from the clutches of the earth, shake off any excess soil and let them dry for a few days in a cool, dry place.
Remember, these bulbs are your babies. Handle them with care. Any damage could affect their ability to bloom next year. And nobody wants a garden full of leafy greens without the vibrant colors, right?
Preparing Your Bulbs for Storage
Once your bulbs are dry, it's time to prepare them for storage. Trim off any remaining foliage and inspect each bulb for signs of disease or damage. Discard any that look suspicious. Trust me, it's better to be safe than sorry.
Next, dust your bulbs with a fungicide. This will help prevent any diseases from taking hold during storage. Think of it as a protective shield for your bulbs. Like a superhero's cape, but for plants.
Storing Your Bulbs
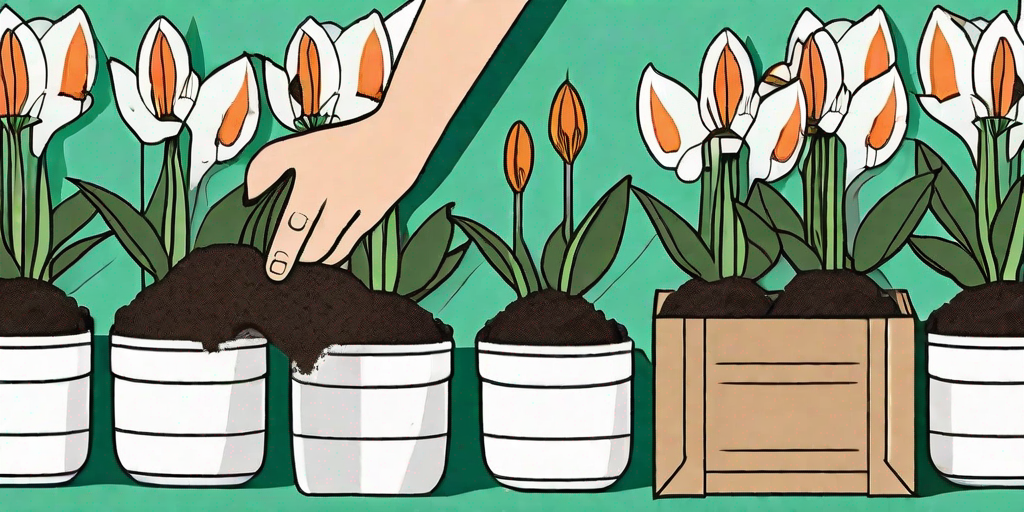
Now comes the fun part: storing your bulbs. Place them in a box or bag filled with peat moss, vermiculite, or sawdust. These materials will help keep your bulbs dry and prevent them from touching each other, which could lead to rot.
Store your bulbs in a cool, dark place, like a basement or garage. The ideal temperature is between 40 and 50 degrees Fahrenheit. Any colder, and your bulbs might freeze. Any warmer, and they might start to sprout prematurely. And we don't want either of those scenarios, do we?
Common Mistakes to Avoid
Storing bulbs might seem straightforward, but there are a few common mistakes that can trip up even the most seasoned gardeners. Let's take a look at what not to do.
Not Allowing Bulbs to Dry
Remember when we talked about letting your bulbs dry after digging them up? This is crucial. If you store your bulbs while they're still wet, they could rot. So, resist the urge to rush this process. Patience is a virtue, especially in gardening.
Storing Bulbs in Plastic
While plastic might seem like a convenient storage option, it's not ideal for bulbs. Plastic can trap moisture, leading to rot. Stick with materials that allow for air circulation, like cardboard boxes or paper bags.
Not Checking on Your Bulbs
Once your bulbs are stored, don't just forget about them. Check on them periodically to ensure they're not rotting or sprouting prematurely. If you notice any problems, address them immediately. A little vigilance can go a long way in ensuring a successful bloom next year.
Frequently Asked Questions
Now, let's tackle some of the most frequently asked questions about storing Canna Lily bulbs.
When should I dig up my Canna Lily bulbs?
Wait until the first frost has blackened the foliage. This indicates that the plant is going dormant, making it the perfect time to dig up your bulbs.
How should I store my Canna Lily bulbs?
Store your bulbs in a cool, dark place, in a box or bag filled with peat moss, vermiculite, or sawdust. The ideal temperature is between 40 and 50 degrees Fahrenheit.
What should I do if my bulbs start to sprout prematurely?
If your bulbs start to sprout prematurely, it's likely that they're being stored in conditions that are too warm. Try moving them to a cooler location. If the sprouting continues, you may need to plant them early and protect them from frost with mulch or a frost cloth.
Conclusion
Storing Canna Lily bulbs might seem like a daunting task, but with a little knowledge and a lot of love, it's entirely doable. Remember, the key is to be patient, be vigilant, and treat your bulbs with care. After all, they're the stars of your garden. They deserve a little pampering, don't they?
So, here's to a successful storage season and a vibrant bloom next year. Keep those Canna Lilies cozy, folks!


