


Orchids, those exotic beauties of the plant world, can be a bit of a diva when it comes to their care. But don't let that deter you. With a little bit of knowledge and a dash of patience, you can repot your orchids like a seasoned pro. So, roll up your sleeves, put on your gardening gloves, and let's dive into the world of orchid repotting.
The Why and When of Orchid Repotting
Before we get our hands dirty, let's first understand why and when you should repot your orchids. Unlike your typical houseplant, orchids don't enjoy being cooped up in the same pot for too long. They are the free spirits of the plant world, you see. They like to stretch their roots and explore new spaces.
Moreover, the potting medium, usually a mix of bark and moss, breaks down over time, becoming more compact and less airy. This can lead to root rot, a nightmare for any orchid enthusiast. So, repotting is not just a whim of your orchid, but a necessity for its healthy growth.
When to Repot
As for when to repot, timing is everything. The best time to repot is just after the orchid has finished blooming, when new growth is just starting. This gives the orchid ample time to settle into its new home before the next blooming cycle.
But remember, orchids are not fans of change. So, don't repot more than once a year, unless absolutely necessary. They need time to adjust to their new surroundings, just like we do when we move to a new city or start a new job.
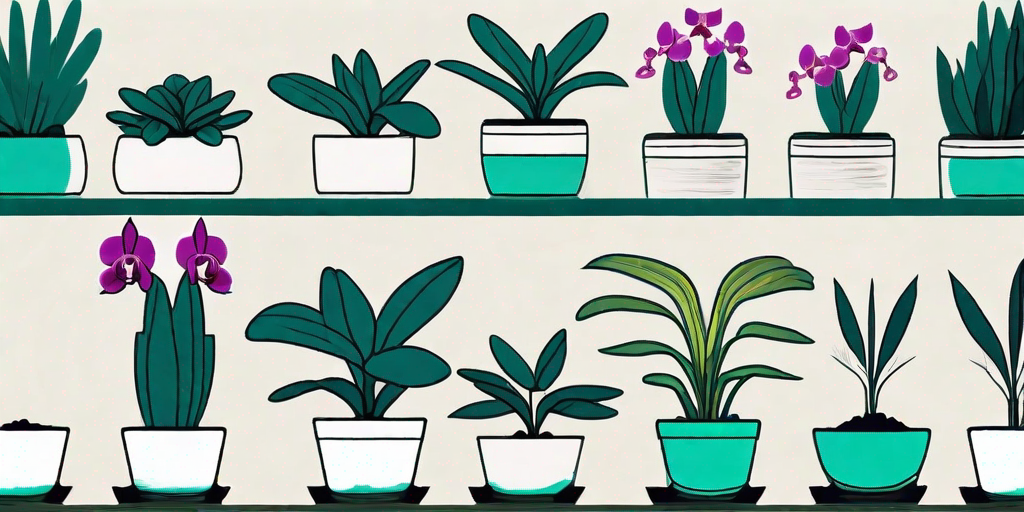
Choosing the Right Pot and Potting Mix
Now that we know why and when to repot, let's talk about the where - the pot and the potting mix. Choosing the right pot and potting mix for your orchid can be the difference between a thriving plant and a wilting one.
Orchids are not picky about the material of the pot. They are more concerned about the size and the drainage. The pot should be just large enough to accommodate the roots and have plenty of drainage holes. Orchids dislike waterlogged roots as much as cats dislike water.
Choosing the Potting Mix
When it comes to the potting mix, orchids prefer a well-draining, airy mix. A blend of bark, perlite, and sphagnum moss is usually a good choice. But remember, different types of orchids have different preferences. So, do your homework before you go shopping for potting mix.
And don't forget to sterilize the potting mix before use. You don't want to introduce any unwanted guests, like pests or diseases, to your orchid's new home.
Step-by-Step Guide to Repotting Your Orchid
Alright, enough of the theory. Let's get down to the fun part - the actual repotting. Here's a step-by-step guide to help you repot your orchid like a pro.
-
Remove the orchid from its current pot. Be gentle, you don't want to damage the roots.
-
Inspect the roots. Trim off any dead or rotten roots. Healthy roots should be firm and white or green.
-
Place a layer of potting mix at the bottom of the new pot.
-
Position the orchid in the pot. The base of the stem should be at the rim of the pot.
-
Fill the pot with potting mix, making sure all the roots are covered.
-
Water thoroughly. This helps the potting mix settle around the roots.
Post-Repotting Care
Repotting can be a stressful experience for your orchid. So, it's important to provide some extra TLC in the weeks following repotting.
Keep the orchid in a shaded, humid environment for the first week or two. This helps the orchid recover from the shock of repotting. After that, you can gradually move it back to its usual spot.
Also, resist the urge to fertilize immediately after repotting. Wait for at least a month before you start fertilizing. Your orchid needs time to adjust to its new surroundings before it can start absorbing nutrients.
FAQs
Can I reuse the old potting mix?
No, it's not recommended to reuse the old potting mix. It may contain pests, diseases, or decomposed material that can harm your orchid.
What if my orchid has air roots?
Air roots are a common feature of many orchids. You can either leave them outside the pot or tuck them in, depending on the type of orchid and the length of the roots.
What if my orchid doesn't bloom after repotting?
Don't panic. It's normal for orchids to take a break from blooming after repotting. Give it some time and proper care, and it should resume blooming in the next cycle.
Conclusion
Repotting your orchid may seem like a daunting task, but with the right knowledge and a bit of practice, you can master it like a pro. Remember, the key to successful repotting is understanding your orchid's needs and providing the right care at the right time.
So, go ahead, give your orchid the overhaul it deserves. And remember, a happy orchid equals a happy plant parent.


