


Welcome, green-thumbed friends and garden enthusiasts! If your garden is looking a bit dull and you're itching to breathe some life into it, you've come to the right place. Today, we're going to talk about replanting canna bulbs, those vibrant, tropical beauties that can turn any garden from drab to fab in no time. So, let's roll up our sleeves, put on our gardening gloves, and get down and dirty with some canna bulbs!
Understanding Canna Bulbs
Before we dive into the nitty-gritty of replanting, let's take a moment to appreciate the canna bulb. Technically, it's not a bulb at all, but a rhizome. But let's not get caught up in the semantics - we're here to garden, not to write a botany thesis. These 'bulbs' are the powerhouse of the canna plant, storing all the nutrients needed for the plant to grow and bloom.
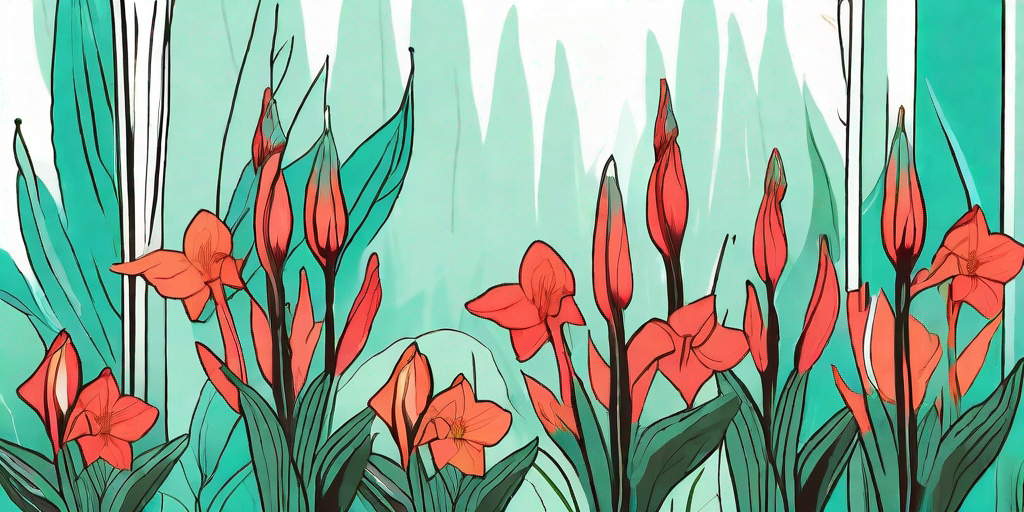
Cannas are known for their large, tropical-looking leaves and stunning flowers that come in a variety of colors, including red, orange, yellow, and pink. They're a great way to add a splash of color and a touch of the tropics to your garden. But enough about what they are, let's get to the fun part - how to replant them!
Replanting Canna Bulbs: A Step-by-Step Guide
Replanting canna bulbs might sound like a daunting task, but fear not! With a bit of patience and the right tools, you'll have your garden looking like a tropical paradise in no time. Here's a step-by-step guide to get you started:
Step 1: Digging Up the Bulbs
The first step in replanting canna bulbs is to dig them up. This might sound like a no-brainer, but there's a bit more to it than just shoving a shovel in the ground. You'll want to be careful not to damage the bulbs as you dig. Start by digging a wide circle around the base of the plant, then carefully lift the plant and bulb out of the ground.
Once you've got the bulb out of the ground, gently shake off any excess soil and inspect the bulb for any signs of disease or damage. If the bulb looks healthy, you're good to go. If not, it's best to discard it and start with a new one.
Step 2: Preparing the Bulbs for Replanting
Now that you've got your bulbs, it's time to prepare them for replanting. This involves trimming the foliage back to about 4-6 inches, and then storing the bulbs in a cool, dry place for a few days to allow them to dry out. This helps to prevent rot and disease.
While the bulbs are drying, you can start preparing your garden for replanting. This involves clearing the area of any weeds or debris, and then working some compost or well-rotted manure into the soil. This will help to provide the bulbs with the nutrients they need to grow and bloom.
Step 3: Replanting the Bulbs
Once your bulbs are dry and your garden is prepared, it's time to get replanting! Plant the bulbs about 4-6 inches deep and 1-2 feet apart, with the pointed end facing up. Then, cover the bulbs with soil and water them thoroughly.
After replanting, it's important to keep the soil moist but not waterlogged. Cannas like a lot of water, but they don't like to be drowned. So, water regularly, but make sure the soil has good drainage.
Common Questions About Replanting Canna Bulbs
Now that we've covered the basics of replanting canna bulbs, let's tackle some of the most common questions gardeners have about this process.
When is the best time to replant canna bulbs?
The best time to replant canna bulbs is in the spring, after the last frost. This gives the bulbs plenty of time to establish themselves before the hot summer weather kicks in. However, if you live in a warmer climate, you can replant canna bulbs in the fall for a burst of color in your garden during the winter months.
How often should I water my newly replanted canna bulbs?
As mentioned earlier, canna bulbs like a lot of water, but they don't like to be drowned. So, water regularly, but make sure the soil has good drainage. A good rule of thumb is to water once a week, but adjust as needed based on the weather and the moisture level of the soil.
Can I replant canna bulbs in pots?
Absolutely! Canna bulbs can be replanted in pots just as easily as they can be replanted in the ground. Just make sure to choose a pot that's large enough to accommodate the bulb and has good drainage.
Final Thoughts
Replanting canna bulbs is a great way to revive your garden and add a splash of tropical color. With a bit of patience and the right tools, you can turn your garden into a tropical paradise in no time. So, what are you waiting for? Grab your gardening gloves and get to work!
And remember, gardening is supposed to be fun. So, don't stress if things don't go perfectly the first time. As with anything in life, practice makes perfect. Happy gardening!


