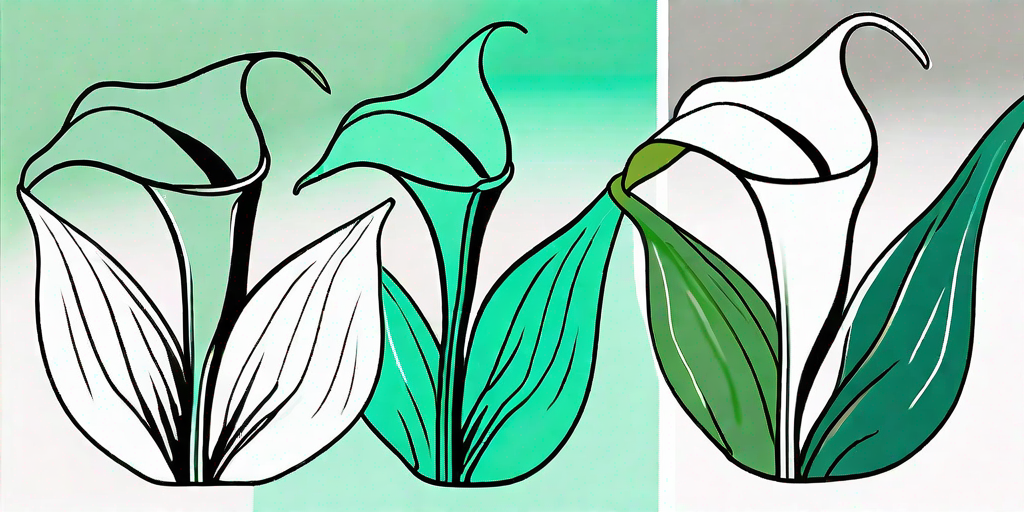
Oh, the tragedy of a wilting Calla Lily! It’s like watching a Shakespearean play unfold in your living room. But fear not, dear reader, for even the most tragic of plant tales can have a happy ending. With a little patience, a dash of knowledge, and a sprinkle of humor, we'll guide you through the process of reviving your Calla Lily from its seemingly lifeless state.
Understanding Your Calla Lily
Before we dive into the resurrection process, let's take a moment to understand our leading lady, the Calla Lily. Native to South Africa, this diva of the plant world is known for her stunning trumpet-shaped flowers and glossy green leaves. She's a bit of a drama queen, requiring just the right balance of light, water, and soil conditions to thrive. But don't let her high maintenance reputation scare you off. With a bit of TLC, your Calla Lily will be back in the spotlight in no time.
Now, if your Calla Lily is looking more like a wilted salad than a vibrant plant, don't panic. It's likely just going through a dormant period, which is a normal part of its life cycle. But if the leaves are turning yellow or brown, or the flowers are shriveling up, it's time to roll up your sleeves and get to work.
Reviving Your Calla Lily
Alright, it's showtime! Here's the step-by-step guide to bringing your Calla Lily back to life. Remember, patience is key. You're not going to see results overnight, but with consistent care, your plant will slowly but surely bounce back.
Step 1: Assess the Situation
First things first, take a good look at your plant. Are the leaves yellow or brown? Are the flowers wilting? Is the soil dry or overly wet? These clues will help you determine what your plant needs.
For instance, if the leaves are yellow, it might be a sign of overwatering. On the other hand, brown leaves could indicate that your plant is thirsty. And if the flowers are wilting, it might be due to a lack of sunlight. So, put on your detective hat and start investigating!
Step 2: Adjust the Watering
Calla Lilies are a bit like Goldilocks when it comes to water – they like it just right. Not too much, not too little, but just the right amount. If the soil is too dry, water your plant thoroughly until the water drains out the bottom of the pot. If the soil is too wet, let it dry out before watering again.
Remember, overwatering is one of the most common causes of plant death. So, if you're unsure, it's better to err on the side of underwatering. Your Calla Lily will thank you for it.
Step 3: Provide Adequate Sunlight
Like any diva, your Calla Lily loves the spotlight. But too much of a good thing can be harmful. Your plant needs bright, indirect sunlight to thrive. Too much direct sunlight can scorch the leaves, while too little can cause the flowers to wilt.
So, find a spot in your home where your plant can bask in the glow of indirect sunlight. If necessary, consider using a grow light to supplement natural light, especially during the darker winter months.
Preventing Future Problems
Now that you've revived your Calla Lily, let's talk about how to prevent future problems. After all, prevention is better than cure, right?
Proper Watering
As we've already discussed, proper watering is crucial for the health of your Calla Lily. Stick to a regular watering schedule, but adjust as needed based on the condition of the soil. Remember, your plant prefers to be slightly dry rather than overly wet.
Right Soil Mix
Your Calla Lily is a bit of a soil snob. It prefers a well-draining soil mix, such as a blend of peat moss, perlite, and compost. This type of mix will provide the right balance of drainage and nutrients for your plant.
Regular Feeding
Like any star, your Calla Lily needs regular feeding to keep her looking her best. Use a balanced, water-soluble fertilizer every two weeks during the growing season. But remember to ease off during the dormant period, as your plant needs less nutrients during this time.
Frequently Asked Questions
Still got questions? Don't worry, we've got answers. Here are some of the most frequently asked questions about reviving a Calla Lily.
Why are the leaves on my Calla Lily turning yellow?
Yellow leaves are often a sign of overwatering. Check the soil – if it's overly wet, let it dry out before watering again. Also, make sure your pot has adequate drainage to prevent water from sitting at the bottom.
Why are the flowers on my Calla Lily wilting?
Wilting flowers can be a sign of inadequate sunlight. Make sure your plant is getting bright, indirect sunlight. If necessary, use a grow light to supplement natural light.
How often should I water my Calla Lily?
There's no one-size-fits-all answer to this question, as it depends on the condition of the soil. As a general rule, water your Calla Lily when the top inch of soil feels dry to the touch.
Conclusion
And there you have it – a comprehensive guide to reviving your Calla Lily. Remember, plant care is more of an art than a science. It requires patience, observation, and a willingness to learn from mistakes. But with a bit of practice, you'll be a Calla Lily whisperer in no time. Now, go forth and bring your plant back to life!


