


Ah, succulents. Those cute, chubby, low-maintenance plants that have taken the world by storm. They're like the pandas of the plant kingdom; adorable, a little bit lazy, and sometimes, they need a bit of help to thrive. But don't worry, dear reader, we're here to guide you through the process of repotting your succulents, so they can live their best plant life.
Why Repotting Matters
Repotting is like moving your succulents into a bigger, better house. It gives them more room to grow, improves their health, and can even help them live longer. Plus, it's a great opportunity to give your plants a little TLC and show them how much you care. After all, who doesn't love a good pampering session?
But repotting isn't just about upgrading your plant's living conditions. It's also about addressing any issues that might be holding your succulent back. Over time, soil can become compacted, which makes it harder for water to drain away. This can lead to root rot, a common killer of succulents. Repotting gives you a chance to refresh the soil and ensure your plant has the best possible environment to grow in.
When to Repot
So, when should you roll up your sleeves and get to work? Well, there's no one-size-fits-all answer to this question. Some succulents might need repotting every year, while others can happily stay in the same pot for several years. It all depends on the plant's growth rate and the size of its current pot.
However, there are a few tell-tale signs that your succulent is ready for a change. If the plant is looking a little cramped in its pot, or if the roots are starting to poke out of the drainage holes, it's probably time to repot. Similarly, if your succulent is showing signs of stress, like wilting or discoloration, repotting might be just what the doctor ordered.
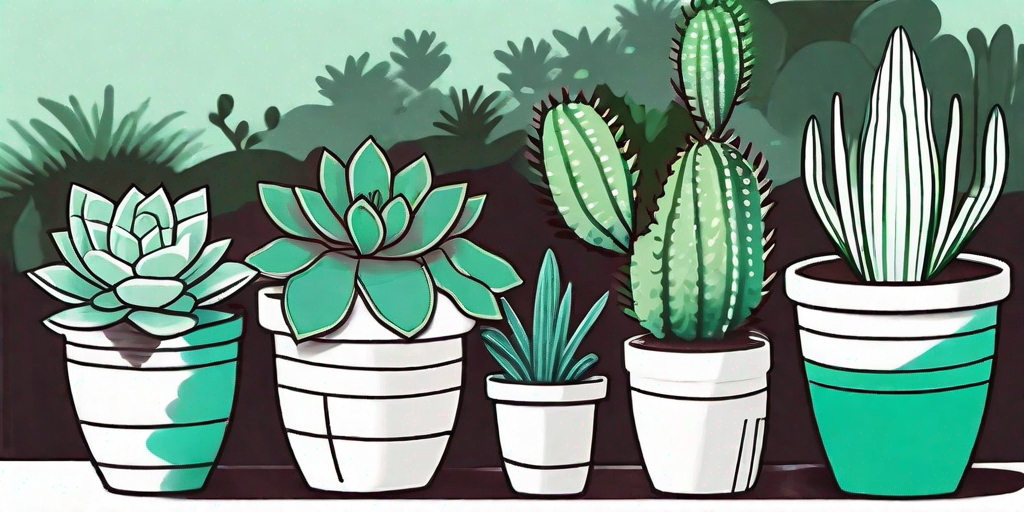
How to Repot
Step 1: Choose the Right Pot
Choosing the right pot for your succulent is like picking out a new outfit. It needs to be the right size, the right style, and it needs to make your plant look fabulous. But it's not just about aesthetics. The pot also needs to have good drainage to prevent water from pooling around the roots.
As a general rule, you should choose a pot that's about 10% larger than the root ball of your succulent. This gives the plant plenty of room to grow, without overwhelming it with too much space. And remember, when it comes to pots, it's better to be too small than too large. A pot that's too big can hold too much water, which can lead to root rot.
Step 2: Prepare the Pot
Once you've chosen the perfect pot, it's time to get it ready for its new occupant. Start by covering the drainage hole with a piece of mesh or a coffee filter. This will prevent soil from washing out of the pot, while still allowing water to drain away.
Next, fill the pot with a layer of fresh, well-draining soil. This will provide a good base for your succulent to grow in. You can buy special succulent soil from most garden centers, or you can make your own by mixing regular potting soil with sand or perlite.
Step 3: Remove the Succulent from Its Old Pot
This is where things get a little tricky. You need to remove the succulent from its old pot without damaging the roots. The best way to do this is to gently squeeze the sides of the pot to loosen the soil, then carefully lift the plant out.
If the succulent is stuck, don't panic. Just turn the pot upside down and give it a gentle tap. The plant should slide out easily. If it doesn't, you can use a knife to loosen the soil around the edges of the pot.
Step 4: Plant the Succulent in the New Pot
Now for the fun part: planting your succulent in its new home. Place the plant in the center of the pot, making sure the top of the root ball is level with the rim. Then, fill in around the roots with more soil, pressing it down gently to eliminate any air pockets.
Once the succulent is securely planted, give it a good watering to help it settle in. Then, place the pot in a sunny spot and watch your succulent thrive!
Common Repotting Mistakes to Avoid
Repotting can be a bit of a learning curve, and it's easy to make mistakes along the way. But don't worry, we've got you covered. Here are some common repotting pitfalls to avoid:
-
Overwatering: Succulents are desert plants, which means they don't need a lot of water. Overwatering can lead to root rot, so be sure to let the soil dry out between waterings.
-
Choosing the wrong pot: As we mentioned earlier, the right pot is crucial for a healthy succulent. Avoid pots without drainage holes, and remember that bigger isn't always better.
-
Using the wrong soil: Succulents need well-draining soil to thrive. Avoid using regular potting soil, which can retain too much moisture.
FAQs
How often should I repot my succulents?
There's no hard and fast rule for this, as it depends on the growth rate of your succulent and the size of its current pot. However, a good rule of thumb is to repot every 2-3 years.
Can I repot succulents in the winter?
While it's possible to repot succulents in the winter, it's generally best to do it in the spring or early summer. This is when succulents are in their active growth phase, which makes them more resilient to the stress of repotting.
What should I do if my succulent is wilting after repotting?
If your succulent is wilting after repotting, it might be suffering from transplant shock. Give it some time to adjust to its new environment, and be careful not to overwater. If the wilting continues, it might be a sign of root rot or another underlying issue.
So there you have it, folks! The ultimate guide to repotting your succulents. With a little bit of patience and a lot of love, you can help your succulents thrive and create a garden that's the envy of all your friends. Happy repotting!


