


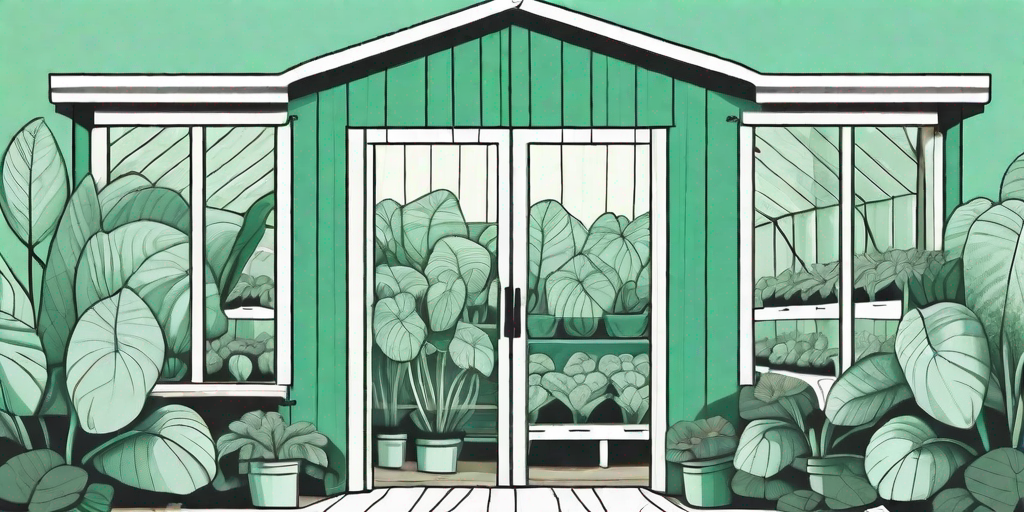

Elephant ear plants, with their dramatic, heart-shaped leaves, are a striking addition to any garden. But what happens when the colder months roll in? Fear not, dear gardener, for we have the secrets to storing those precious bulbs safely away, ensuring a lush comeback when spring returns.
Understanding Your Elephant Ear Plant
Before we dive into the nitty-gritty of bulb storage, let's take a moment to understand our green friends. Elephant ear plants, or Colocasia, are tropical perennials known for their large, leafy displays. They're not fans of the cold, and their bulbs need to be stored away during winter to prevent damage.
Now, you might be thinking, "But my elephant ear plant is doing just fine in the cold!" Well, my friend, you might have an Alocasia or Xanthosoma, two other types of elephant ear plants that can tolerate colder temperatures. But for the sake of this article, we're focusing on the Colocasia.
Identifying Your Elephant Ear Plant
So, how do you know if you have a Colocasia? Easy peasy. Colocasia leaves point downwards, while Alocasia and Xanthosoma leaves point upwards. If your plant's leaves are reaching for the sky, you can sit back and relax. If they're drooping down, it's time to roll up your sleeves and get to work.
The Foolproof Way to Store Elephant Ear Bulbs
Alright, enough chit-chat. Let's get down to business. Storing elephant ear bulbs is a simple process that can be broken down into three steps: digging, drying, and storing.
Digging Up the Bulbs
The first step is to dig up the bulbs. But wait! Don't just start digging willy-nilly. You need to wait until the first frost has blackened the leaves. This is the plant's way of saying, "Alright, I'm ready for my winter nap."
Once the leaves have blackened, cut them back to about 2-3 inches above the ground. Then, using a spade, carefully dig around the plant, making sure not to damage the bulbs. Lift the bulbs out of the ground and gently shake off any excess soil.
Drying the Bulbs
Next, you'll need to dry the bulbs. This step is crucial for preventing mold and rot during storage. Place the bulbs in a well-ventilated area out of direct sunlight and let them dry for about a week.
Once the bulbs are dry, remove any remaining soil and cut off any remaining foliage. The bulbs should be clean and dry before moving on to the next step.
Storing the Bulbs
Finally, it's time to store the bulbs. Place them in a box or bag filled with peat moss, sawdust, or vermiculite. These materials will help keep the bulbs dry and prevent them from touching each other, which can lead to rot.
Store the box or bag in a cool, dark place, like a basement or garage. The ideal storage temperature is between 35-50 degrees Fahrenheit. Check on the bulbs periodically throughout the winter to make sure they're not rotting or drying out.
FAQs
Can I leave my elephant ear plant in the ground over winter?
If you live in USDA hardiness zones 8-11, you can leave your Colocasia in the ground over winter. However, it's still a good idea to mulch heavily around the base of the plant to provide extra protection.
What if my bulbs start to sprout during storage?
If your bulbs start to sprout, don't panic! This just means they're eager to get growing. You can plant them in a pot and keep them indoors until the weather warms up.
Final Thoughts
Storing elephant ear bulbs might seem like a daunting task, but with a little know-how and some elbow grease, you can ensure your plants make a triumphant return come spring. So, don your gardening gloves, wield your spade, and show those bulbs who's boss!
And remember, while your elephant ear plants might be tucked away for the winter, there's still plenty to do in the garden. So, keep those green thumbs busy and start planning for a lush, vibrant garden comeback.


