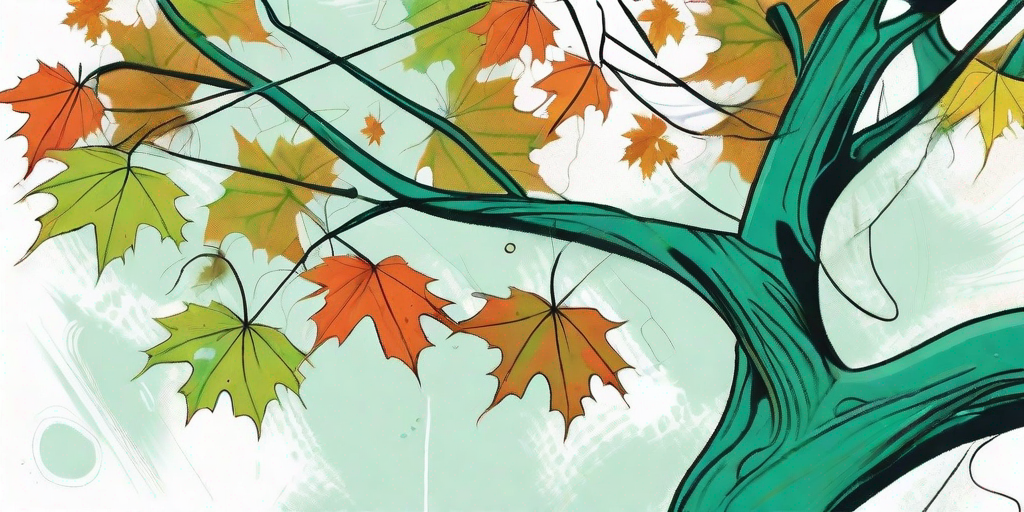
Ever looked at your garden and thought, "Hmm, something's missing."? Well, my friend, that something might just be a Japanese Maple. These stunning trees, with their vibrant foliage and elegant structure, can transform any garden from 'meh' to 'magnificent' in no time. But why buy one when you can graft your own? It's like cooking your own meal instead of ordering takeout - more satisfying and definitely more brag-worthy. So, let's dive into the fascinating world of grafting Japanese Maples.
What is Grafting?
Before we get our hands dirty, let's clear up what grafting actually is. No, it's not some ancient martial art or a new form of yoga. Grafting is a horticultural technique where tissues of plants are joined so as to continue their growth together. Think of it as a plant version of a surgical transplant. The upper part of the graft (the scion) is attached to the lower part (the rootstock). The scion becomes the canopy of the tree, while the rootstock provides the roots. It's a beautiful symbiotic relationship, like Batman and Robin, but with less crime-fighting and more photosynthesis.
Why graft, you ask? Well, grafting allows you to combine the best traits of two different trees. You can have the robust roots of one tree supporting the stunning foliage of another. It's like having the strength of Hulk with the charm of Tony Stark - a winning combination, if you ask me.
The Art of Grafting Japanese Maples
Now that we've covered the basics of grafting, let's move on to the star of our show - the Japanese Maple. These trees are a favorite among gardeners and tree lovers for their vibrant colors and graceful growth habit. But buying a mature Japanese Maple can be quite expensive. That's where grafting comes in. With a little patience and practice, you can graft your own Japanese Maple and watch it grow into a stunning addition to your garden.
But before you start, remember, grafting is more art than science. It requires patience, precision, and a little bit of luck. But don't worry, we've got you covered. Follow our step-by-step guide, and you'll be grafting like a pro in no time.
Step 1: Choosing the Scion and Rootstock
The first step in grafting is choosing the right scion and rootstock. The scion is the part of the tree that you want to clone. Choose a healthy branch from a Japanese Maple that has the characteristics you desire. The rootstock should be a hardy tree that can support the scion. A common choice for Japanese Maples is the Acer palmatum, but feel free to experiment with other species.
Remember, the scion and rootstock should be roughly the same diameter for the graft to be successful. So, choose wisely, or as the Sorting Hat in Harry Potter would say, "Hmm, difficult. VERY difficult."
Step 2: Making the Cut
Once you've chosen your scion and rootstock, it's time to make the cut. Using a sharp grafting knife, make a diagonal cut on the rootstock and a matching cut on the scion. The aim is to create a large surface area where the two can join. It's like fitting together two pieces of a puzzle, but with a much higher stake.
Remember to make clean cuts and avoid tearing the bark. The cleaner the cut, the better the graft will heal. And always cut away from yourself. We're trying to graft a tree here, not perform a self-appendectomy.
Step 3: Joining the Scion and Rootstock
Now comes the moment of truth - joining the scion and rootstock. Align the cuts you've made so that the cambium layers (the layer between the bark and the wood) touch. This is crucial as the cambium layer is where the magic happens. It's where the two parts will fuse and continue to grow as one.
Once the scion and rootstock are aligned, secure them with grafting tape or a rubber band. The aim is to keep them in place while the graft heals. Think of it as a plant Band-Aid.
Aftercare and FAQs
Once the graft is secure, it's time for the aftercare. Keep the graft moist and in a shaded area until it starts to heal. This can take anywhere from a few weeks to a few months, so be patient. Remember, good things come to those who wait.
Once the graft has healed, you can remove the tape and plant your new Japanese Maple in your garden. Watch it grow and transform your garden into a stunning oasis.
Frequently Asked Questions
- When is the best time to graft?
The best time to graft is in late winter or early spring, when the tree is dormant but about to start growing.
- Can I graft other trees?
Absolutely! While this guide focuses on Japanese Maples, the principles of grafting apply to many other trees and plants.
- My graft failed. What did I do wrong?
Don't be disheartened. Grafting is a skill that takes time to master. It could be due to many factors like improper cuts, poor alignment, or unsuitable scion or rootstock. Learn from it and try again.
So there you have it, a comprehensive guide to grafting Japanese Maples. It's a fun and rewarding hobby that can transform your garden and make you the envy of your neighbors. So, roll up your sleeves, grab your grafting knife, and let's get grafting!


