
Are you tired of the same old gardening techniques and looking for something new to spice up your plant propagation game? Look no further than semi-hardwood cuttings! In this beginner's guide, we'll dive into what semi-hardwood cuttings are, when to take them, and how to master the art of propagation. So grab your gardening gloves and let's get started!
Understanding Semi-Hardwood Cuttings
Before we jump into the world of semi-hardwood cuttings, let's make sure we're all on the same page. So what exactly are semi-hardwood cuttings? Well, think of them as the rebellious teenagers of the plant world. They're not quite soft and floppy like their newborn counterparts (softwood cuttings), but they're not fully hardened like the grizzled seniors (hardwood cuttings) either.
Semi-hardwood cuttings have a perfect balance of flexibility and toughness, making them ideal candidates for propagation. They are usually taken from mature plants during the summer months, when the wood is starting to harden but is still pliable enough to root successfully.
These semi-hardwood cuttings offer a unique opportunity for plant enthusiasts to expand their collection and create new plants. By understanding the basics of semi-hardwood propagation, you can unlock a whole new world of possibilities.
The Basics of Semi-Hardwood Propagation
Now that we know what semi-hardwood cuttings are, let's dive into the basics of propagating with them. It's like playing plant matchmaker - you get to create new plants from your favorites!
The process starts by carefully selecting a healthy, non-flowering branch from the donor plant. Make sure to choose a branch that is neither too young nor too old. It's all about finding that sweet spot of semi-hardwood goodness.
Once you've selected your superstar branch, it's time to prepare it for propagation. Remove any leaves from the lower half of the cutting, leaving only a few at the top. This will help reduce water loss and encourage rooting.
Now, let's talk about rooting hormones. These magical substances can give your semi-hardwood cuttings an extra boost in their journey towards becoming independent plants. Rooting hormones contain plant growth regulators that stimulate root development. When you dip the bottom inch of the cutting into the rooting hormone, it's like giving it a secret weapon to speed up the rooting process. Just remember, a little hormone goes a long way, so use it sparingly!
With your cutting prepped and ready for action, it's time to plant it in a well-draining rooting medium, like a mix of peat moss and perlite. This medium provides the perfect balance of moisture retention and aeration, creating an ideal environment for root development. As you gently place the cutting into the rooting medium, imagine the possibilities that lie ahead - a new plant ready to grow and flourish!
Now, it's important to create a suitable environment for your semi-hardwood cuttings to thrive. Place them in a warm and humid location, away from direct sunlight. You can use a mini greenhouse or a simple plastic bag to create a mini greenhouse effect, trapping moisture and promoting healthy growth.
As you patiently wait for roots to develop, make sure to monitor the moisture levels of the rooting medium. You want it to be consistently moist but not waterlogged. Too much water can lead to rot, while too little can hinder root development. It's all about finding that delicate balance.
Over time, you'll start to see signs of success - tiny roots emerging from the base of the cutting. This is a thrilling moment, as it signifies that your semi-hardwood cutting has successfully rooted and is on its way to becoming an independent plant. Keep nurturing it with care, providing it with the right amount of water, light, and nutrients.
Remember, each semi-hardwood cutting is a unique individual with its own potential. Some may root quickly and vigorously, while others may take a bit more time and patience. But with your knowledge and dedication, you can help them all thrive and grow into beautiful plants.
Timing is Key: When to Take Semi-Hardwood Cuttings
Now that you're armed with the knowledge of what semi-hardwood cuttings are, let's talk timing. Timing is key when it comes to propagating with semi-hardwood cuttings, so pay close attention!
Signs to Look for When Determining the Right Time for Semi-Hardwood Cuttings
Timing it just right can make all the difference between successful propagation and a sad, withered branch. So how do you know when the time is right for semi-hardwood cuttings?
- Look for new growth on the donor plant. This is a good indicator that the wood is starting to harden, but is still flexible enough for rooting.
- Check for firmness. Gently squeeze the branch between your fingers - if it gives a little but still retains some firmness, you've found a winner.
- Keep an eye out for seasonal cues. Semi-hardwood cuttings are generally taken during the summer, when plants are actively growing. It's like a summer romance for your plants!
Mastering the Art of Taking Semi-Hardwood Cuttings
So you've determined the perfect time to take your semi-hardwood cuttings, but how do you actually go about it? Fear not, aspiring plant propagator - we've got you covered!
Step-by-Step Guide to Successfully Taking Semi-Hardwood Cuttings
- Choose a healthy branch with semi-hardwood growth.
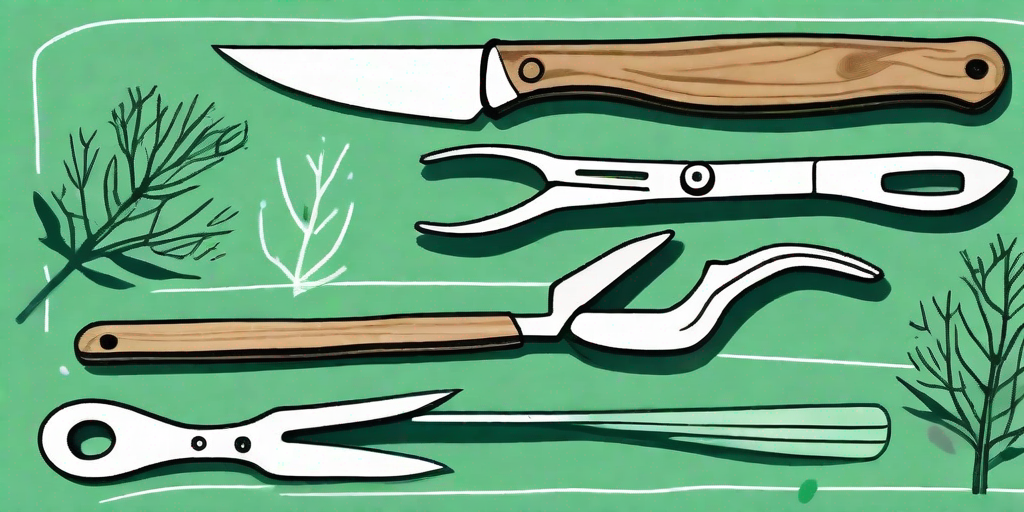
- Gather your tools: a sharp and clean pair of pruning shears, a rooting hormone, and a well-draining rooting medium.
- Remove any leaves from the lower half of the cutting, leaving a few at the top for photosynthesis.
- Dip the bottom inch of the cutting into the rooting hormone, making sure to tap off any excess.
- Make a small hole in the rooting medium and gently insert the cutting, firming the medium around it.
- Water the cutting thoroughly and place it in a warm, bright location, but out of direct sunlight.
- Maintain a consistent level of moisture in the medium, but avoid overwatering - nobody likes soggy roots!
- Keep a watchful eye on your cutting, providing it with tender love and care until it develops roots and starts to grow.
Remember, practice makes perfect, so don't get discouraged if your first attempts don't yield the results you hoped for. Keep experimenting and soon you'll be a semi-hardwood cutting pro!
Pro Tips for Successful Semi-Hardwood Propagation
Now that you've got the basics down, let's dig into some pro tips to take your semi-hardwood propagation game to the next level. We're about to turn you into the Michelangelo of plant cloning!
Common Mistakes to Avoid When Propagating with Semi-Hardwood Cuttings
Propagation can be a bit tricky, even for seasoned gardeners. To help you avoid common pitfalls, here are some mistakes to steer clear of:
- Avoid taking cuttings from unhealthy or diseased plants. Remember, healthy plants make healthy babies!
- Don't rush the process. Patience is key when it comes to semi-hardwood cuttings. Rome wasn't built in a day, and neither are your new plant babies.
- Don't overwater. While it's important to keep the medium moist, overwatering can lead to root rot and the untimely demise of your cutting. Let's keep those roots happy and healthy!
Essential Techniques for Ensuring High Success Rates with Semi-Hardwood Propagation
If you're looking to boost your success rates with semi-hardwood propagation, these essential techniques are here to save the day:
- Apply bottom heat. Some plants respond well to a little extra warmth during the rooting process. Invest in a heating mat to give your cuttings the cozy treatment they deserve.
- Mist your cuttings. Some semi-hardwood cuttings benefit from a gentle misting to increase humidity levels and prevent excessive moisture loss.
- Consider using a mini greenhouse or a propagating box. These enclosed environments create a mini-habitat for your cuttings, providing them with the perfect conditions for rooting.
With these pro tips up your sleeve, you'll be propagating semi-hardwood cuttings like a true gardening guru.
Frequently Asked Questions
Now that you've embarked on your semi-hardwood cuttings journey, you might have some burning questions. Let's dive into the most frequently asked ones!
Q: Can I take semi-hardwood cuttings from any plant?
A: While many plants can be propagated using semi-hardwood cuttings, some are more suitable than others. It's best to do your research and choose plants that are proven to root well from semi-hardwood cuttings.
Q: How long does it take for semi-hardwood cuttings to root?
A: The rooting time for semi-hardwood cuttings can vary depending on the plant species and environmental conditions. On average, it can take anywhere from a few weeks to a few months. Patience is key!
Q: Can I propagate semi-hardwood cuttings indoors?
A: Absolutely! As long as you provide the right conditions, you can successfully propagate semi-hardwood cuttings indoors. A bright location with indirect sunlight and good airflow should do the trick.
Q: Can I use semi-hardwood cuttings to create bonsai trees?
A: While semi-hardwood cuttings can be used to create bonsai trees, it's important to note that bonsai cultivation requires additional knowledge and techniques. It's a whole other world of plant artistry!
And there you have it - a beginner's guide to semi-hardwood cuttings that's as cheeky and fun as a mischievous plant sprout. Next time you're feeling adventurous in your propagation endeavors, remember to give semi-hardwood cuttings a try. Happy rooting!