Are you facing the mulch dilemma in your garden? Wondering whether to replace or not to replace last year's garden mulch? You've come to the right place! In this ultimate guide, we'll explore the pros and cons of replacing mulch, factors to consider before making a decision, when it's the perfect timing to refresh your mulch, and a step-by-step guide to changing your mulch. Get ready to tackle that mulch with confidence!
The Mulch Dilemma: To Replace or Not to Replace?
The Pros and Cons of Replacing Mulch
Replacing your garden mulch can be a game-changer when it comes to maintaining the health and vitality of your plants. Not only does fresh mulch provide essential nutrients and insulation, but it also enhances the overall appearance of your garden. Impeccable curb appeal, anyone?
But before you grab that gardening shovel, let's take a closer look at the pros and cons of replacing mulch. It's important to weigh the benefits against the potential drawbacks to make an informed decision.
On the flip side, replacing mulch can be a daunting task. It requires time, effort, and a bit of a green thumb. Plus, you might be wondering if it's truly necessary or just an unnecessary expense. Let's weigh the pros and cons together, shall we?
- Pros of Replacing Mulch:
- Fresh nutrients for your plants: When you replace your mulch, you're providing your plants with a fresh supply of nutrients. This can help promote healthy growth and improve overall plant health.
- Better insulation for soil moisture and temperature control: Fresh mulch acts as a protective layer, helping to retain moisture in the soil and regulate temperature fluctuations. This can be especially beneficial during hot summer months or cold winter days.
- Improved weed prevention: Mulch acts as a natural weed barrier, preventing weed growth and reducing the need for manual weeding. By replacing your mulch, you can ensure that this barrier remains effective.
- Enhanced aesthetics for your garden: Let's not forget the visual appeal of fresh mulch. It can instantly transform the look of your garden, giving it a neat and well-maintained appearance.
- Cons of Replacing Mulch:
- Requires time and effort: Replacing mulch is not a task to be taken lightly. It requires physical labor, including removing the old mulch, preparing the soil, and spreading the new mulch. Depending on the size of your garden, this can be a time-consuming process.
- Potentially increased expense: Fresh mulch comes at a cost. Depending on the type and quantity of mulch you choose, replacing it can be an additional expense in your gardening budget.
- May disturb the existing ecosystem: Mulch serves as a habitat for beneficial organisms such as earthworms and beneficial insects. When you replace the mulch, you may disrupt this ecosystem, affecting the balance of your garden.
- Risk of over-mulching and suffocating your plants: Applying too much mulch can suffocate plant roots and prevent proper air circulation. It's important to apply mulch in the right amount and avoid piling it up against the stems of your plants.
Factors to Consider Before Replacing Mulch
Now that we've explored the pros and cons, let's consider a few factors that can help you make an informed decision:
- Current mulch condition: Take a close look at your existing mulch. Is it moldy, infested with pests, or smelling funky? These are clear signs that it's time for a change. Replacing mulch in such cases can help restore a healthy environment for your plants.
- Gardening goals: Are you aiming to enhance the appearance of your garden for that upcoming backyard barbecue, or are you primarily concerned with plant health? Identifying your goals will help you determine whether mulch replacement is necessary. If aesthetics are your priority, fresh mulch can make a significant difference.
- Plant type: Different plants have different preferences when it comes to mulch. Some prefer organic mulch like wood chips, while others thrive with inorganic mulch like gravel. Research the mulching needs of your specific plants to ensure you're providing them with the best environment.
- Time and resources: Be honest with yourself about the time and effort you're willing to invest in mulch replacement. If you're short on time or lack the necessary tools, consider alternatives like spot-mulching the areas that need it most. This way, you can address specific areas without the need for a complete mulch replacement.
By carefully considering these factors, you can make an informed decision about whether to replace your mulch or not. Remember, the well-being of your plants and the overall appearance of your garden are both important factors to consider. Happy gardening!
Timing is Everything: When to Refresh Your Mulch
Signs That It's Time to Add New Mulch
Mulch is not immortal, and it eventually loses its charm. Here are some telltale signs that it's time to bid farewell to your old mulch and welcome the new:
- Thin layer: If your mulch has significantly thinned out, leaving your soil exposed to the harsh elements, it's time to rejuvenate that protective layer.
- Weed invasion: When those pesky weeds start popping up left and right, it's a clear indication that your mulch is no longer doing its job effectively.
- Foul odor: If your garden starts to smell less like a fragrant oasis and more like a compost heap, it's time to replace that old mulch.
Best Practices for Mulch Replacement
Now that you've determined that your mulch needs a makeover, let's delve into some best practices to ensure a successful mulch replacement:
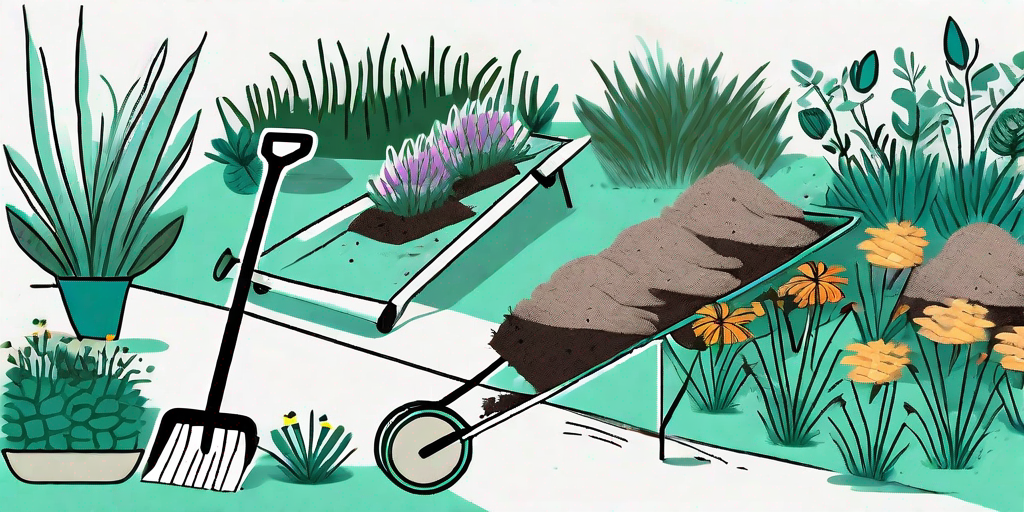
- Remove the old mulch: Before applying fresh mulch, it's crucial to remove the old layer. Use a garden rake or pitchfork to gently loosen and remove the old mulch, making sure not to disturb any existing plant roots.
- Inspect for pests: Take this opportunity to thoroughly inspect your garden for any unwanted guests. Dispose of any affected plants, but do not compost them to prevent spreading the infestation.
- Prep the soil: After removing the old mulch, make sure to aerate the soil by turning it over with a garden fork or tiller. This will promote better water and nutrient absorption.
- Apply the new mulch: Spread a fresh layer of mulch evenly around your garden beds, making sure not to exceed a depth of 2-4 inches. Too much mulch can inhibit oxygen and water flow, suffocating your plants.
- Maintain mulch thickness: As time goes on, your mulch will naturally break down. Regularly monitor its thickness and add small amounts as needed to maintain the desired protective layer.
A Step-by-Step Guide to Changing Your Mulch
Removing Old Mulch: Dos and Don'ts
Ready to roll up your sleeves and dive into the world of mulch replacement? Let's break it down:
Do:
- Use a garden rake or pitchfork to gently loosen and remove the old mulch.
- Be mindful of existing plant roots and avoid damaging them during the removal process.
- Dispose of the old mulch properly to prevent the spread of pests or diseases. Local composting facilities or municipal waste disposal services are great options.
Don't:
- Forget to wear gloves to protect your hands. Splinters and blisters are not ideal souvenirs from your mulch replacement adventure.
- Remove more than necessary. A thin layer of old mulch can have some benefits, so leave a small amount to decompose and contribute to soil health.
- Dispose of affected or diseased plants in your regular compost. This can potentially spread pests and diseases across your garden.
Applying Fresh Mulch: Tips for Success
It's time to add that finishing touch to your garden! Follow these tips for successfully applying fresh mulch:
- Choose your mulch wisely: Consider factors such as the type of plants you have, your climate, and personal preferences when selecting the mulch. Options range from organic materials like wood chips and straw to inorganic materials like rubber mulch.
- Water the soil: Before applying fresh mulch, give your soil a good watering. This will provide a moist foundation for your new mulch and help it settle more effectively.
- Mulch around plants: Create a small gap around the stems of your plants to prevent moisture accumulation and potential rot. Leave a bit of breathing room for your green buddies!
- Mulch edges: Extend the mulch layer slightly beyond the edges of your garden beds to create a visually cohesive look and discourage weed growth.
- Don't bury your plants: While mulching is fantastic, it's important not to bury the base of your plants. Keep the mulch layer a few inches away from the stems to avoid potential rot or disease issues.
There you have it, fellow mulch enthusiasts! With this ultimate guide, you're now armed with all the knowledge and tips you need to tackle the mulch dilemma in your garden. So, put on your gardening gloves, grab that shovel, and get ready to give your garden a fresh new start. Happy mulching!