


Welcome to the wonderful world of irises, where the colors are as vibrant as a painter's palette and the shapes as intricate as a sculptor's masterpiece. If you're a budding horticulturist or a seasoned green thumb looking to add a dash of elegance to your garden, you've come to the right place. So, buckle up, grab your gardening gloves, and let's dive into the enchanting realm of iris transplantation.
Understanding the Iris: A Floral Phenomenon
Before we get our hands dirty, let's take a moment to appreciate the beauty and complexity of the iris. Named after the Greek goddess of the rainbow, irises come in a kaleidoscope of colors, from the deepest purples to the most radiant yellows. But it's not just their beauty that makes them a gardener's favorite. Irises are hardy, resilient, and relatively easy to grow, making them perfect for beginners and experts alike.
Irises are perennials, meaning they bloom year after year, providing a constant source of color and life to your garden. They're also incredibly diverse, with over 300 species to choose from. Whether you're a fan of the classic bearded iris or prefer the exotic charm of the Japanese iris, there's an iris out there for everyone.
Getting Started: Tools and Preparation
Transplanting irises may sound like a daunting task, but with the right tools and a bit of preparation, it can be as easy as pie (and just as satisfying). Here's a list of tools you'll need:
- A sharp spade or garden fork
- Gardening gloves
- A garden hose or watering can
- Compost or organic matter
- Optional: A garden trowel and a pair of pruning shears
Before you start, make sure your irises are ready to be transplanted. The best time to transplant irises is in late summer or early fall, after they've finished blooming but before the first frost. This gives the plants enough time to establish their roots before winter sets in.
Choose a spot in your garden that gets plenty of sun. Irises love the sun, and a sunny spot will ensure they bloom beautifully. The soil should be well-drained, as irises don't like to have wet feet. If your soil is heavy clay, consider adding some compost or organic matter to improve drainage.
The Transplanting Process: A Step-by-Step Guide
Step 1: Digging Up the Iris
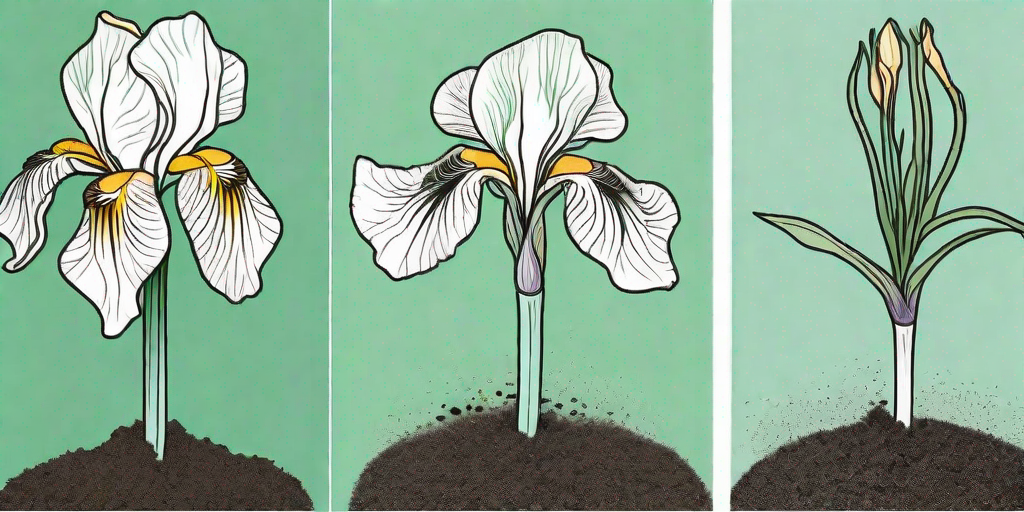
Start by using your spade or garden fork to gently loosen the soil around the iris. Be careful not to damage the roots. Once the soil is loose, lift the iris out of the ground. You should see a rhizome (a thick root-like stem) with roots attached. This is the heart of the iris, and it's what you'll be transplanting.
If the iris is large or has been in the ground for a few years, it may have multiple rhizomes. These can be separated by gently pulling them apart or cutting them with a sharp knife. Each rhizome should have at least one fan of leaves attached.
Step 2: Preparing the New Site
Once you've dug up your iris, it's time to prepare the new site. Dig a hole that's wide and deep enough to accommodate the rhizome and its roots. The top of the rhizome should be level with or slightly above the surface of the soil. This helps prevent rot and encourages the iris to bloom.
Add some compost or organic matter to the hole to give the iris a nutrient boost. Then, place the iris in the hole, spreading out the roots. Backfill the hole with soil, firming it gently around the roots.
Step 3: Aftercare
After transplanting, give your iris a good drink of water. This helps settle the soil and ensures the roots make good contact with the soil. Continue to water regularly, but don't overdo it – remember, irises don't like wet feet!
Keep an eye on your iris over the next few weeks. It may take a while to establish itself, but with a bit of patience and care, you'll soon see new growth. And come spring, you'll be rewarded with a stunning display of blooms.
Frequently Asked Questions
- When is the best time to transplant irises?
- The best time to transplant irises is in late summer or early fall, after they've finished blooming but before the first frost.
- How often should I water my transplanted iris?
- Water your iris immediately after transplanting, then regularly as needed. The soil should be moist but not waterlogged.
- My iris isn't blooming. What's wrong?
- There could be several reasons why your iris isn't blooming. It may not be getting enough sun, the soil may be too wet, or it may be overcrowded. If your iris isn't blooming, consider moving it to a sunnier spot, improving the drainage, or dividing it.
Conclusion
Transplanting irises may seem like a daunting task, but with a bit of knowledge and preparation, it can be a rewarding experience. So don your gardening gloves, grab your spade, and get ready to transform your garden with the vibrant colors and intricate shapes of the iris. Happy gardening!


