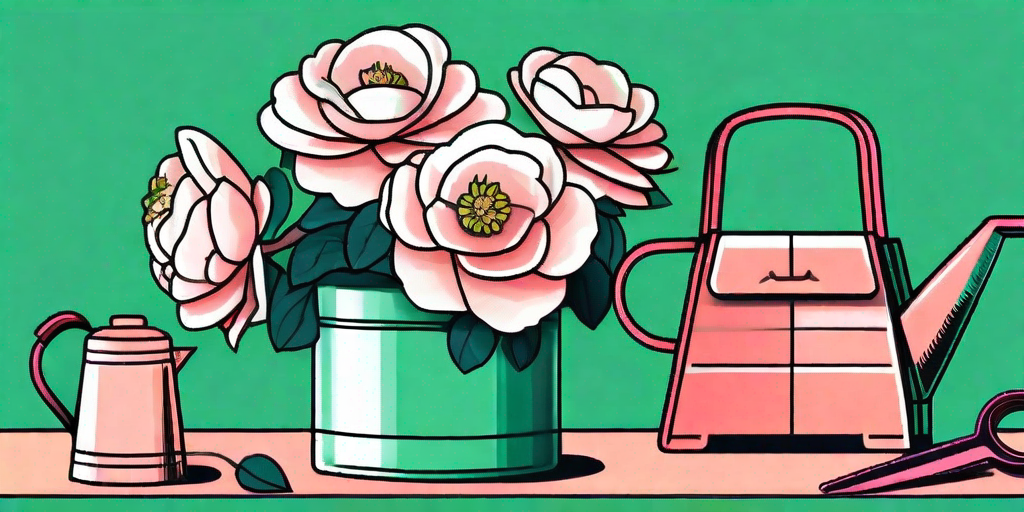
Welcome, green thumbs and flower enthusiasts! If you're here, it's probably because you've been bewitched by the enchanting beauty of the Camellia. And who could blame you? With their lush, glossy leaves and their vibrant, voluptuous blooms, Camellias are the Audrey Hepburns of the plant world - timeless, elegant, and oh-so-charming. But just like Ms. Hepburn, they require a bit of pampering to truly shine. So, buckle up, plant lovers, because we're about to embark on a horticultural adventure!
The Basics of Camellia Care
Before we dive into the nitty-gritty, let's cover the basics. Camellias are native to eastern and southern Asia, which means they're used to a certain kind of climate. They prefer cool, humid environments and aren't big fans of extreme temperatures. So, if you live somewhere that's hotter than a jalapeno or colder than a penguin's toenail, you might have to put in a bit more effort to keep your Camellia happy.
Camellias are also partial to acidic soil. They're like the plant version of a hipster, preferring their soil pH to be between 6.0 and 6.5. Anything more alkaline than that and they'll turn up their leaves in disgust. So, make sure you test your soil before planting and adjust as necessary.
Light Requirements
When it comes to light, Camellias are a bit like Goldilocks. They don't want too much sun, or they'll get sunburnt. Yes, plants can get sunburnt too! But they also don't want too little light, or they'll become leggy and sparse. They prefer a spot that gets morning sun and afternoon shade. So, find a spot that's just right!
Indoor Camellias should be placed near a window that gets plenty of indirect light. But be careful not to place them too close to the window, as the glass can amplify the heat and cause the leaves to scorch.
Watering and Feeding
Camellias like their soil to be consistently moist, but not waterlogged. Overwatering can lead to root rot, which is as nasty as it sounds. So, water your Camellia when the top inch of soil feels dry to the touch.
As for feeding, Camellias are not heavy feeders. They prefer a light meal of a slow-release, acid-forming fertilizer once a year in early spring. Overfeeding can lead to lush foliage but few flowers, which is a bit like going to a party and only eating the salad. Nobody wants that!
Pruning and Propagation
Pruning is like giving your Camellia a haircut. It helps to maintain its shape and encourages more blooms. The best time to prune is in early spring, after the plant has finished blooming. But remember, Camellias are not fans of drastic makeovers. So, keep your pruning to a minimum and always use sharp, clean tools.
Propagation, on the other hand, is like creating a clone of your Camellia. It's done by taking a cutting from the mother plant and planting it in a pot of moist, well-draining soil. It's a bit like magic, really!
Pruning Tips
When pruning, always cut just above a leaf node. This is where new growth will sprout from. Also, try to maintain the natural shape of the plant. Unless you're going for a topiary look, in which case, go wild!
Remember to remove any dead or diseased wood. This not only improves the appearance of the plant, but also helps to prevent the spread of disease. It's like giving your Camellia a health check-up!
Propagation Steps
- Cut a 4-6 inch piece from the tip of a healthy branch. Make sure it has at least two leaf nodes.
- Remove the leaves from the bottom half of the cutting.
- Dip the cut end in rooting hormone. This is not essential, but it can help to speed up the rooting process.
- Plant the cutting in a pot of moist, well-draining soil. Cover the pot with a plastic bag to create a mini greenhouse.
- Place the pot in a warm, bright spot, but out of direct sunlight. Check the soil regularly and water as needed.
- After a few weeks, the cutting should have developed roots and can be transplanted to a larger pot or the garden.
Common Problems and Solutions
Like all plants, Camellias can suffer from a range of problems. But don't panic! Most of these issues can be easily resolved with a bit of TLC.
One common problem is yellowing leaves. This can be caused by a number of factors, including overwatering, nutrient deficiencies, or a pH imbalance. To fix this, adjust your watering schedule, feed with a balanced fertilizer, or amend your soil to make it more acidic.
Pests and Diseases
Camellias can also be affected by pests and diseases. Common culprits include aphids, scale insects, and Camellia petal blight. To combat these, use a natural insecticide or fungicide, or introduce beneficial insects like ladybugs and lacewings to your garden.
Remember, prevention is better than cure. So, keep your Camellia healthy by providing it with the right conditions and regular care. A happy Camellia is a healthy Camellia!
FAQs
Why are my Camellia's leaves turning brown?
Brown leaves can be a sign of underwatering, sunburn, or a fungal disease. Check your watering schedule, the plant's location, and the condition of the leaves to determine the cause.
Why isn't my Camellia blooming?
There could be several reasons for this. It could be due to a lack of light, incorrect feeding, or the plant may simply be too young. Camellias usually start blooming after 2-3 years of growth.
Can I grow a Camellia in a pot?
Absolutely! In fact, Camellias make excellent container plants. Just make sure to use a pot with good drainage and a soil mix designed for acid-loving plants.
Wrapping Up
And there you have it, folks! The ultimate guide to Camellia care. With a bit of love and care, your Camellia can provide you with years of beauty and enjoyment. So, go forth and garden! And remember, the secret to a blooming beauty is not just in the care you provide, but also in the joy you derive from it. Happy gardening!


